Make A Cedar Chest Look New: Layered Paint Using Petroleum Jelly
As an Amazon Associate, I earn from qualifying purchases.
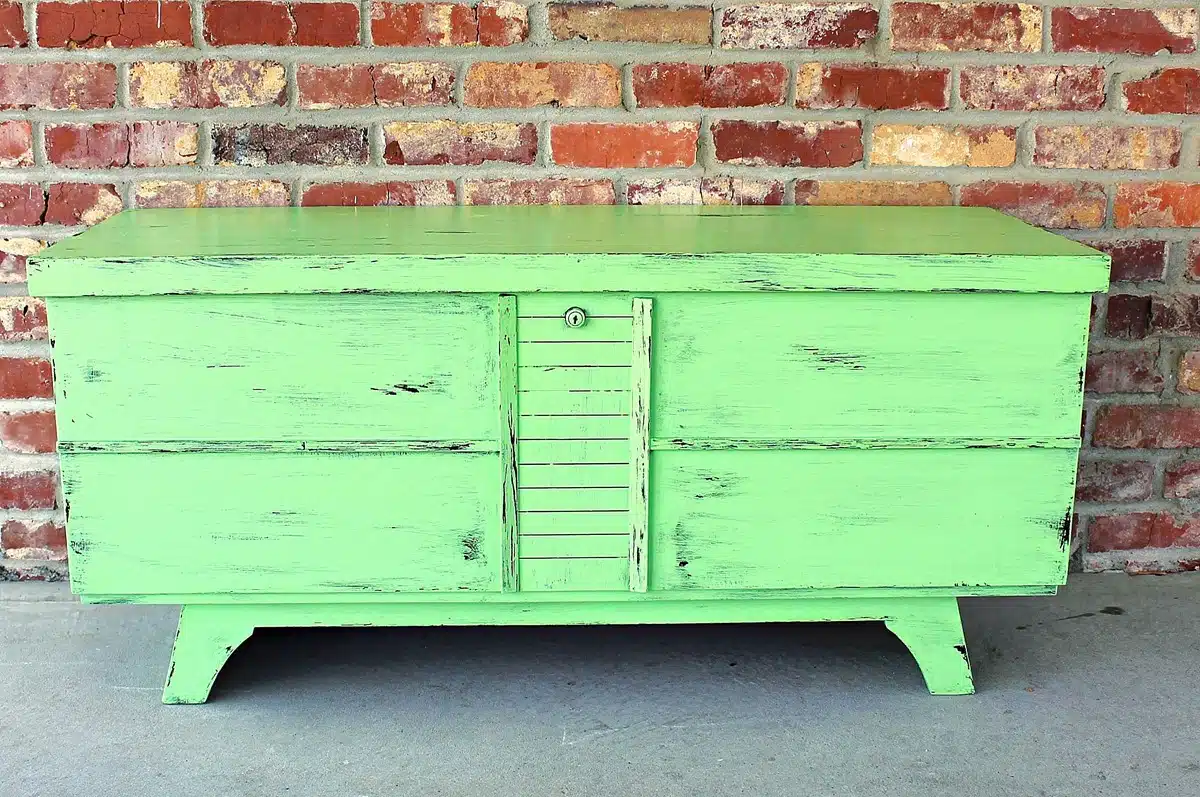
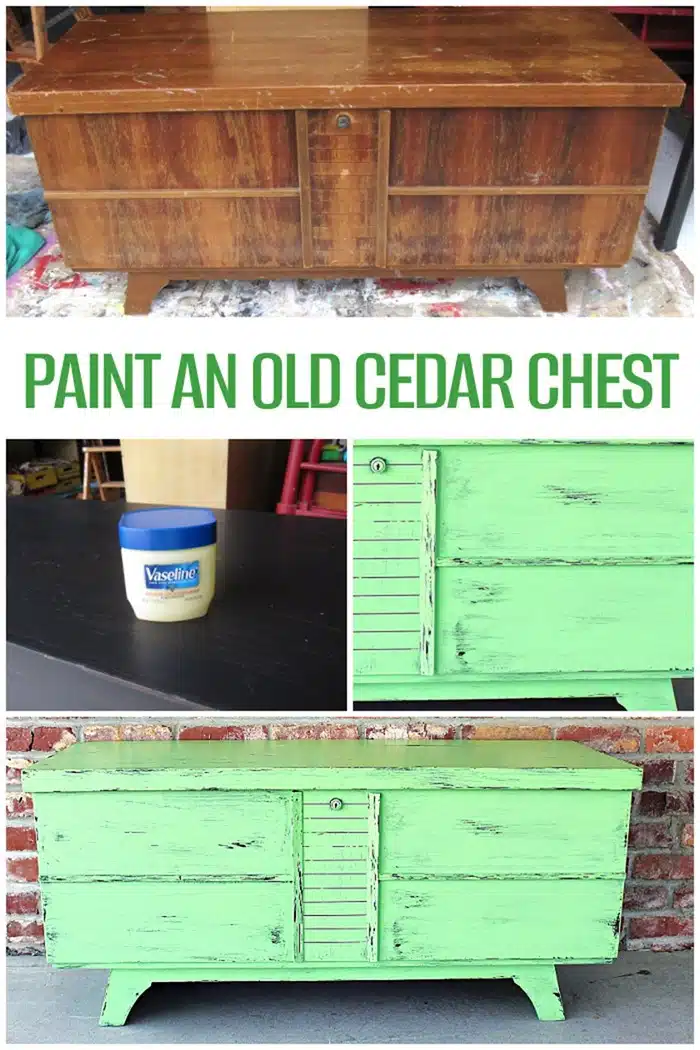
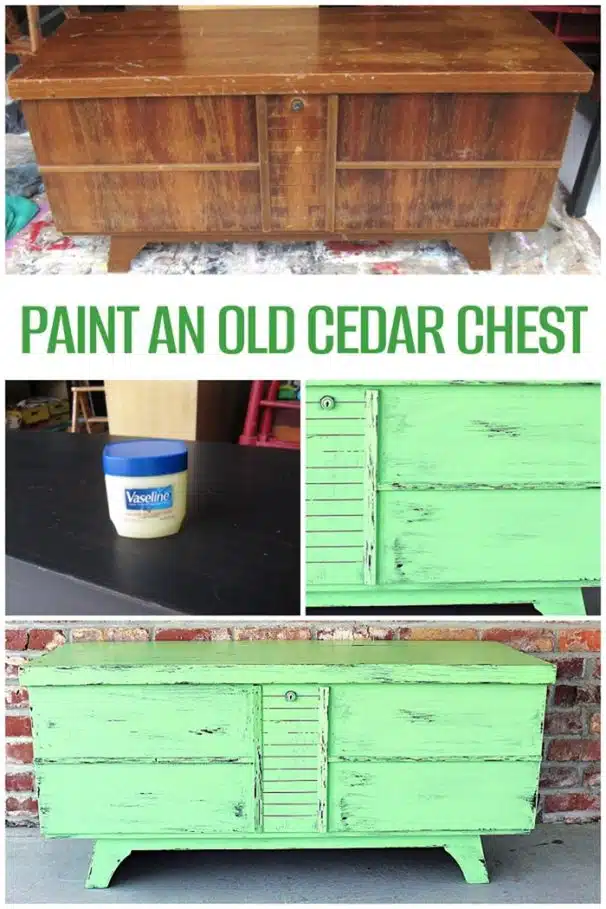
It’s easy to give an old cedar chest a stylish, modern look by layering two colors of paint using petroleum jelly.
I love vintage cedar chests, and they’re great project pieces. They’re often in bad condition and I don’t feel bad about painting them.
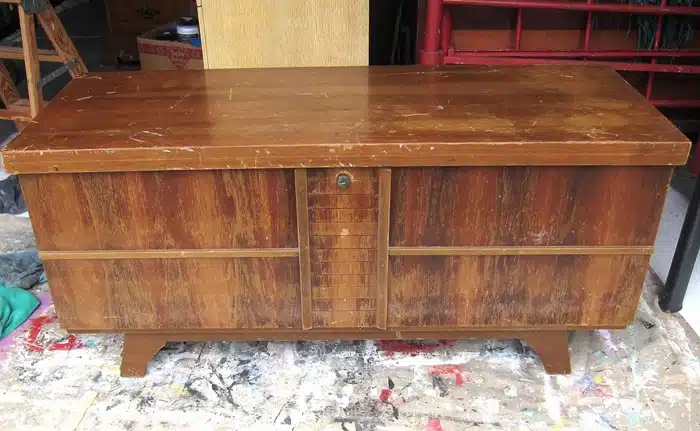
I found the cedar chest at my favorite junk shop. The price was $20. You can’t beat that.
I loaded up on this junkin trip.
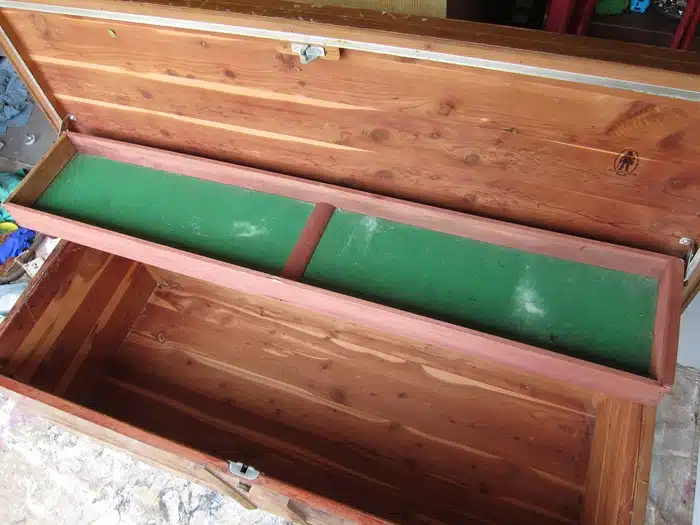
The inside of the chest was in much better condition than the outside. The chests with the trays are nice.
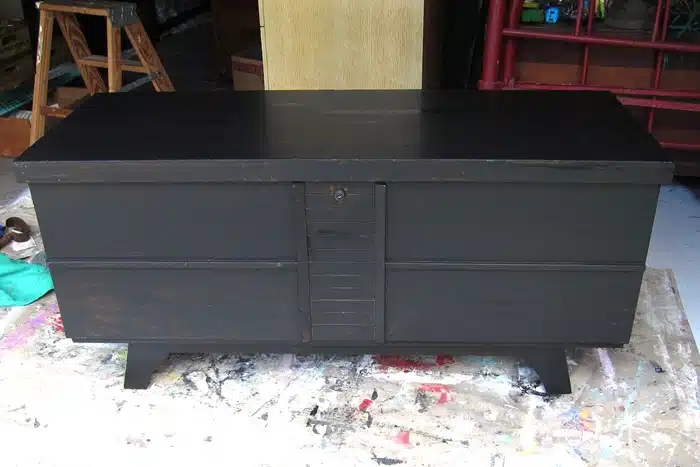
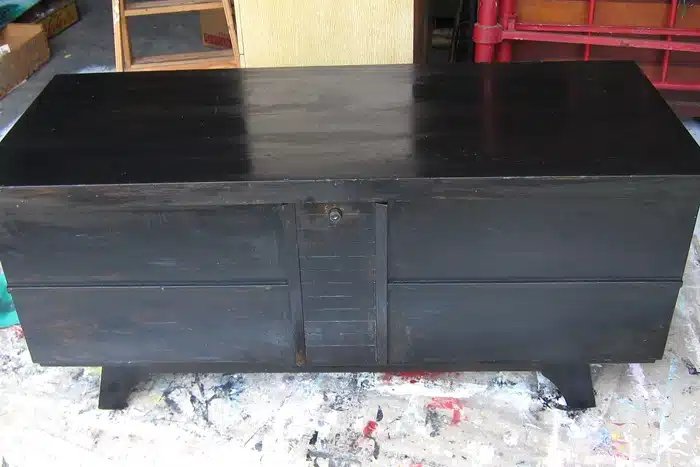
After cleaning the cedar chest I painted it with black latex paint I had on hand. I only applied one coat of paint because I planned to do a top coat in green, and one coat of black paint was enough for the layered finish.
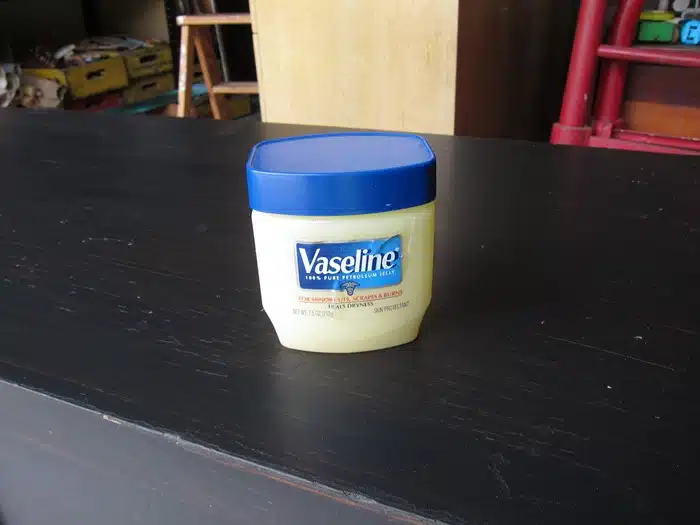
Petroleum jelly is the secret to this paint finish. Vaseline brand is what I had on hand, but any brand of petroleum jelly should work fine.
I put on a pair of latex gloves and took a very small amount of petroleum jelly out of the container—maybe a teaspoon. Then, I wiped the petroleum jelly over the spots that would normally be distressed, such as the top edges, the raised details on the front, and the sides of the feet.
Then, I rubbed a very thin layer of petroleum jelly over small areas of the body of the chest. The secret to this layered paint finish is how you use the petroleum jelly. It only takes a thin, thin jelly layer over the first paint layer.
You will know if you used too much petroleum jelly because when you brush on the second layer of paint it will be kind of slimy. Yuck. I’ve made this mistake in the past.
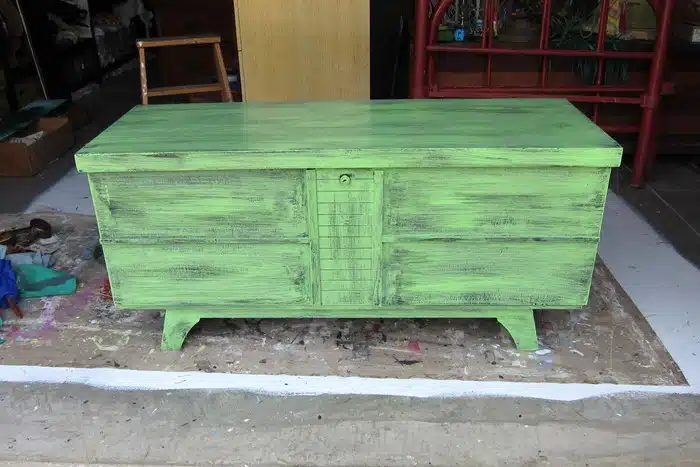
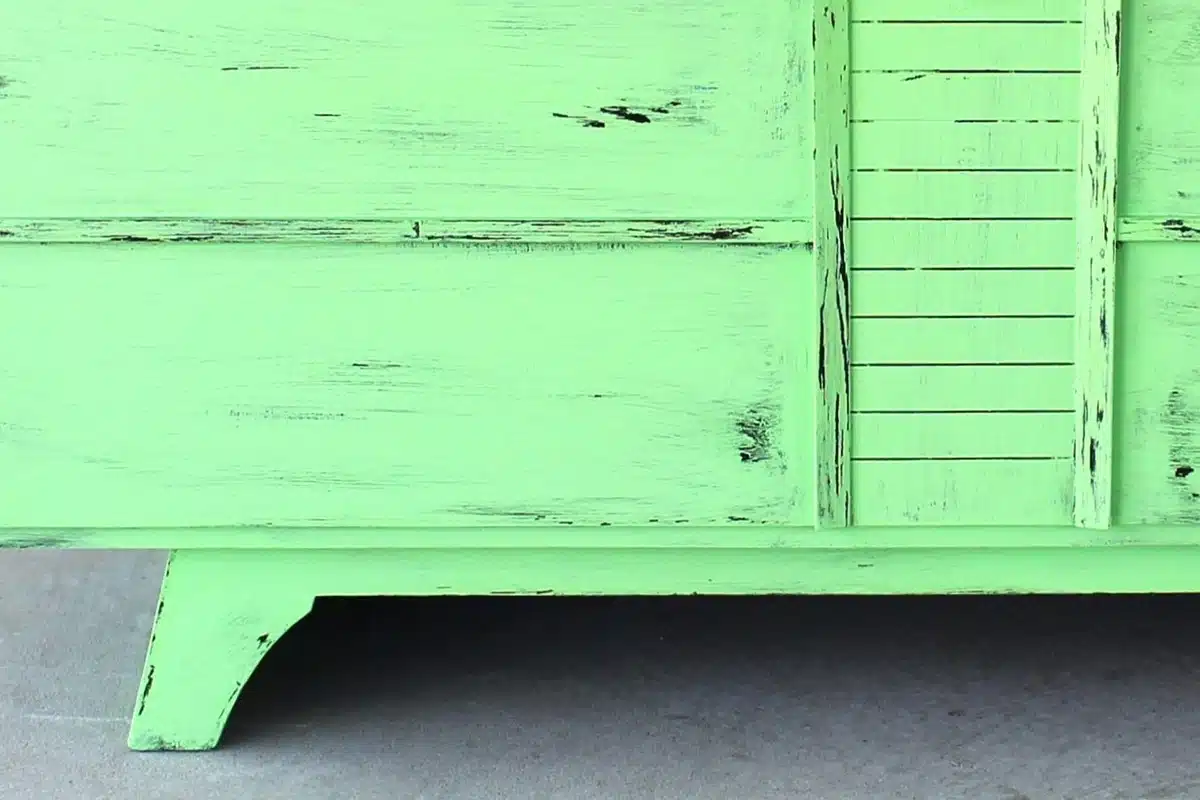
I love green, and this green is a can of oops paint, so I don’t know the color name. The photo of the chest above shows how it looked after one coat of paint. I applied a second coat after the first coat dried.
I’m sorry, but I don’t have a close-up photo of me distressing the paint. I took photos but don’t have a clue what happened to them.
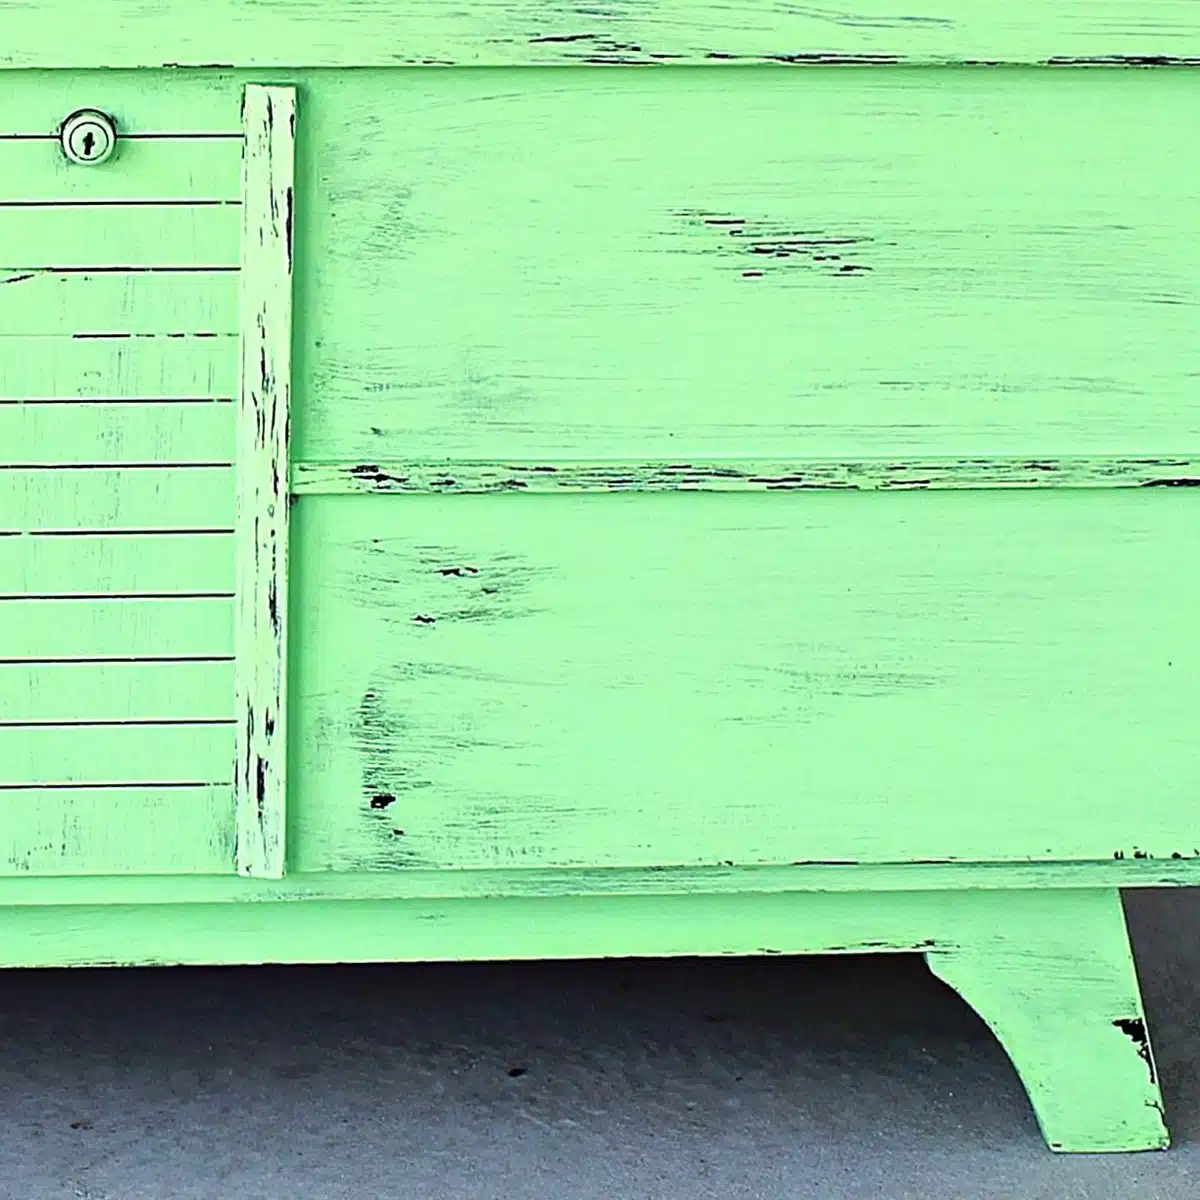
Anyway, I used a lint-free rag and wiped over the areas where I applied the petroleum jelly, and the green paint rubbed off. In some areas, it was easier to remove the green paint than in others. I rubbed harder if I wanted more black paint to show through. It also helps sometimes to dampen the rag.
I love the green and black paint combination on the cedar chest. You might ask why I didn’t just apply the black paint and then the green paint and use sandpaper to distress the paint. Well, the sandpaper will remove both layers of paint down to the wood.
That is why I apply petroleum jelly between the layers of paint. Because of the petroleum jelly, the top layer will not bond heavily to the bottom layer of the paint.
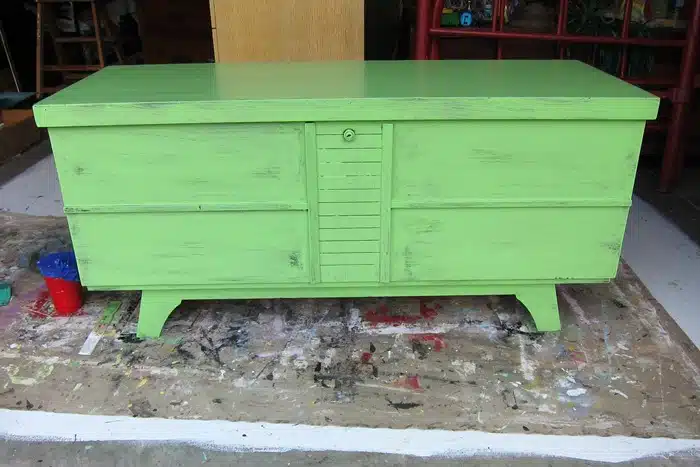
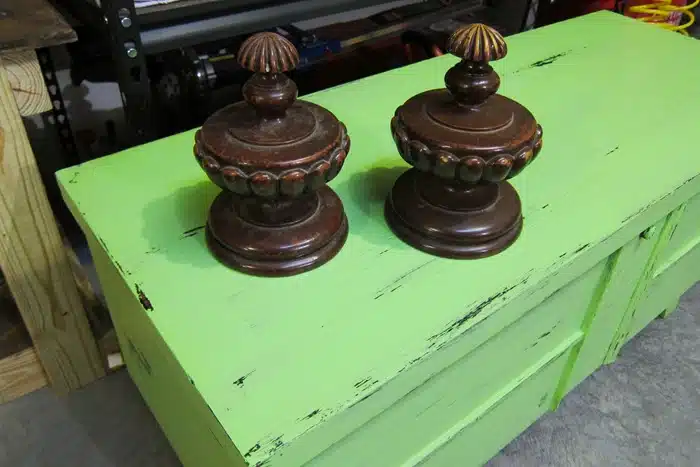
The cedar chest turned out just like I hoped. I need to use this paint technique more often.
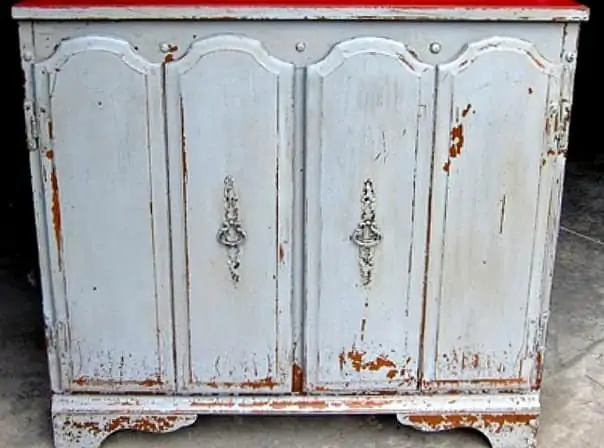
So, what do you think of the layered paint? Would you prefer colors besides green and black? I’ve layered gray paint and pink paint where small bits of pink can be seen under the gray.
Do you think it’s okay to make an old cedar chest look stylish and new or should we leave them with their original finish? Leave a note if you have time and thanks for being here, Kathy


Hello:
I found this site with a little research for cedar chests. Your details on painting and recovering one, have been interesting and helpful.
So, I have 2 old cedar chests, about 4 feet long, and one is, of course, a Lane– with some of the original papers. The nameless one is pure cedar, in and out, and could use a stain refinishing. .
Whereas, the Lane has a yellowish finish, with that black-speckled look wihich usually means it is not “real’ wood. I would not mind except that the outside is in worn, scraped condition. The inside is flawless, as is the inside on the other, nameless one. As an aside, I have never particularly cared for the “distressed” look, except on small items used in a ‘themed’ decor, like a beachside restaurant. I think either of the 2 solid colors you used look better. than what you wound up with.
Anyway, my Lane has a fabric-covered cloth lid, with a needlepoint look in white roses, green leaves, and green stripes–fairly good condition.. The hardware handles are brass and similar (I think) to 60’s dresser-drawer hardware, but the knobs are missing. The support boards (long supports, not pointed legs per se) are chipped and cracked. What do you think of removing them (a few nails) and replacing them with some actual legs? Any suggestions?
I understand the green color is not for everyone!
Get with it!
Thank you!
Have you tried using Goo Gone on the tape?
I understand the green color is not for everyone!
Do not like the florescent green at all. Better black. S
I have an old cedar chest I’ve been debating over what to do with. I got it at the habitat restore and whoever donated used duct tape to keep the door closed. The residue from the tape is pretty stubborn. So I may go for this effect. Maybe blue on black instead.
Hi Kathy
I think it has the perfect amount of distressing. I agree it’s a brilliant technique for letting the base colour show through. Would look great in a Boho room or with lots of plants 🙂 Francie
I have an old cedar chest that I would very much like to repair and paint!
I liked it without the green paint. It was prettier black.