$7 Upcycled Table: Rusty Iron Base And Reclaimed Wood
As an Amazon Associate, I earn from qualifying purchases.
Shopping flea markets and junk shops pays off. I find inexpensive decor accessories for my home and reclaimed items I can put together to make “new” home decor. There are two good things about this process: My home is decorated on a budget, and the decor is unique and personalized.
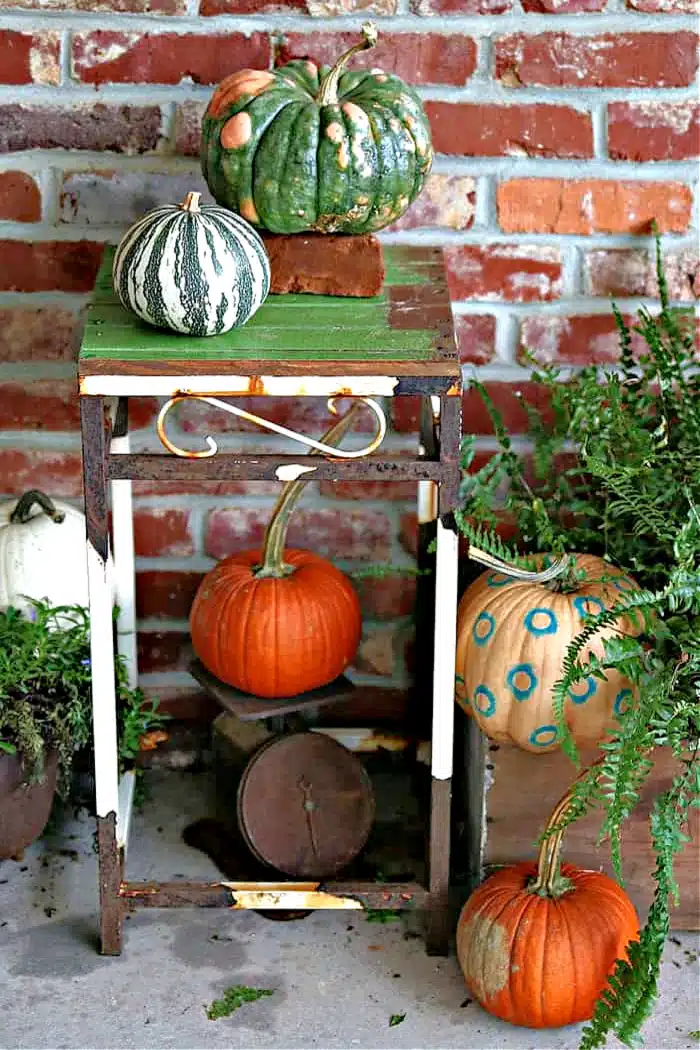
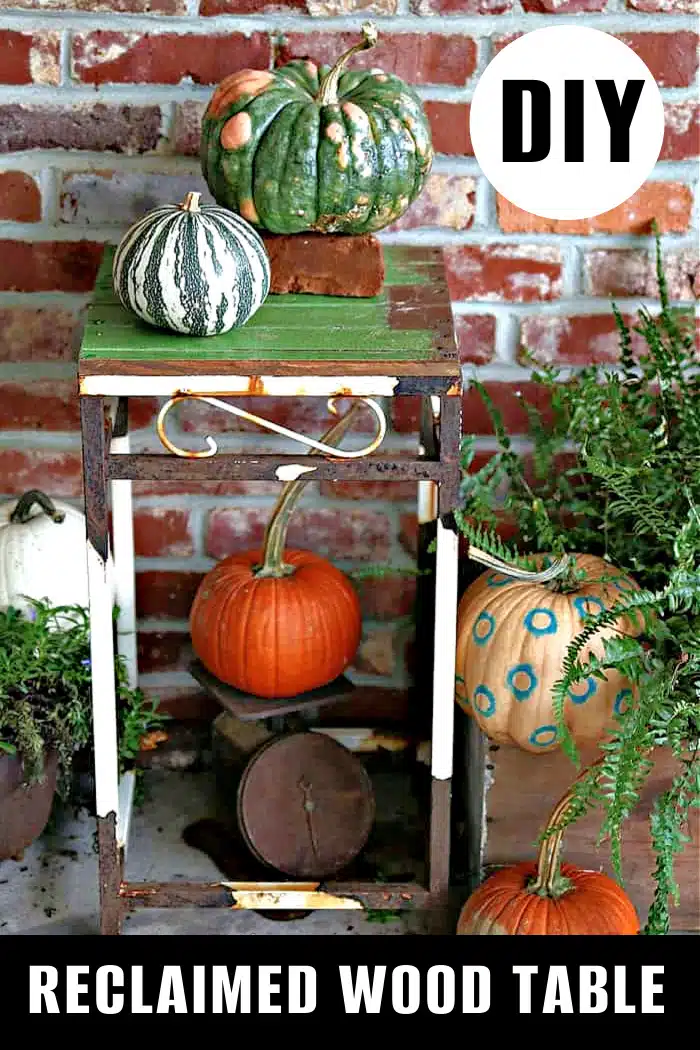
The table project I’m sharing with you today is an example of what I am talking about. The iron base I found at my favorite junk shop was only $5. I just bought it a few weeks ago.
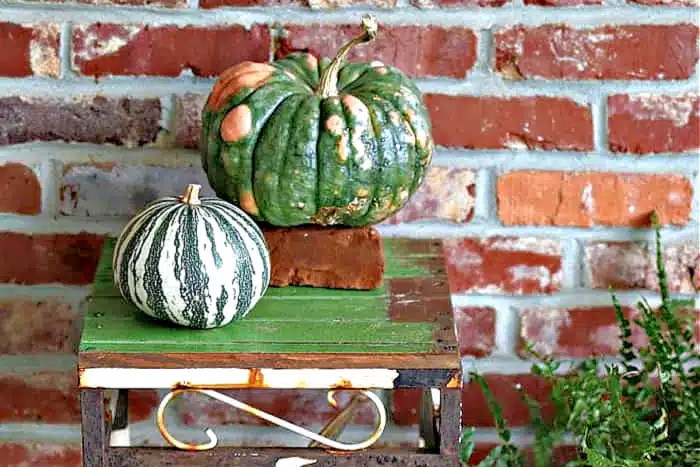
The green tongue-and-groove boards we used to make the table top are from the Nashville Flea Market, and I’ve had them for years. I don’t remember the cost, but it was probably less than $5, and there were a number of the boards in the bundle.
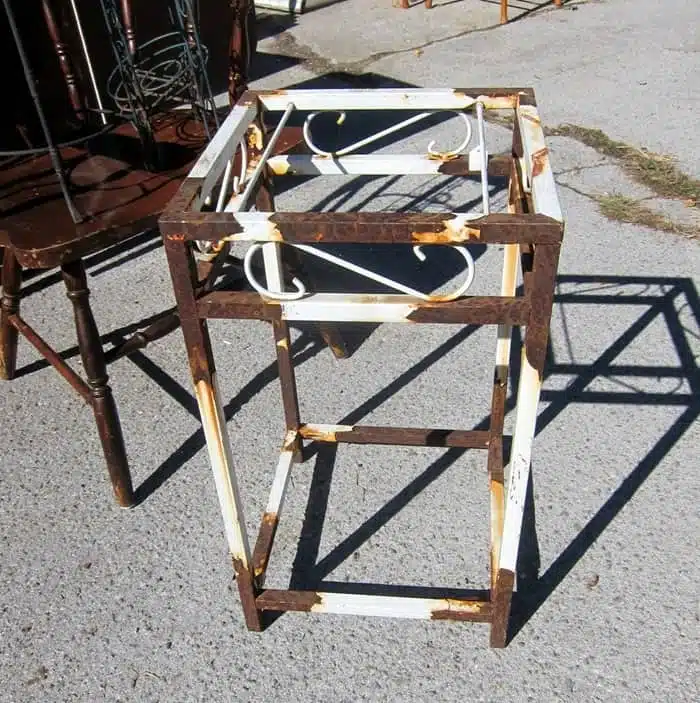
As you can see, the iron table base was a mess. Most people would look at it and take a pass. I see a beauty with rust and worn paint.
The JTS (aka Junktion Technical Specialist, aka hubby) helped put the table together. Okay, maybe he did most of the work but I came up with the plan!
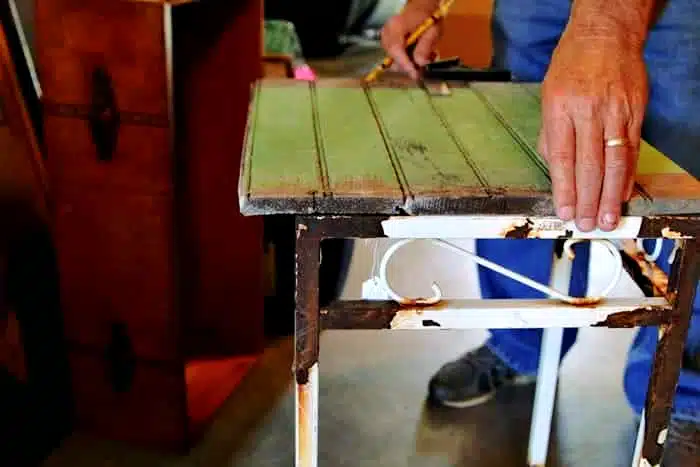
He carefully measured the boards for the tabletop. We used three of them, and I think I had four or maybe five. The pieces were short, but the green paint was so pretty, and the tongue-and-groove boards had character.
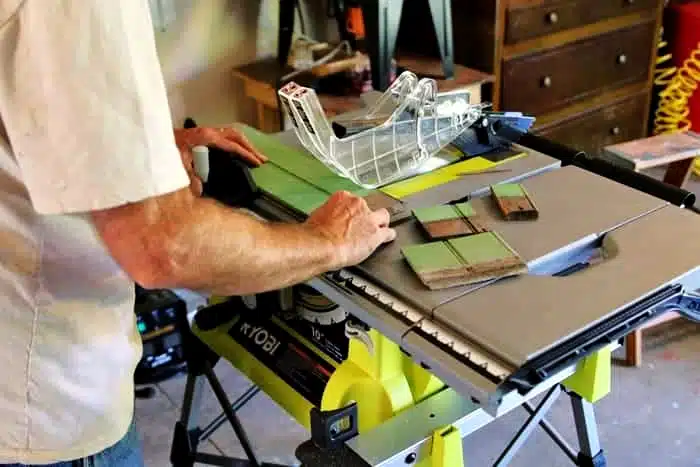
He cut them using a table saw, which made me nervous. I don’t mind using circular saws or miter saws, but table saws,, not so much.
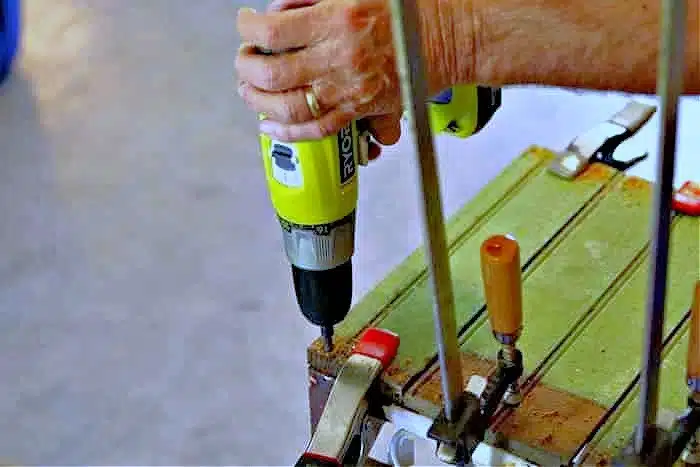
Then he attached the boards to the iron base with screws, first drilling holes through the wood and iron.
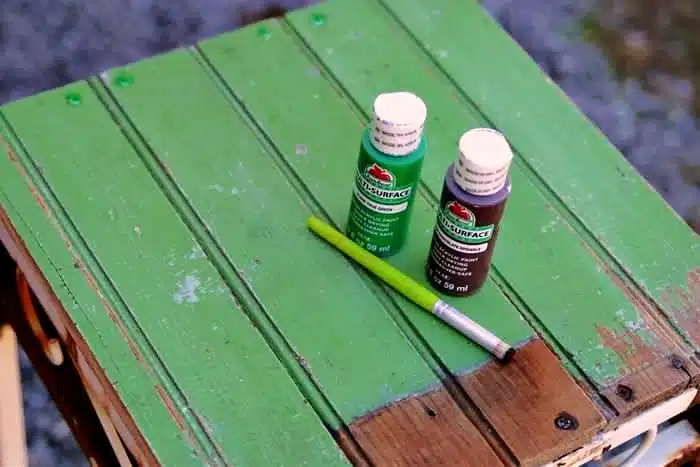
I painted the tops of the screw heads so they would not be all bright and shiny. I found green paint in my stash that matched the green pretty well and then brown paint for the pieces of wood where the green paint was worn.
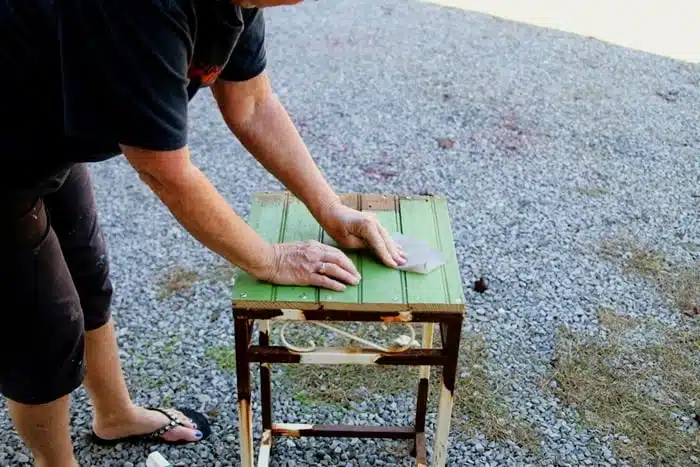
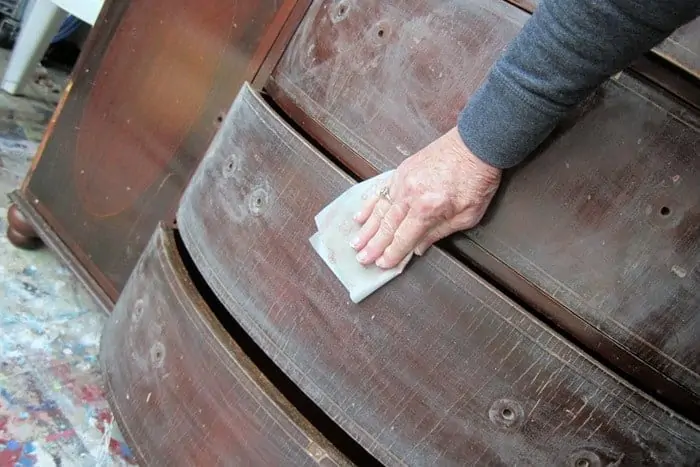
The next order of business was to clean and sand the wood and the iron. I used sandpaper and sanded the wood by hand just to remove the rough spots. Then I cleaned the wood with Simple Green.
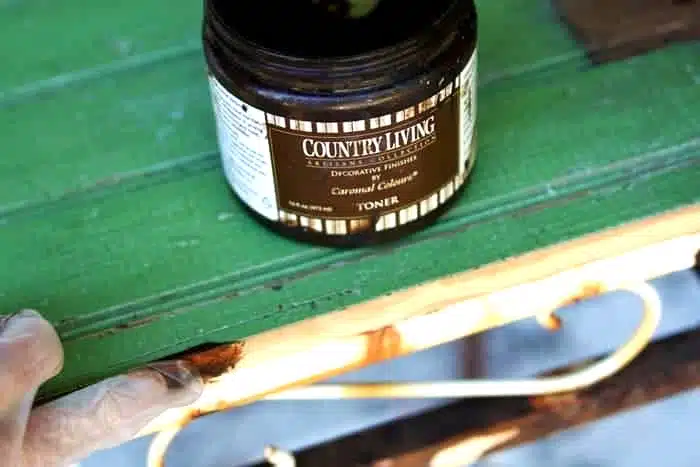
The secret to giving the reclaimed wood a bit of a sheen and great depth was the Caromal Colours Toner. I applied toner to the raw edges of the cut wood to age it, and I also used the toner over the green paint to darken it just a bit.
I use the toner a lot. This is the description from the company website….Caromal Colours Toner– Used to bite into and stain sanded wood edges giving a natural distressed look. It has enough “grab” to hold onto metal leaf, making it perfect for gilding as well.
I use the toner to age paint and make it look old like I did on this table painted with milk paint. How To Antique Painted Wood Furniture
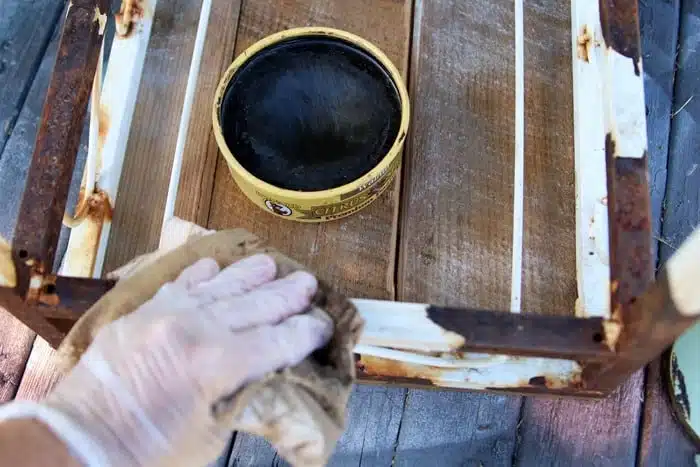
I first cleaned the rusty, chipped iron base and then applied two coats of Howard’s Wax, walnut color. The wax protects and seals in the rusty stuff and worn paint and also makes it shine. I used the wax on the wood tabletop too.
And that was it. You guys know I love rust and chippy paint. The wax will keep the rust from rubbing off on our hands plus protect the iron. The table is meant to be used outdoors and it’s perfect for that.
Don’t you just love all of those pumpkins? I like different varieties and different colors. I display them all throughout the house during the Fall season.
I wish all of you had a handy guy like my hubby. I could have put the table together, but it would have taken me a lot longer. Maybe you do have a handy guy (or gal) at your house. Do you?
Did you see my “Eclipse Pumpkins”? (here)
That’s it for me. What do you think of the table? Thanks for being here, Kathy



I love it!! I think it’s perfect!!
just my style. love it!!! your husband is a good guy!
Angela from NJ
Kathy,
This is one of my favorite projects of yours. Kudos to you for seeing the beauty in the rust. You do have an eye for putting things together!! And making the results look they were meant to be. Keep junkin’!
Absolutely love the table, Kathy! Thank the JTS for his expertise on the table saw – I’m scared of ours too. It’s a perfect size to use anywhere. I love projects that are easy & fun!