How to Paint Window Shutters The Easy Way
As an Amazon Associate, I earn from qualifying purchases.
This is a detailed tutorial on how to paint vinyl and wood house shutters easily—there is no need to brush the paint on all those louvers.
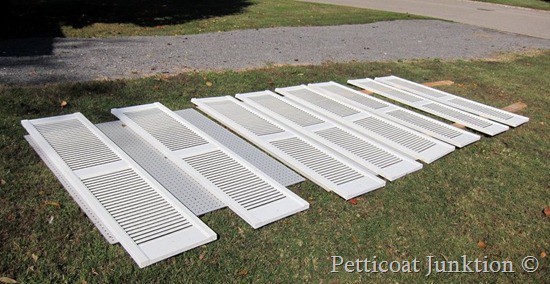
The shutters on our home are vinyl and very white. Our house was built in 1967 and has been ours since 1988. At some point, we removed the wood shutters and replaced them with vinyl shutters.
How To Paint Vinyl Or Wood Window Shutters
These are the steps we took to remove the shutters, paint them, and reattach them to the house.
1. Remove the vinyl shutters from the house.
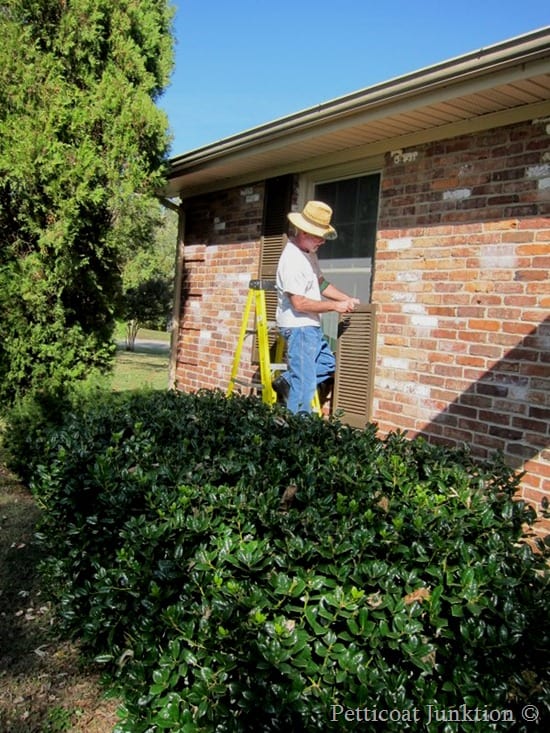
You will need a ladder and screwdriver or electric drill. Remove the screws attaching the shutters to the house. You never want to paint the shutters in place. Hubby took the shutters down while I was at work so no pictures of them on the house or him removing them.
2. Mark the window shutters for placement.
When taking the shutters off the house, be sure to mark them so you know which ones go on which windows. This is very important because although the shutters are all the same size, the screw holes in them and the screw holes in the exterior brick (or siding) may not be the same from window to window!
One way to mark them is to number them on the backside. Start at the left front side of the house with number one and mark the top of each shutter as the top. Just don’t paint over the markings; that would be bad.
3. Wash the window shutters.
Use a garden hose or pressure washer to remove dirt and stains from the shutters. Heavily stained shutters may take a little elbow grease. Let the shutters dry for a couple of days.
4. Set up the shutters for painting.
You can lay the shutters flat or lean them on something to paint. We have done it both ways. I prefer to lean them against a fence or something similar.
Just be sure to cover the fence with plastic or a drop cloth to protect it or other items from overspray.
5. Paint the vinyl or wood shutters using a paint sprayer
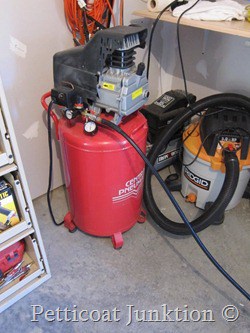
The easiest way to paint shutters is with a paint sprayer. There are two basic types of paint sprayers. One type is a paint gun you connect to an air compressor.
The second type is a spray paint gun that has a motor. You just plug it into the outlet and it’s ready to go. This type is great if you don’t have an air compressor.
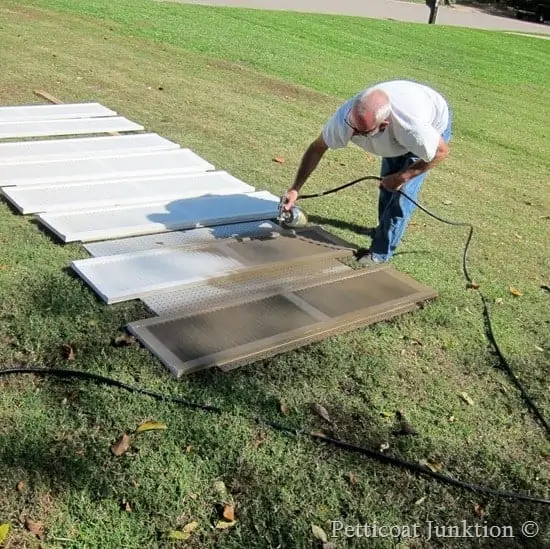
I love the HomeRight Finish Max Spray Painter. (here on Amazon) At the time we painted the shutters I didn’t have the HomeRight but I do now. JTS painted our shutters using a paint gun connected to an air compressor.
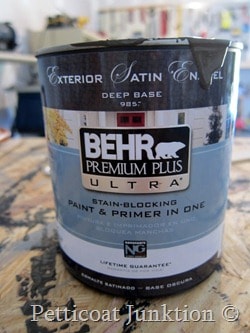
The paint is Behr Premium Plus Ultra paint and primer all in one. I chose a dark brown to go with our new roof. We had to put on a new roof in the spring after all the hail storms.
Who gets excited over a new roof! Me! It’s a lighter color than our old roof and really updates the look of the house.
And this is how easy the job is. Really, even if I was doing it I would say it was easy. Trying to paint louvered shutters with a brush is a lot of hard work.
6. Rehang the newly painted window shutters.
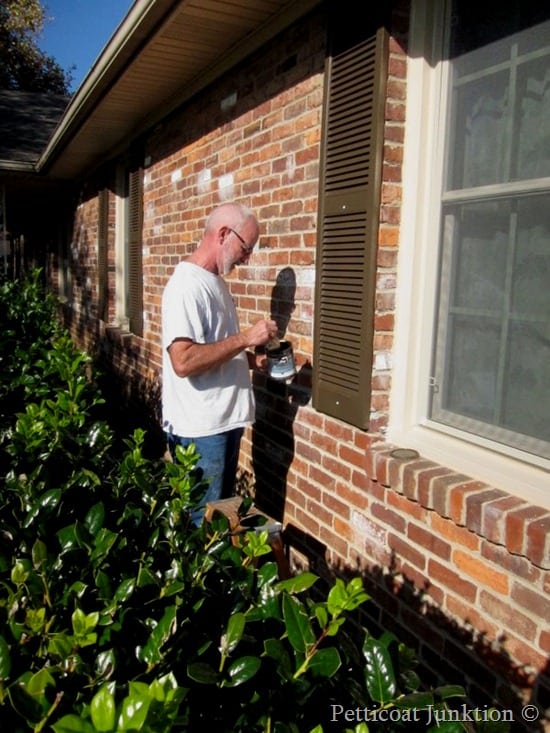
Once the shutters are completely dry it’s time to put them back up. Hubby put our shutters back up the same day he painted them. The paint dries super fast.
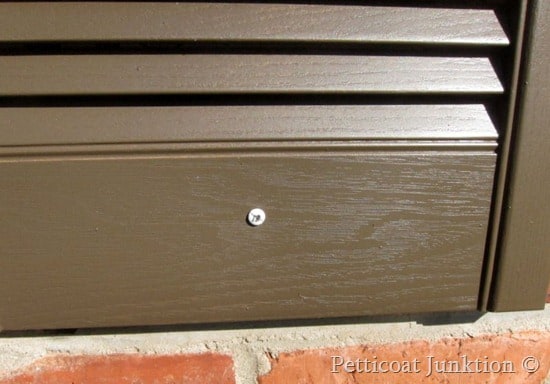
See this screw. How could you miss it, right. Just paint the screw head with the shutter paint. Easy.
We recently painted our louvered closet doors with the Homeright Paint Sprayer and I made a short video of the process. See it below…..
[adthrive-in-post-video-player video-id=”yPCuxGFw” upload-date=”2019-09-26T14:54:46.000Z” name=”Painting Louvered Doors” description=”How to paint louvered doors.” player-type=”default” override-embed=”default”]
How To Paint Louvered Closet Doors
Wow, those shutters look so much better. I painted our front door and the metal around the glass storm door (see the tutorial for the doors here). We also bought a pair of new light fixtures for the front door entryway. These home improvement projects are easy but take a little time.
Now you know how to paint your home’s shutters. Put the hubby to work this weekend or do it yourself. Thanks for being here and have a great day, Kathy


Thanks Kathy! I found your site yesterday when googling spray painting shutters! Nice job here! 🙂
Lisa, I think 1 gallon would be more than enough and yes we did thin the paint with water. I don’t know what ratio but probably 1 part water to 3 parts paint. It’s something you have to play with! Let me know how it goes. That’s a lot of shutters!
About to do this with the same paint and renting a sprayer from Home Depot. 2 questions:
1. Did you have to thin the paint?
2. How many gallons paint did you need? We have 18 shutters!
Thanks!!
Oh how I wish you had posted this about a month ago! When it was warm. My husband told me I could paint our shutters because they are fading. There are only two, on the front of the house.
Thanks for the instructions! I am going to paint them 1st thing in the spring! (we live in Ohio, it’s too cold now)…
Julie, I do have a picture of the whole house and I am going to post it. I am writing a post on painting the door with more pictures. Thanks for asking
Love the painted shutters. Do you have a picture of the whole house with them up? We had white shutters, I hated them and they were falling apart so we were going to get vinyl ones. Couldn’t decide on a colour so I roughly painted one set a charcol gray and they stayed there for about 3 years with 1 set gray and the other 4 white! It bugged some people like crazy, but you would be surprised how many people didn’t even notice we had one set of shutters a different colour! We have now taken them all down, but still haven’t replaced them.
Love your site!
Julie