Stencil Tutorial- Easy How-To
As an Amazon Associate, I earn from qualifying purchases.
Some of my favorite things came together in this Stenciled Turquoise Wardrobe project…turquoise paint, red paint, stencils, and vintage furniture.

Lots of cool stencil designs these days and lots of stenciled furniture on Pinterest. I wanted to try stenciling on furniture but was afraid I couldn’t get everything centered and lined up and whatever! This one was easy believe it or not.

before
One of my best Nashville Flea Market finds, only $30. The hanger thingy was on the floor and some of the veneer was peeling off but all-in-all a great deal. The Junktion Technical Specialist screwed the hanger thingy to the inside top and we were good to go. I glued and clamped the peeling veneer and didn’t worry about the missing veneer.

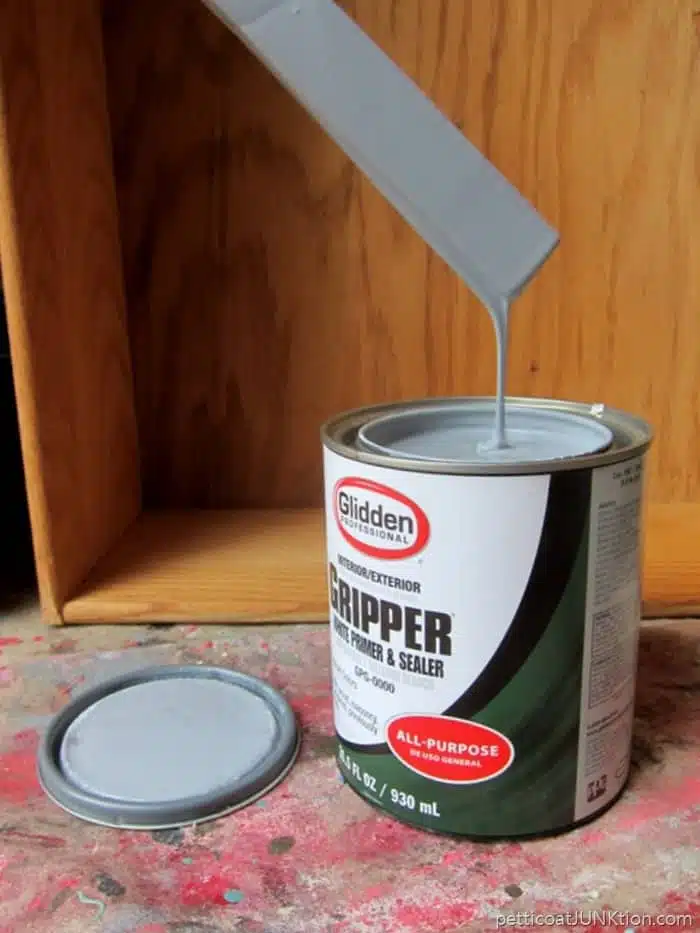
For the paint finish I chose Behr Primer and Paint all in one.

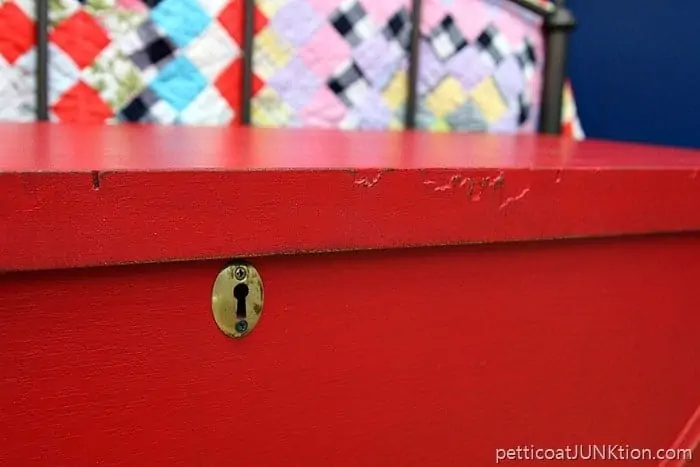
Surprised? I was going with turquoise accents on the inside but they would have been just too boring! Ya’ll know how I love bright colors. So I used some oops paint in red for a pop of color. I’ve used this red paint before on the Cedar Chest makeover using the vaseline distressing technique and on the small Two-Tone Cedar Chest I distressed using the wet shop towel technique. Distressing furniture is one of my favorite things and there are all kinds of ways to achieve the distressed look.
On the outside she’s all classy looking….. and on the inside….. a little whimsical. I distressed the drawers so the white paint would show through and I also distressed the chandelier just a little.
The stencil chandelier is one of my favorite stencils. There will be a post later this week showing the stencils and the technique I used for the door fronts and the chandelier.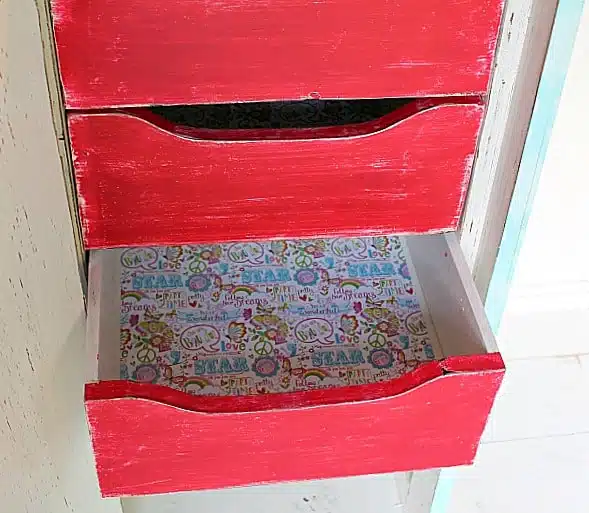
Scrap book paper in the drawers adds another special touch.
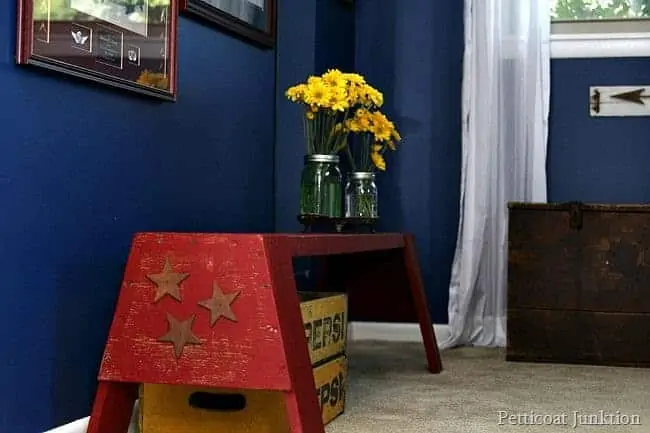
I added some of my granddaughter’s dress-up things for the staging.

Little girls love to dress- up
Stencil Tutorial Including Tips And Tricks
Stencil Tutorial

This chandelier stencil from Hobby Lobby has been used before. Can you tell? I’m bad about washing the stencils after I use them. Anyway, the first step in stenciling is to tape your stencil in place.

Find a stencil brush, yes this is a must have. I use a real brush not a sponge brush. Dip the brush in the paint and then dab it on a paper towel until the brush is almost dry, really, really, dry. You can always add more paint but it’s hard to remove big globs of paint once they are there. Next swirl your paint on by moving the brush in circular motions….do not pounce…circular motions with the brush.
The secret to stenciling…..ready?…..is a very, very, dry brush. The other secret is…use any paint…it’s doesn’t have to be stencil crème. There….I said it. You can stencil with latex paint, acrylic paint, oil based paint, even stencil paint.

Sorry, no pictures during this process. I didn’t plan to do a how-to but the JTS grabbed the camera and took some photos of me stenciling the front of the doors. After you use a dry stencil brush and your coat of paint is dry and you think you are finished there is one more step that adds dimension to your stencil. I used black paint and a really dry stencil brush and just hit points here and there on the stencil with the black paint. Can you see it on the photo? It doesn’t have to be planned and exact…..just a few touches. This really makes a difference and gives the stencil depth. Next…

I purchased this stencil at Hobby Lobby. It is by Stencil Ease and the style is Verona Tile. It says for Wall and Floor but it worked great on my furniture piece. I laid the wardrobe on it’s back and taped the stencil on. Then I decided that wasn’t a good plan because the doors shift a little when standing up. You know none of the doors line up on furniture!

So I stood it up and used frog tape to hold the stencil in place. I started in the center of the wardrobe at the top of the doors. I wanted the stencil to flow across the center wood divider and cover the doors completely.

Update October 2017. I have a stencil tutorial for you! It’s me at work, lol.
At this point the JTS wandered in and picked up my camera. I usually refrain from taking photos of myself and posting them here. Anyway, this is me, stenciling. I used white stencil crème and a very dry brush and stenciled, and stenciled, and stenciled. The stencil has very small register marks on each corner that shows you how to line up the stencil when moving to the adjacent area. You either use paint on the register marks or use a pencil. I found these marks to be smaller than the ones on stencils I’ve used before.

swirling the brush….no pouncing

The hinges on the doors were an obstacle because the stencil didn’t lay flat. You just have to work these areas as best you can! I think I did an awesome job!

You can see the stencil is not evenly painted but it is straight. This is the look I was going for. I didn’t want the stencil to be perfectly painted and I used a sanding block to rough it up a little.You guys knew that was coming, didn’t you??

Beautiful fresh blue in the stencil, looks really cool.
It turned out great! Love the stenciling!
I do believe I can do this now! In the past, many years ago, I tried stenciling and it turned out terrible. I vowed I would never attempt that again………until now. With your tutorial, I see what mistakes I made (I pounced)and I will now “swirl” the brush. Yes, Im going to do this. Thank you!
I love your stenciled piece, its a matter of fact I love stencils period. I have come up with a very unconventional way to use a stencil I would love it if you could visit my blog for the full details or Home talk. Your furniture redoes are wonderful keep them coming
Thank you so much for the tutorial, Kathy. I will look for stencils at Hobby Lobby to use. Can’t wait to try.
Thank you! I’ve never been successful at stenciling. I’m such a perfectionist that even the tiniest little stray bit of paint drives me nuts and I spend hours touching it all up. BUT, I’ve always pounced! I’m going to try your technique…can’t wait to give it a “swirl!”