Make Upcycled Christmas Card Tree Ornaments
As an Amazon Associate, I earn from qualifying purchases.
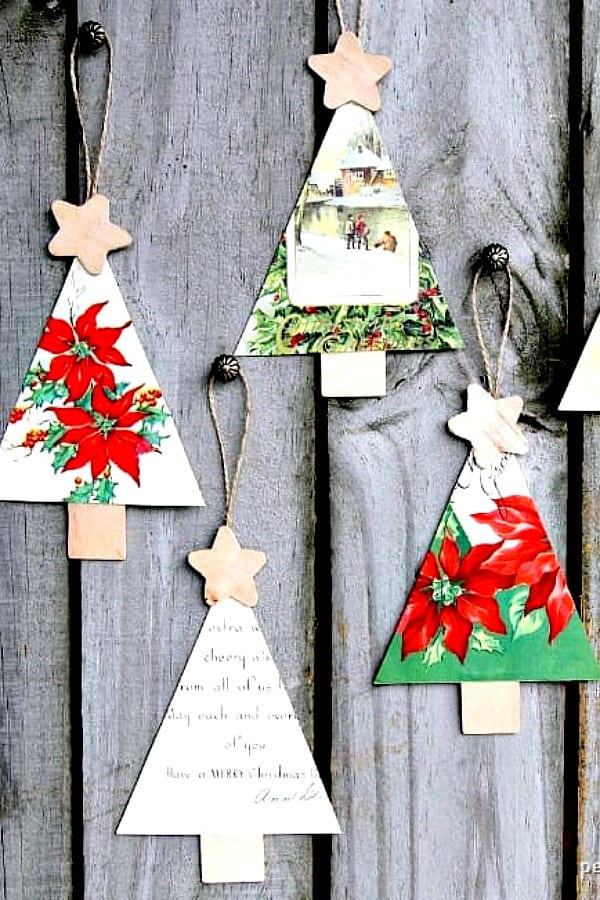
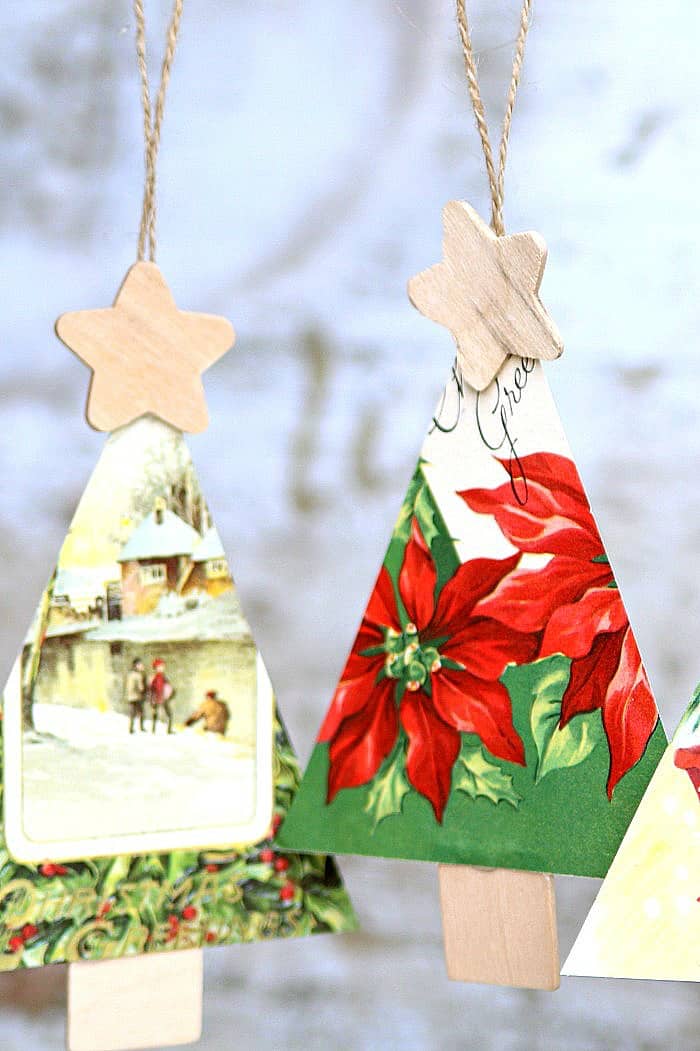
Make unique upcycled Christmas card tree ornaments this year using your favorite cards from friends and relatives or pretty vintage Christmas cards.
If you don’t have a stash of Christmas cards saved from years past you can find them at flea markets, antique shops, and on eBay.

It may be too early for some of you guys to think about Christmas decorating, but for all the DIYers out there, it’s time. Local hobby and craft stores have had Christmas craft supplies in store since July…or maybe earlier.
How To Make Vintage Christmas Card Ornaments
You can also use new Christmas cards for the project. The ornaments are so easy to make you can get the kids involved and besides being pretty they are budget friendly.
Also, a good way to save memories! I put the ornaments together in no time flat. I chose red and green cards for the ornaments. It would be fun to select cards to fit your specific color scheme.
Vintage Christmas Card Supply list:
- Christmas Cards, new or vintage
- wood star shapes and wood pieces for the trunk
- twine
- template for body of tree, I cut mine from the back of a Christmas card, and the base is 4″-5” across.
- hot glue sticks and glue gun

Putting The Christmas Ornaments Together
I cut a template for the body of the tree from the back of one of the Christmas cards. I didn’t worry about it being perfectly symmetrical. Little tiny trees would be cute too.
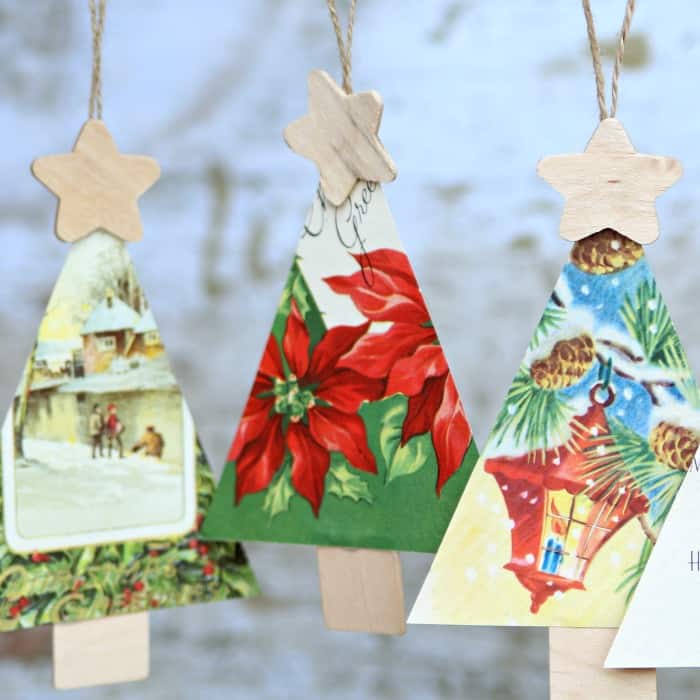
To complete each tree, you need one wooden star tree topper, one square or oblong piece of wood for the trunk, and a piece of twine or ribbon for the hanger.
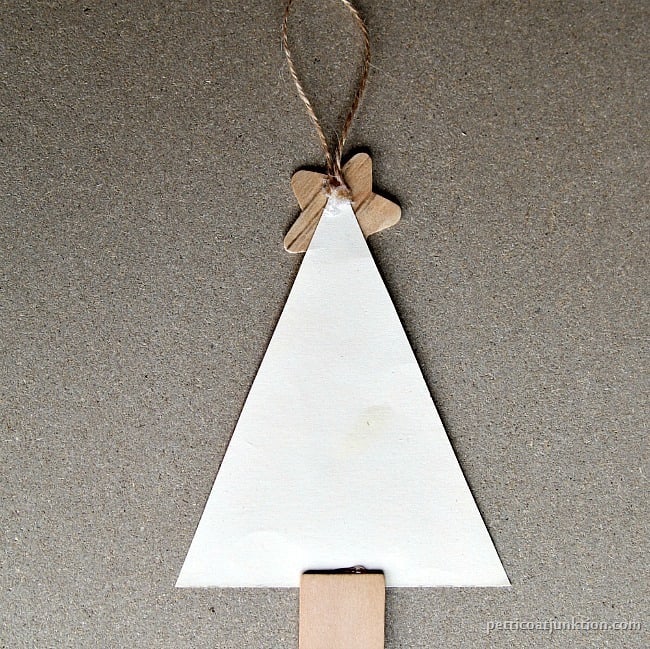
I used hot glue to put all the pieces together. In my book, hot glue is the answer to everything. The tree ornament isn’t heavy, and I think hot glue will work just fine.
You could actually make the ornaments two-sided by just adding another tree body and a star to the back side.
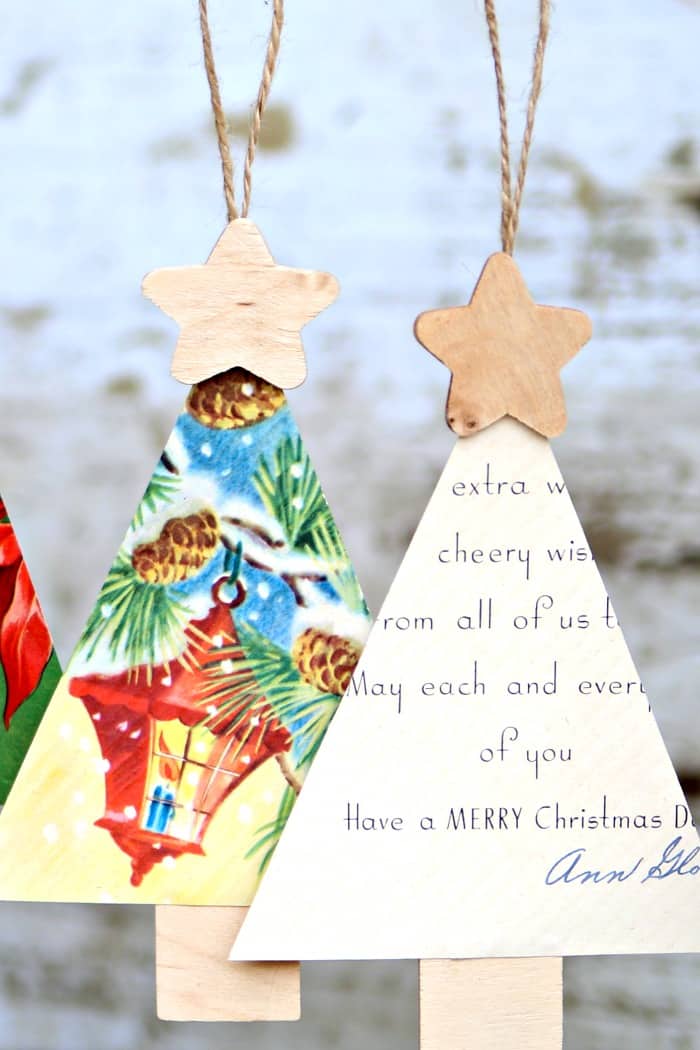
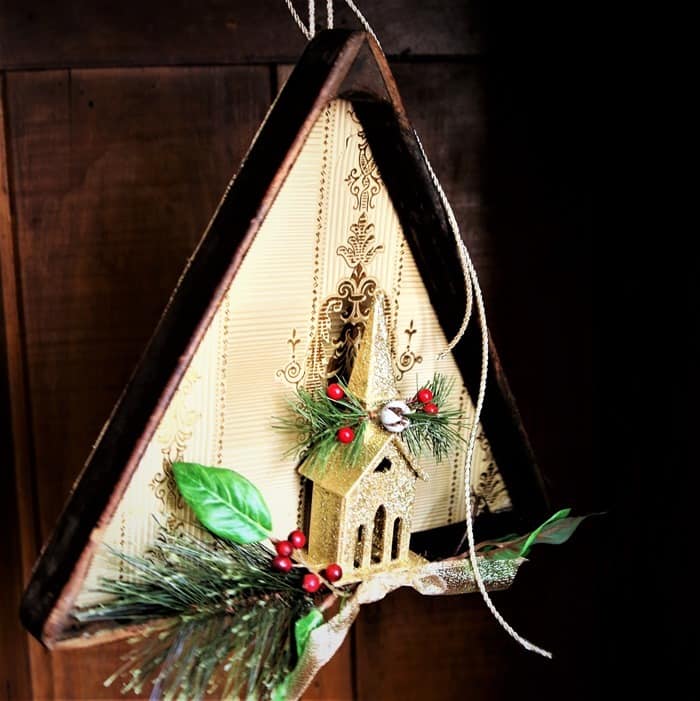
I’m in love! When cutting the tree body, make sure you place the template over the pretty part of the card, or choose a focal point and place it, like the lantern on the tree above.
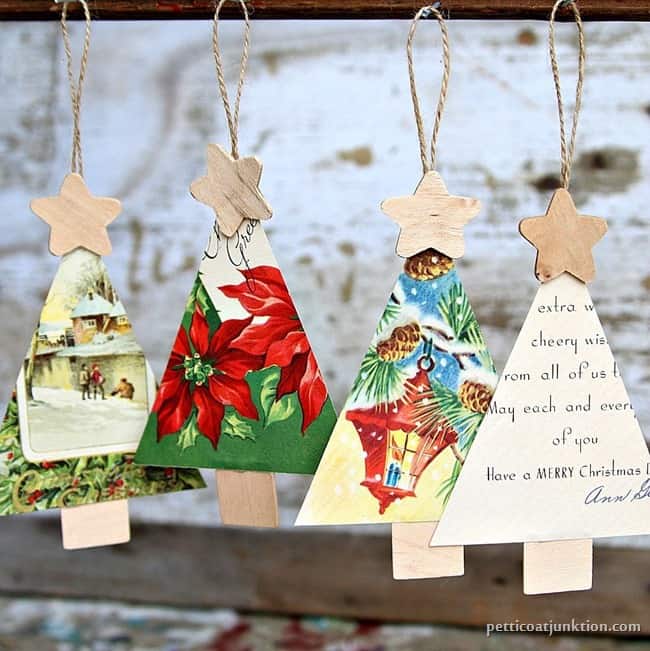
Time To Hang The Ornaments
I told you this project was easy. I was going to use some new Christmas cards too but the vintage ones were so pretty I stuck with those.
You could also make the tree ornaments out of photos, drawings, magazine covers, just about anything!
This is a great craft to do with the kids. You could also get everyone together after Thanksgiving dinner and put together a few tree ornaments.
I bet star ornaments from vintage Christmas cards would be pretty too. I’m just full of ideas. What other ornament shapes would be fun?
Besides being inexpensive to make the ornaments are easy to store from year to year and also easy to ship so they make perfect gifts.
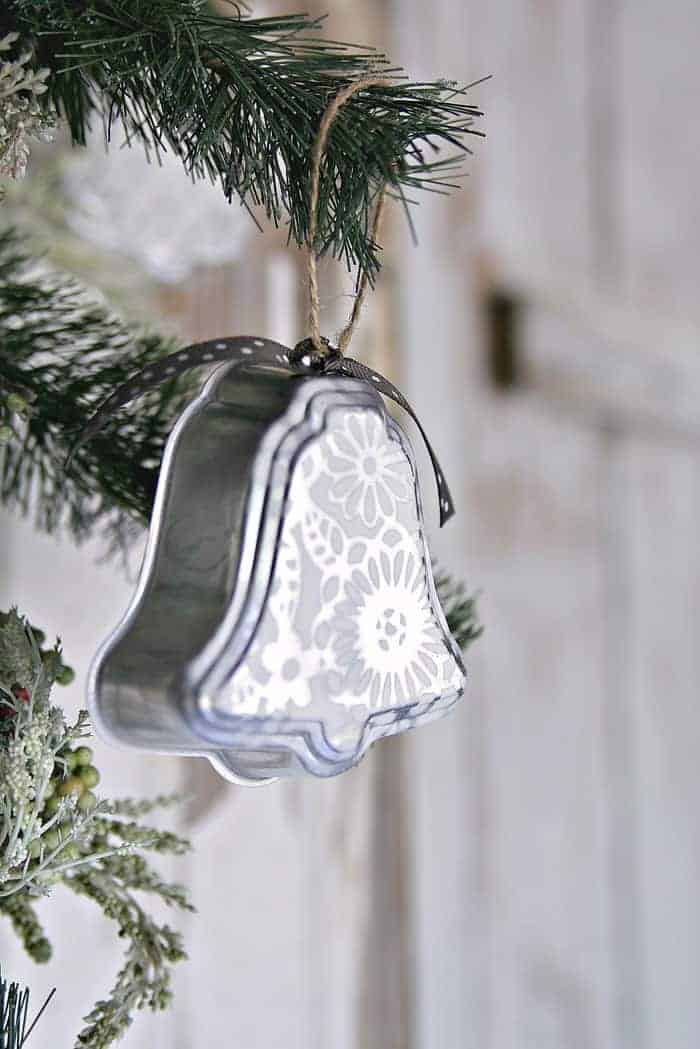
I made the silver bell ornaments above. Learn how to make them here.
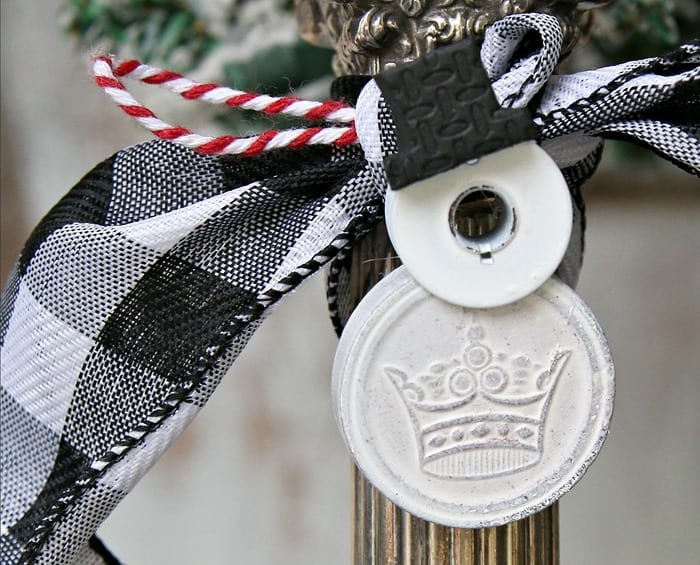
Or make snowman ornaments using old checkers, ball jar lids, washers, and other things from your junk drawer. Find the tutorial here.
I also made the teacup ornaments below and a video tutorial….
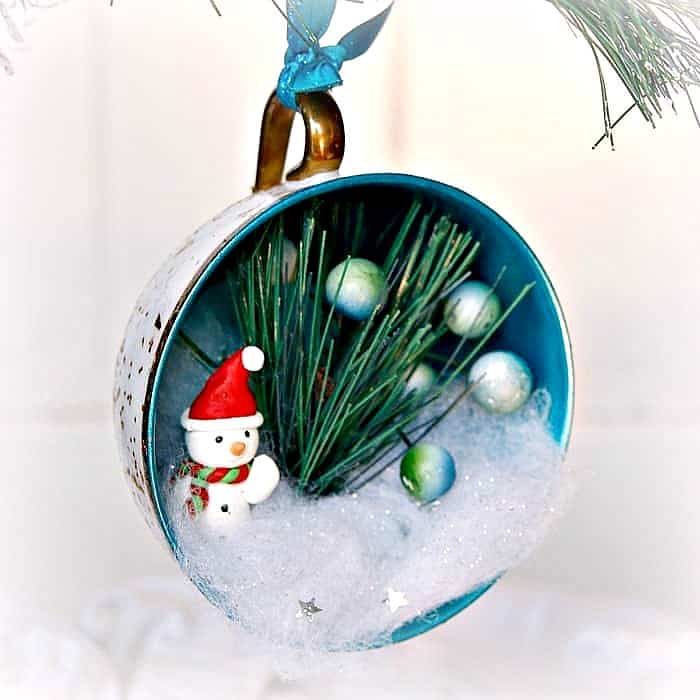
Watch the video below…..
How To Make Teacup Ornaments

I go all out for Christmas. You can find 150 of the best Christmas decorating ideas all in one place here.
I’m really excited to be included in the Handmade Christmas Ornament hop with these talented bloggers. Click the photo links below to see the complete project.
As always, thanks for being here and have a great day, Kathy

Love your idea making trees from the Christmas cards.
I think I got them at Hobby Lobby but you can order them on Amazon too.
Where do you get the stars? Somehow, did not see this!
What a great idea! I think we will use these for our trip to the nursing home.
What a cut e& clever ornament! Thanks for linking up to Merry Monday! Sharing on G+! Have a great week!
Kim
How cute and fun! Pinned it to make this year with the kiddos. Thank you.
That’s a great way to use old cards. I have hundreds from previous years. Thanks for sharing. I have pinned. 🙂
great idea to use for gift tags as well! Never thought to use the wood pieces.
Love this idea! Sometimes I get Christmas cards that are just too pretty to throw away. This would be a great way to use them.
These are so adorable and uncomplicated! Perfect for the holidays!
I adore these to pieces!!
Now I’m kicking myself that I didn’t save my cards last year! Thanks for sharing – pinned!
These are so clever AND pretty. Such a great way to recycle old cards. Thanks for sharing.
Oh I love these, they are adorable! I need to start saving my cards! Pinned
Of course I’m gonna give them a try! I have plenty of old Christmas cards. what a great idea!
These are super cute! I love the idea of using old cards from previous Christmases. I’ll definitely have to make some of my own this year.
Thanks for sharing!
Elisabeth
What a great idea! I get so many cards that I love and this is a way to use them!
Debbie
What a great way to save old cards from landfill or the recycling bin and make something lovely with them – such a simple and versatile idea – love it.
I love this idea!!! I get the most charming cards and even save my favorites from year to year! I’m totally doing this! Thank you xo
Oh, how sweet! I love that you made these with vintage cards! Will have to keep my eye out for some the next time I go thrifting. Such a lovely idea!
Oh girl, I’m one of those who say, it’s kinda early. Buuuuut dang, those ornaments are super cute and you may have inspired me to make some for gifts to my overseas friends (doesn’t weigh much). I save all my Christmas cards and so I have a huge stash to pull from. Pinning to share and refer back to if I decide to make them.
I love this idea to use old cards. And there is something about a tree shaped ornament for a Christmas tree that I just LOVE! Pinned.
Great idea! All that’s missing is the glitter…haha! So going to use it this season. Thanks!
These are so pretty, Kathy! They brought back a great memory I have of a Christmas Card Box that my Grandma had. It was made from old cards and was crocheted together – sort of hexagons with stitching between them (hope that made sense!). I have some old cards and my youngest is always looking for a craft to make. I am seeing an awesome Christmas project for him! Thanks so much for sharing.
What a great way to show off the pretty patterns from vintage Christmas cards! I’ve saved years worth of cards for crafts with my kids at school and this would be something fun for them to make to take home.