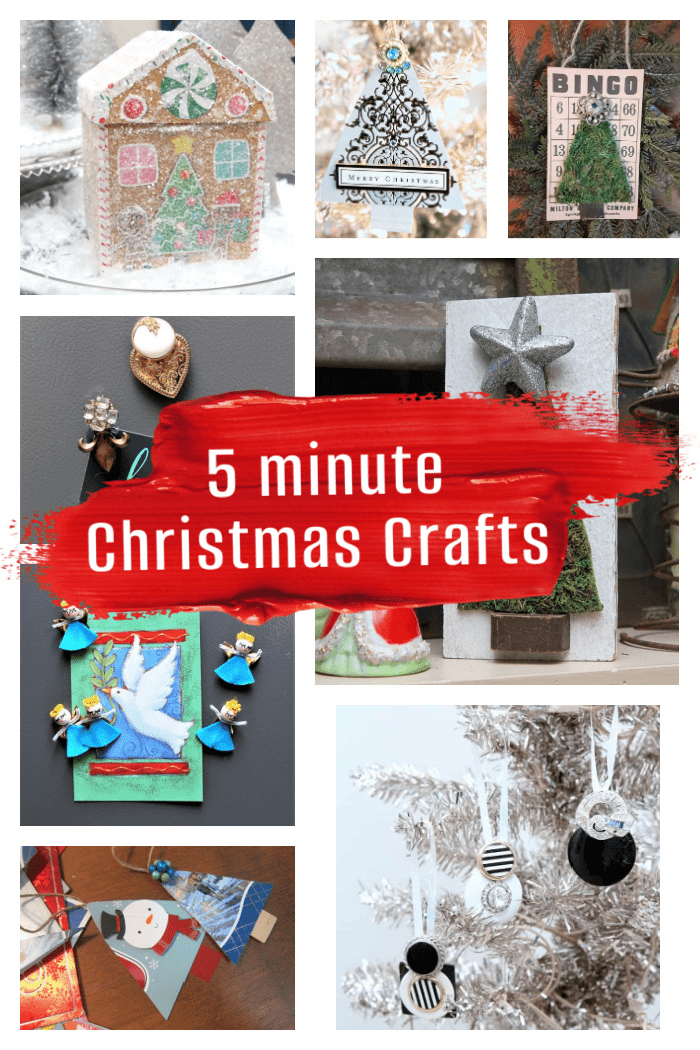
Christmas Decor You Can Make In Minutes
As an Amazon Associate, I earn from qualifying purchases.
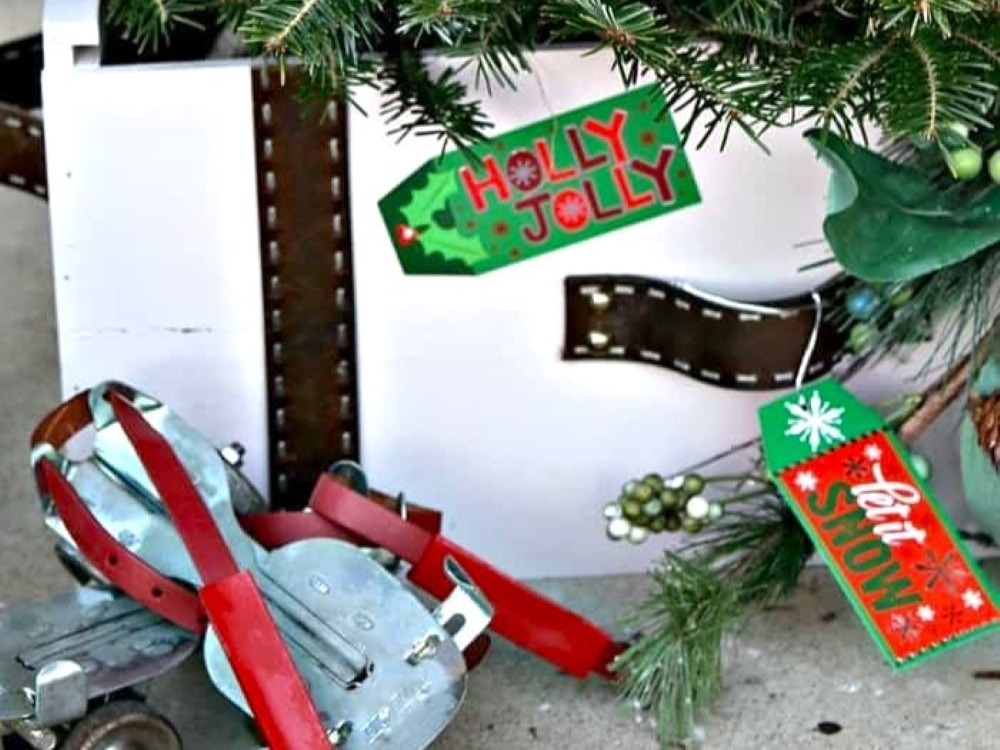
I wanted to share all the Christmas ornaments, magnets, glittery box houses, shutter signs, and other stuff I made this week. I enjoy making anything Christmas. It’s my favorite time of the year. Believe it or not, it’s time to start on your Christmas DIYs.
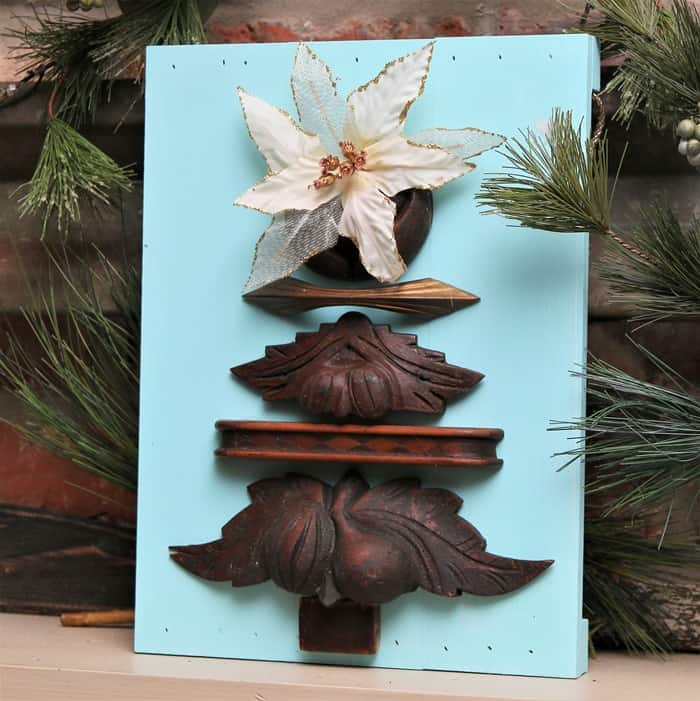
Project 1. Electrical Tape Christmas Tree Decor
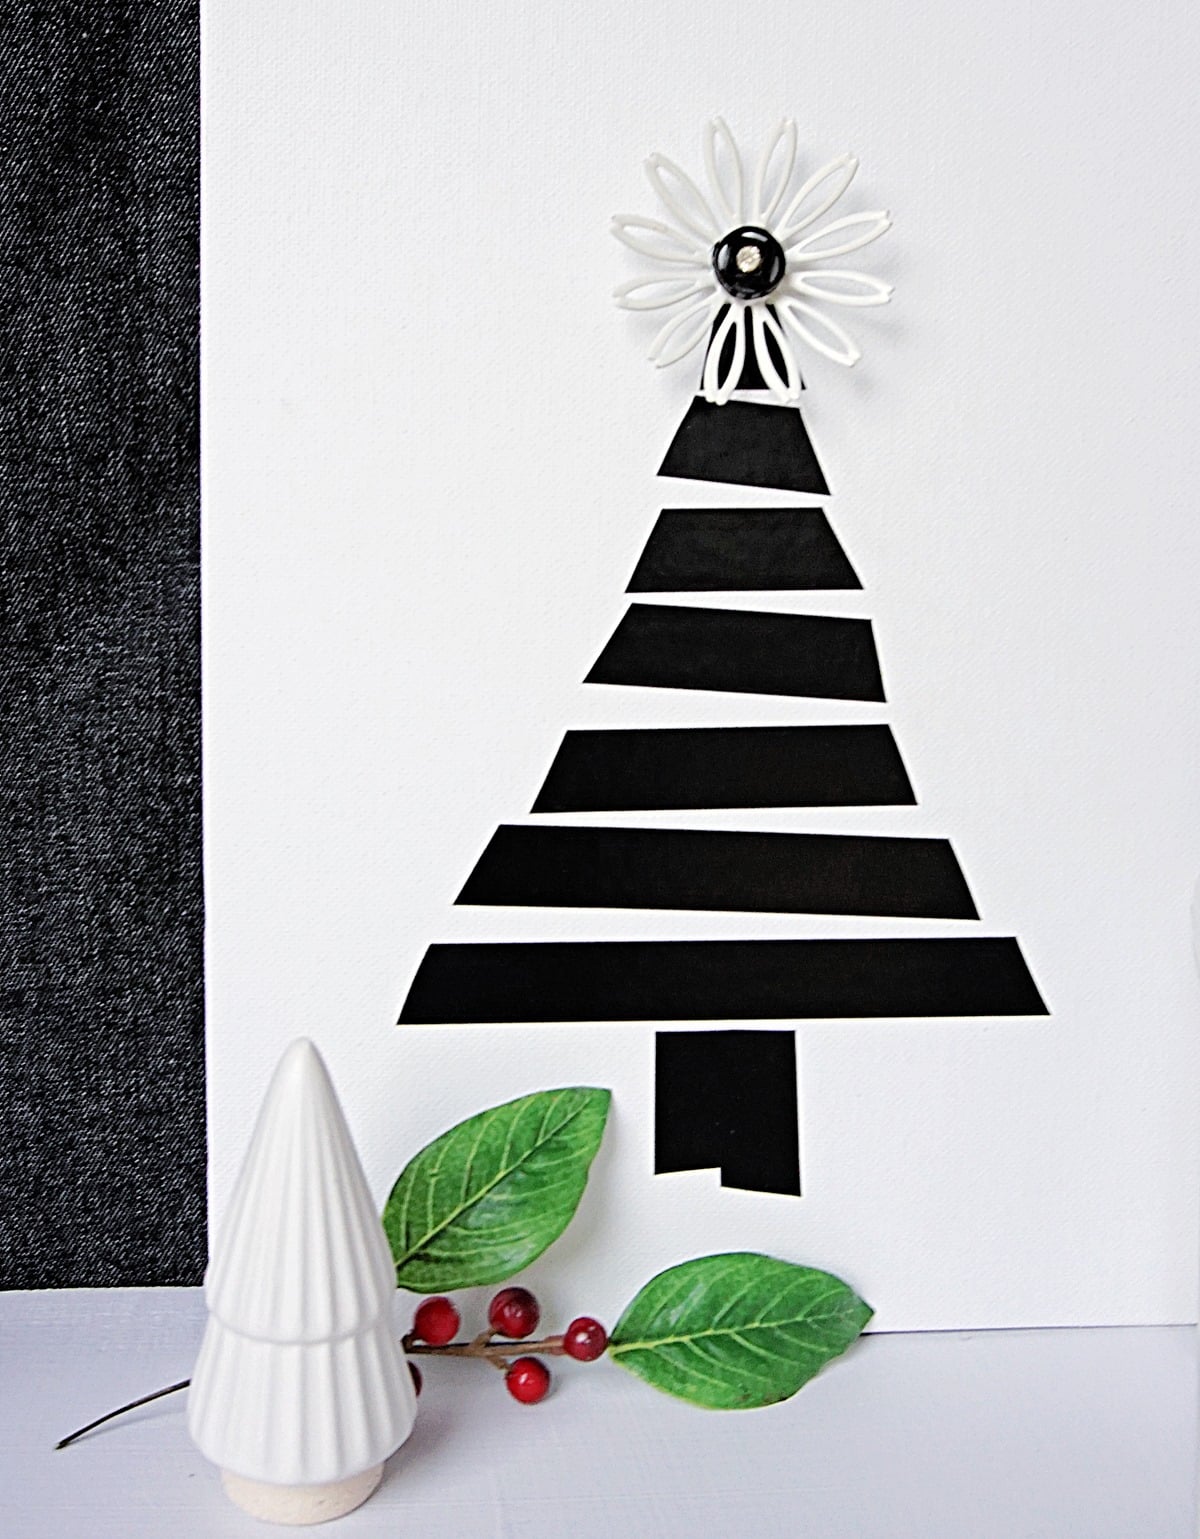
This has to be the easiest project ever. I just used a white canvas panel board, cut stripes of black electrical tape, did not measure, and made a tree. Then I added the beautiful topper, which is a recycled jewelry piece.
Project 2. Christmas Card Ornaments

These Christmas crafts projects are really easy and I especially love the Christmas card ornaments made out of….what else but Christmas cards? It’s a great way to save favorite cards (and memories) from friends and family. You will think of the sender every time you see the ornament hanging on the tree. The photo shows a few of the cards we received last year.

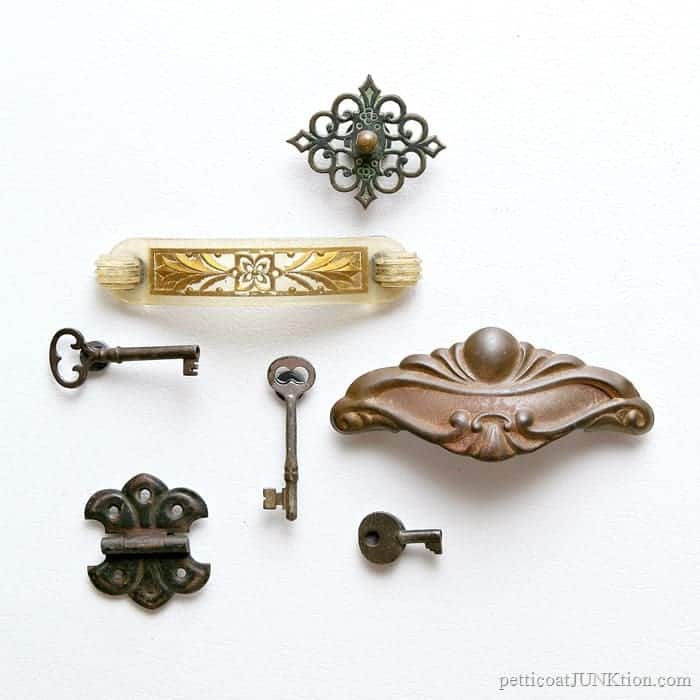
I pulled out my junk jewelry stash. This is just a small part of it. Some of the jewelry is missing stones here and there and some of the jewelry is in perfect condition.

I cut the Christmas cards into tree shapes just willy-nilly. They don’t have to be perfect. For the toppers, i selected a piece of jewelry or I just left the top bare like I did on the snowman card. He didn’t need a tree topper. I used hot glue to put everything together.

The tree trunks are small chips of wood or part of the cut-up cards. I’m not showing all the steps in each project because there are a bunch of projects and you guys will know how to put them together just by looking at them. This pretty card was from my brother and sister-in-law.
")
The snowman card was three-dimensional and I just cut a piece of a red card for the tree trunk, no topper needed. You could also make a garland out of the Christmas card trees!

I had a bunch of options to choose from when it came to tree toppers. Small vintage earrings make great tree toppers. This would be a fun project when you are visiting with relatives or friends over the holidays. Then you could pack them away for next Christmas. Get the kids involved.
Project 3. Jewelry Ornaments

I took some of the jewelry pieces and made ornaments. I selected these black and white pieces to work with. I cut or pulled the backs off of the earrings using a pair of wire cutters.

I used simple white curly ribbon for the hangers and again, I used hot glue to put everything together.
Project 4. Jewelry Magnets
")
I made refrigerator magnets using pieces of jewelry. I like the fleur dis lis magnet with the rhinestone face. ‘When making refrigerator magnets, you should use strong magnets like these. These would make great Christmas gifts!
Project 5. Vintage Angel Magnets

The little angels are vintage package decorations. I’ve had them for years and I never could decide what to do with them. They are so pretty. The picture above was cut from the video I made and the colors are off.

To make the vintage angel magnets I cut the pipe cleaner stems off and hot glued heavy duty magnets to the back of the angels. I put two of them together on one magnet because the skirt on one was torn and showed white.
Project 6. Bingo Card Tree Decor
")
The next project was inspired by a roll of moss I bought from a vendor at the shop. The sheet of moss has been in the shop for a while. I bought it with no projects in mind. Then I came up with the tree project.

I pulled out one of my vintage Bingo cards and cut a tree shape from the moss sheet. I hot glued it to the card then added a jewelry pin topper and a small piece of furniture veneer for the trunk.

I made this little tree on reclaimed wood. The glitter star was salvaged from an old Fourth of July project. Never throw anything away. Reuse and recycle.
Project 7. Glittery Gumdrop House
")
This next project is all glitter and sparkle. The gingerbread box came from the Dollar Tree last year. I bought the bottle of sparkly white and clear glitter from Michaels when it was on sale.

I used a paint brush to brush white glue all over the box then I set it on a piece of parchment paper so I could save the excess glitter. I sprinkled glitter all over the box. It turned out so shiny.
Project 8. Glittery Birdhouse
")
I did the same thing to this birdhouse but added some gold glitter too. I like the white and clear glitter better.
Project 9. Winter Shutter Sign

This last project is a shutter sign I put together using a reclaimed shutter, a wreath from Hobby Lobby, ribbon, and the Brrr sign I made using Chalk Couture. I love the blue color on the sign, which is a FolkArt Chalk color, Provincial Blue.
Find the electrical tape tree project here… Captivating Christmas Decor Made With Black Electrical Tape
How to make teacup Christmas ornament video below….
How To Make Teacup Ornaments
That’s it for my small Christmas projects and I hope I was able to inspire you in some way. Thanks for always being here, Kathy

I’ll try to take care of that. Thanks!
Hi Kathy! These are great DIY Christmas projects. The only thing is you have soany pop ups on your page that it drives me crazy. Sorry
🙁😘
These are wonderful ornaments. I love them all
I hope you are feeling better Naomi. I love seeing your comments. I hope to make some putz houses too. Nothing says we can’t make them all year round. Merry Christmas and Happy New Year and Good Health
I loved looking at all your little projects, Kathy. Especially the little houses. I had hoped to make some little putz houses this year but got sick right after Thanksgiving and haven’t been able to do much at all. Hopefully, next year will be better.
Hope you and your family have a happy Christmas and New Year.
Enjoyed looking at your pictures. Really liked the use of the moss. Have a blessed, Merry Christmas! Happy New Year, too!!
Thank you and Merry Christmas JoAnn
Your ornament projects look like such fun and made me happy viewing them. I especially like the frosted gingerbread house and bird house. Thanks for all you give us all year and Merry Christmas to you and your family.
That’s a great idea. Merry Christmas Jo!
I use to use old cards as gift tags on family and friends presents