DIY Stenciled Shutter Sign | Hello Sunshine
As an Amazon Associate, I earn from qualifying purchases.
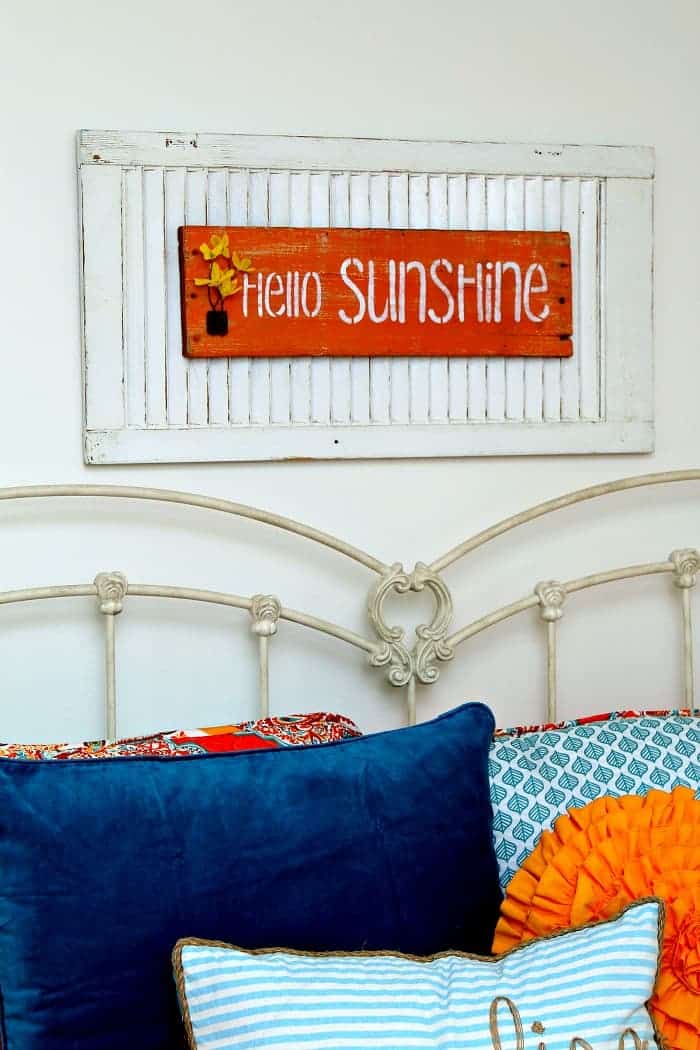
I found an old shutter at my favorite junk shop and knew it was the perfect size for a wall sign. I’ve made several signs out of shutters over the years and each one is different. The DIY stenciled shutter sign is hanging over the bed in the turquoise and orange guest bedroom.

This post is sponsored by Plaid. All project ideas and opinions are my own.
I wanted to make the shutter sign for the guest bedroom but I wasn’t sure what I wanted it to say. I also wasn’t sure if I would add any other details to the shutter. I start with an idea and kind of wait and see where the project takes me.
Adding the flower details was a last minute thing.
DIY Stenciled Shutter Sign Project Details

I actually bought a pair of shutters so there will be another sign to come. The pair cost $10. I found a board in my wood stash to use in the center of the shutter. It will be stenciled with the sign message.
Please note: This post may contain affiliate links. If you click a link and choose to make a purchase from the partnership site, the price will be the same but will share some commission.

Shutter Prep
I removed the hardware from the shutter and cleaned it with Simple Green. There was a bit of loose paint and it came off in the cleaning process.

The shutter was naturally distressed but not enough for me. I used my power sander to distress the louvers and edges of the shutter.

Before nailing the sign board to the shutter I centered a saw tooth hanger on the top of the backside and added rubber wall protectors to all four edges.
Shutter Sign Supplies:
Home Decor Chalk – Monarch
Multi-Surface Acrylic Paint – Wicker White
Stencil Brush
Chalk Brush
Value Pack Stencils – Phrases
Stencil Tape
Wood Shutter – Flea Market Find
Scrap Board – Flea Market Find
Sawtooth Hangers
Wall Protectors

Painting The Sign
The colors in the guest bedroom are orange and turquoise. I thought of going with a combination of the two colors in the sign but I was afraid the sign would look too busy or just kind of cheap. I guess that’s the word I’m looking for.

I decided to go orange. The paint is FolkArt Home Décor Chalk, color Monarch. The chalk paint has really good coverage and I applied one coat of paint to one side of the wood.
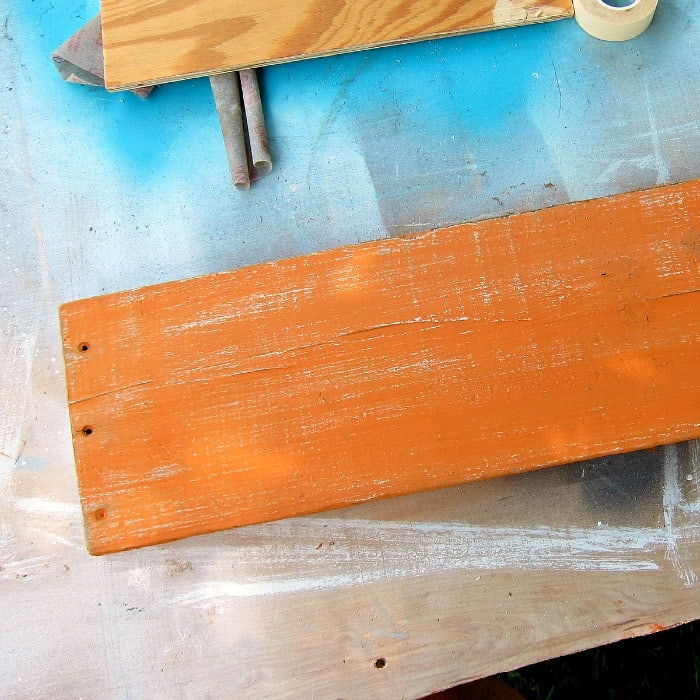
Once the paint dried I lightly sanded the board by hand with 100 grit sandpaper. You might have noticed in an earlier photo where the board was originally painted white although it was faded. Little bits of white can be seen where I sanded the orange paint.
Stenciling The Sign

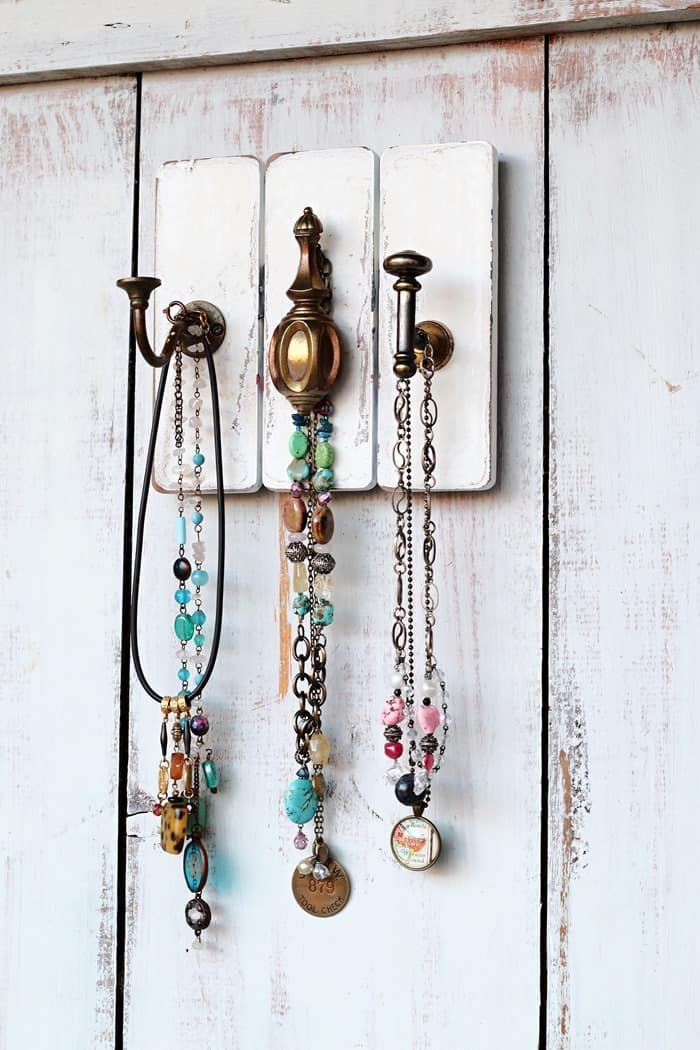
I had fun going through the pack of stencils looking for just the right phrase, or saying. I have several of the value pack stencils. They are made out of heavy paper and can be used over and over. I sometimes mix and match the stencils on the same project like the farm fresh apron hanger I made for the kitchen.

I finally decided on “hello sunshine”. I planned to place the word hello in line with sunshine on the painted board.

I selected FolkArt Multi-Surface Acrylic Paint in Wicker White to stencil the words. I use a piece of scrap wood for my palette. I guess I could buy a palette but then I would have to clean it each time. This way I just wipe off the leftover paint and use the scrap wood again or trash it.
I poured just a bit of the wicker white on the wood and found picked a small stencil brush for the job. It takes very little paint for a stencil job.

I’ve shared my tips and tricks on stenciling in past posts. The big secret is to use a dry brush. That means dipping yo8ur paint in the brush and wiping most of it off before stenciling. This way you have no blobs of paint creeping under the stencil. I taped the stencil down with stencil tape so it wouldn’t slip around. In addition I will sometimes hold the stencil down with my free hand.

When I stencil the stenciling is not a solid continuous color. There will be light and dark areas which adds character and dimension to the project. If you want solid full color just use a vinyl sticker (not nearly as nice).

The stenciled letters are nice and crisp thanks to the dry brush method.

After stenciling “sunshine” I moved the stencil over and down and stenciled “hello”. Stenciling is not time consuming. I completed the stencil part of the project in about 10 minutes.
Putting The Shutter Sign Together

Since the paint is so thin it dries in no time. I used my brad nailer to nail the stenciled board to the shutter. Before I had the brad nailer I drilled holes for screws and screwed the board to the shutter. This way is much easier….and faster.

DIY Stenciled Shutter Sign | Hello Sunshine
centered the sign above the headboard in the guest bedroom. After looking at it a bit I decided it needed something else.

I found a couple of small wood chips and used them as a tiny pot for the yellow flowers. The flowers and pot are hot glued to the sign. All done!
 The stenciled shutter sign has a lot of umph. A lot more umph than the lone stenciled sign would have without the backdrop of the shutter.
That’s all folks. What do you think? Leave a note and have a great day, Kathy
Yes, I use paper plate for palettes too. I think the idea to dry brush a bit of the orange on the shutter is a great idea.Thanks!
Cute sign. Love it. You always come up with the most creative ideas!! You could lightly dry brush with the sign color around the frame of the shutter to give it a little more pop – or not!!! LOL Looks good the way it is – just a suggestion.
A styrofoam plate or a piece of freezer paper makes an excellent palette also.