Do This With A Tacky Thrift Store Bird Cage
As an Amazon Associate, I earn from qualifying purchases.
This thrift store bird cage makeover consists of removing all the tacky stuff inside the cage and replacing it with shiny sparkly stuff!
There are a lot of old tacky things at the thrift store but this bird cage takes the cake! I’ll show you how I took everything out of the 99 cent bird cage and then how I filled it with a simple snow scene. Wait until you see it.

The bird cage wasn’t so pretty to start with. It was a music box, I think. There are batteries and some kind of gadget on the bottom side. The inside may have even rotated!
Come to think of it I should have installed new batteries to see if it worked. Will have to do that when I get back home (visiting in Arkansas for a week). I might have a musical rotating winter scene and don’t even know it.

Despite the sad greenery and faded details inside the cage I thought the wood and the small metal decorative pieces on the base were pretty. I took a pair of wire cutters and screwdriver and removed everything I could from the inside of the cage. I had to use the tiny opening in the side to remove the stuff. It was a bit touch and go but I finally got all the junk out.
Today is Thrift Store Décor Day and my thrifty friends have some really fun makeovers today. The links are at the end of this post.

Next I used my favorite Rustoleum Spray Paint, Heirloom Satin, to give the cage a clean fresh look. You guys know it only takes minutes and a can of spray paint to turn any thrifty find into a thing of beauty. An assortment of all kinds and colors of spray paint is one of my must haves in the workshop.

Just a tad of distressing on the metal and the wood. I used 80 grit sandpaper by hand to remove the paint in areas that would normally wear over time. Distressing painted pieces adds depth and character.

I stuffed the white bird cage with fluffy stuff I bought at the craft store and I did not glue it down. The fluffy stuff has tiny little silver stars and glitter. I used a popsicle stick to push the fluff into place. Popsicle sticks are handy little DIY tools. I also use them when working with hot glue. Saves my fingertips.
The only issue I had was find things I had on hand to put in the bird cage. My tiny, tiny, snowmen from past projects were too small. Next I tried ornaments but they were too big. Remember, I had to push everything through the small door in the cage.

I went through my stash of small decorative Christmas trees and decided they were all too tall.

No problem. I got out my wire cutters and chopped off the bottoms of the trees.

To place the trees in the cage I used a pair of pliers and went in through the cage door opening. I didn’t have to glue anything to the cage. Once I put the trees into the fluff they were stuck. Not going anywhere except maybe to lean a little. I pushed the popsicle stick in between the cage bars and gently set the trees upright.

I put three trees in the snow scene. Remember, when decorating you should go with odd numbers. The silver trees didn’t make it into the cage because they were just way too big. I noticed all of the glitter falling off of the silver trees and decided glitter would be the finishing touch for the bird cage winter snow scene.
I just happened to have a container of gold glitter on the shelf (very top shelf away from little hands). Thank goodness there was a bit left from the time Sofi and friend decided to glitter up the workshop, shed, carport, backyard, and papaw’s boots. No more glitter for them. If you have a glitter explosion story feel free to share it in the comments.

Turned out pretty sweet didn’t it. Start with a vision and find a way to make it work. If you are a bit lazy like me when it comes to DIY, remember spray paint is your best friend. Fast and easy and makes a big impact.

No, it’s not perfect. Perfectly Imperfect. Glitter and sparkle and distressed paint……what’s not to love. Can’t wait for Sofi to see it. I bet she’ll find a special place for the bird cage. Probably in her room here at the house.
I made really cute teacup ornaments and you can see the video tutorial below…..
DIY Teacup Ornaments
Thrift store decor makeovers are one of my favorite DIY’s. Spray paint is one of my favorite DIY products. It’s an easy and inexpensive way to update used decor. You can find my favorite spray paint and diy products on the Petticoat Junktion Amazon Page here.

Just a note on all the little white and silver glitter trees. I found them on sale at the end of last Christmas season and the receipt was still in the bag. The trees were between .18¢ and .25¢ each. Another good deal.
Click the links to see my favorite thrift store spray paint makeovers.Rooster Utencil Holder……..Thrifty Clock Makeover
For Christmas decorating ideas click here.
Time to visit my friends. Just click the links below the “before” makeovers photo collage.

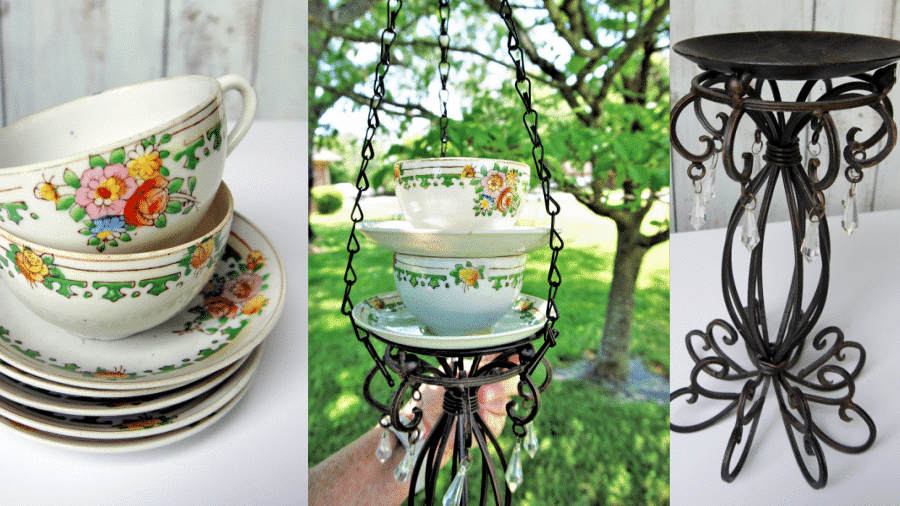
1. Mid Century Plant Stand DIY
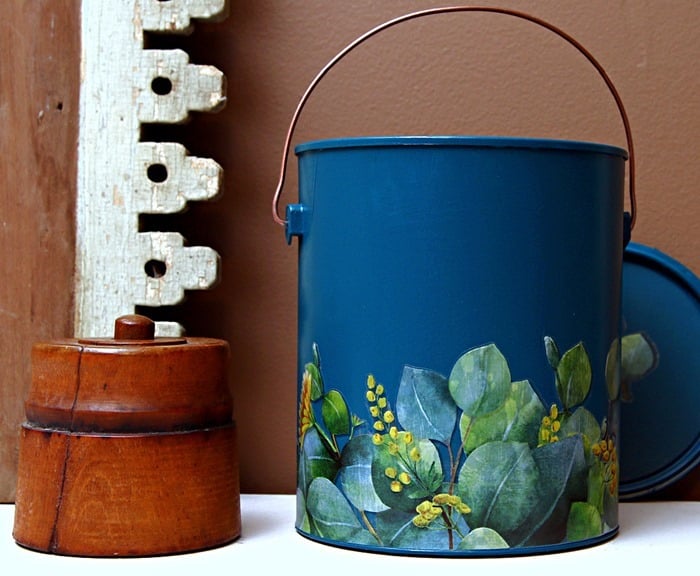
2. Laundry Room Decor and Lost Sock Holder
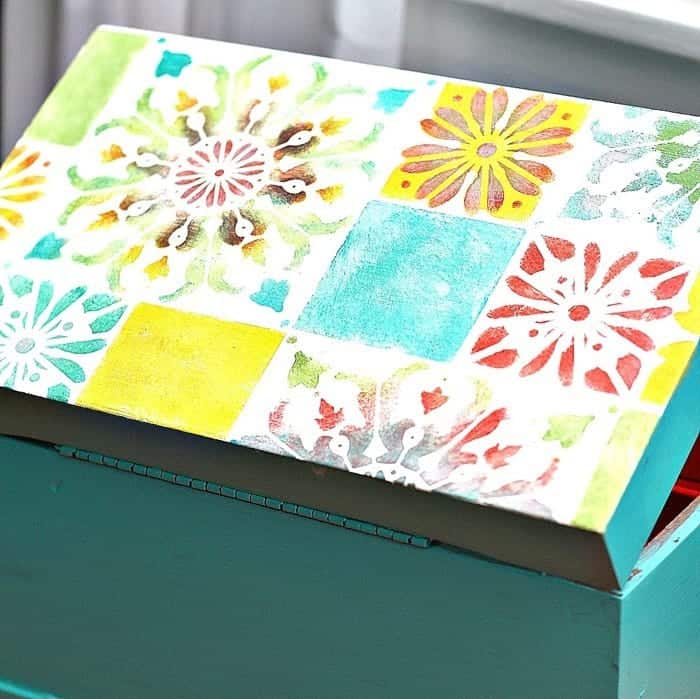
3. Winter Wonderland Gumball Machine
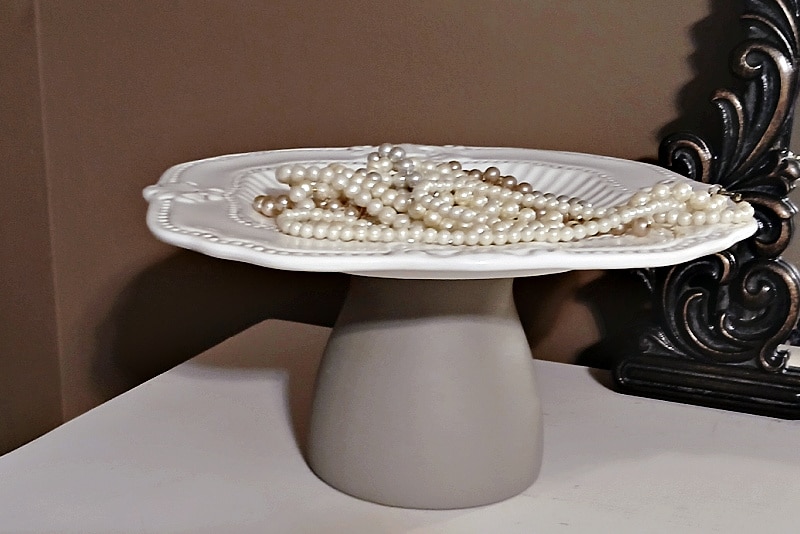
4. Pedestal Bowl Stipple Paint Technique
6. Bird Cage Winter Snow Scene
As always thanks for being here and have a great day, Kathy

I love this idea and I already have the white bird cage. I’m thinking cardinals on a branch inside. I’m in Texas so snow isn’t likely.
Thank you Angela! You made my day! Kathy
I always love your transformations. this one though? first of all I wonder if that was A REAL plant growing inside. even if not. I pictured some creeping flowerly vine growing in it hanging on a hook in my yard. wait!! I do have something similar hanging in my yard, ,BUT….this is cute for the season. you are very creative and I enjoy getting my emails with your new creations!!! thank you. Angela (from NJ)
Super cute. Kathy!
I just LOVE this. Firstly, what a fabulous find for your hard earned $0.99! And now it looks super cute and shabby-fancy!
This is the cutest cage and it’s perfect for Christmas!!!
So cute!!! I love your winterland!
Love it Kathy! That’s my favorite paint color, I used it on my project 🙂
What a wonderful find!! I have a passion for birdcages and this one turned out fantastic. Thank you for the information – it’s something I’ve been lacking lately.
Super cute project and perfect for the holidays!
What a perfect new look Kathy! It’s awesome that you didn’t have to glue anything down permanently. The seasonal changes are now endless! Sophia is going to love it for sure!
I love bird cages and this is a cute holiday alternative !
That turned out VERY CUTE! I’m dying to know if it rotates now.
I like the way you have a number of items in your home that you re-purpose as it were on a seasonal basis. This one seems like a prime candidate. So much better than having multiples of things you can switch to suit the occasion in this way and very inventive.