• Skip to primary navigation
  • Skip to main content
  • Skip to primary sidebar
  • About
  • All DIY
  • Tutorials
  • Shop
Petticoat Junktion
menu icon
go to homepage
  • About
  • All DIY
  • Tutorials
  • Shop
    • Facebook
    • Instagram
    • Pinterest
    • Twitter
    • YouTube
  • search icon
    Homepage link
    • About
    • All DIY
    • Tutorials
    • Shop
    • Facebook
    • Instagram
    • Pinterest
    • Twitter
    • YouTube
  • ×

    Home » Furniture » Painted Farmhouse Style Hutch

    Painted Farmhouse Style Hutch

    This post may contain affiliate links

    The painted farmhouse style hutch has been painted more than once. The layers of paint made this piece special.

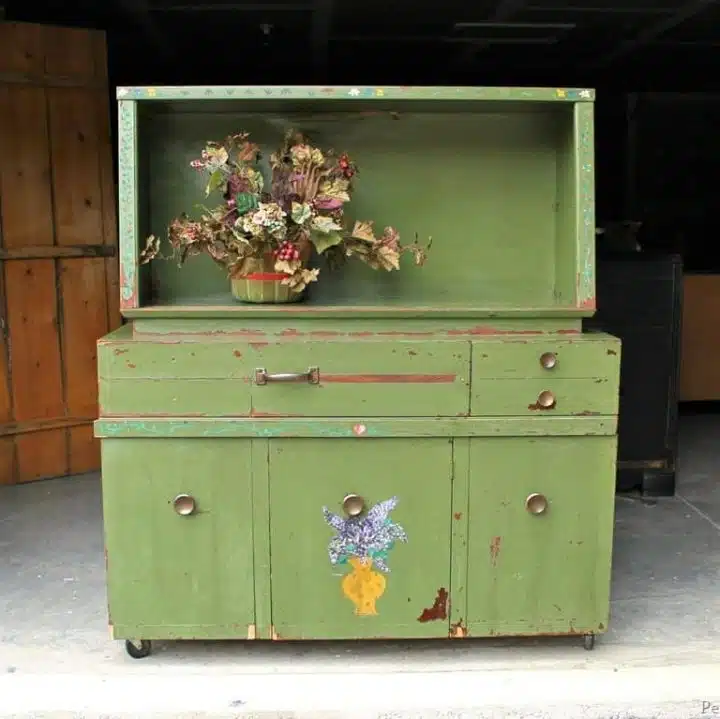
    I bought the hutch at the Nashville Flea Market years ago and it was a mess. It had missing veneer, extra hardware holes, missing hardware, decorative flowers painted all over it, a missing shelf, and a warped back. Is that all you ask. No but that’s the big stuff. It’s been in the workshop holding Sofi’s playthings and other junk. I replaced it with a smaller piece during the workshop purge.

    I finished the hutch last week but it's taken me awhile to get the post together. We've been going to our Granddaughter's softball games every night this week and it's been 9 p.m. or later when we got home. Fun but tiring.

    I'm working on a really pretty side table. The color is one I haven't used before and I love it. I can't wait to finish it up and share it with you. I also put up some new DIY curtains in the kitchen. If you've been here a while you know all about my kitchen curtain saga. I might share the new look with you. This makeover had a lot of steps with a lot of photos but I’ve condensed it down by editing out some of the photos.

    Painted Farmhouse Style Hutch Gets Painted Black But Is It Blah

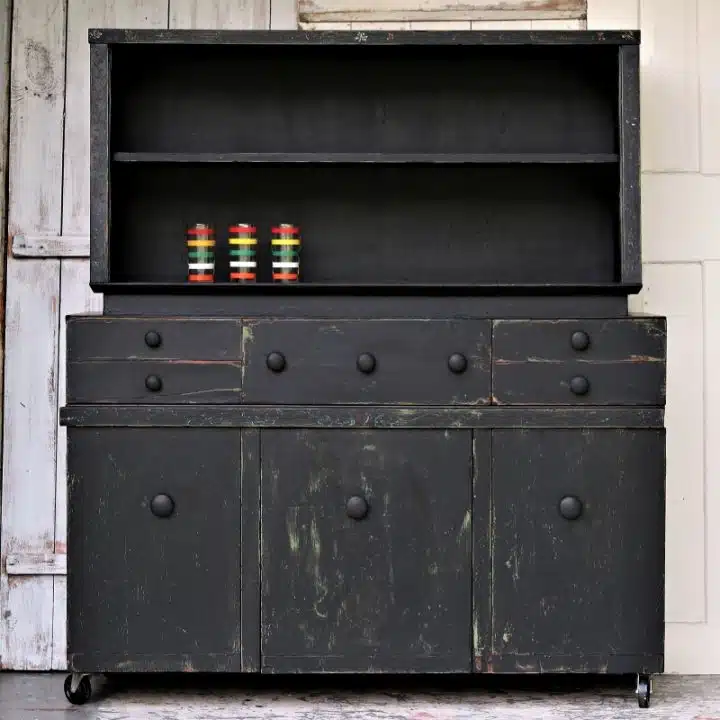
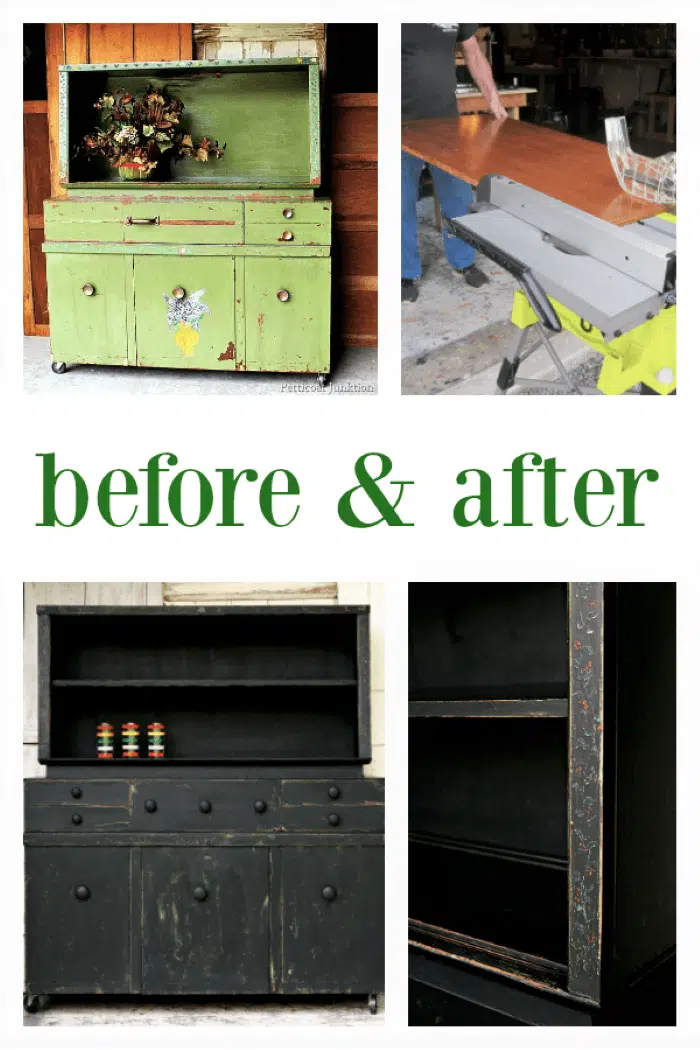
    This is the hutch after the makeover. Black paint with bits of the original green paint peeking through in the distressed areas.

    folk-art-cabinet

    This is how the hutch looked when I brought it home in 2013. It had been decorated with thickly painted flower designs. I made the decision to paint the hutch black and not sand off the painted designs beforehand. I knew it would take a lot of sanding and I guessed the green paint was lead paint. Most paint made before 1977 was lead based paint and I think this piece was painted before then.

    wood filler for screw holes in furniture drawers

    There were a number of extra holes in the drawers. I tried to figure out which of the screw holes were the original ones. The others I filled with wood putty.

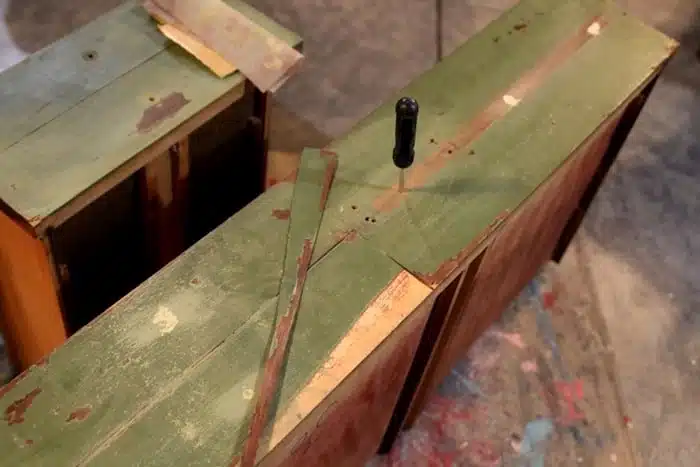
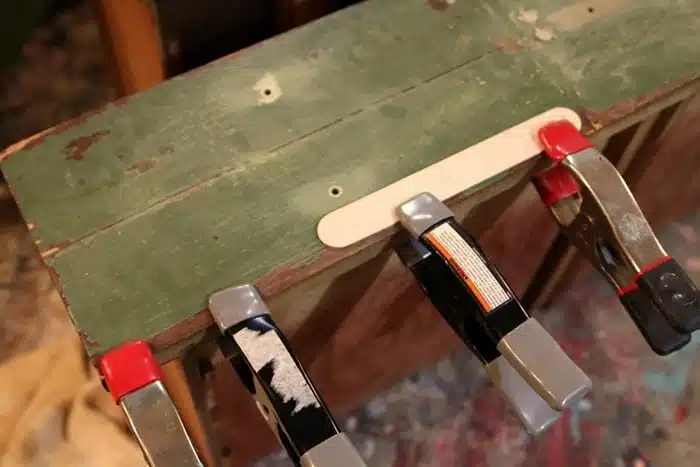
    glue damaged veneer on furniture

    I glued and clamped the broken veneer back in place.

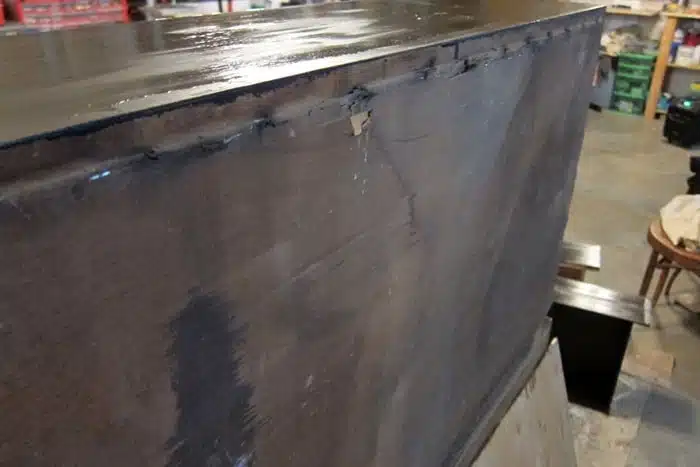
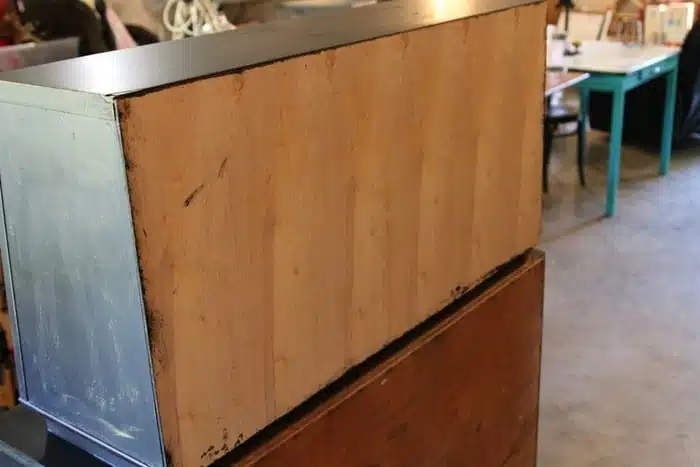
    furniture back needs replacing

    The backing on the top of the hutch was peeling and warped so we replaced it.

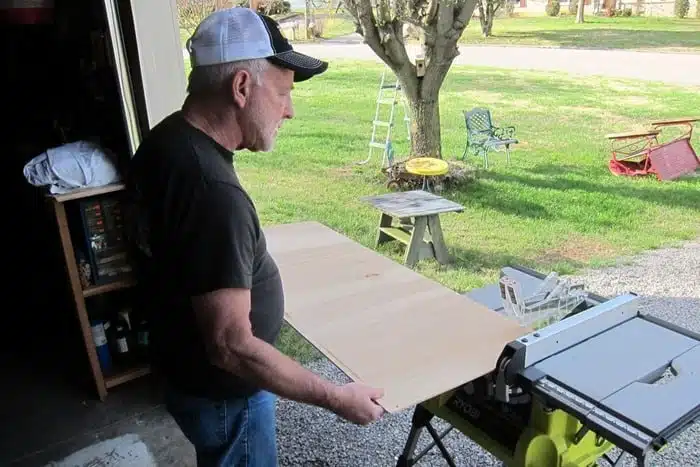
    cutting a replacement back for a vintage china cabinet using a Ryobi table saw

    The JTS cut a piece of ¼” Luan to fit the back of the hutch and I nailed it in place with my Ryobi brad nailer (new favorite tool).

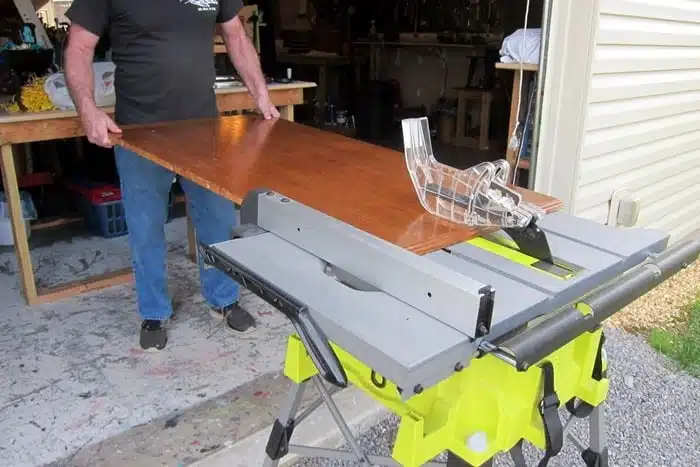
    cutting a replacement shelf for a china hutch

    We also cut a shelf to replace the missing shelf. The wood is a table top leaf. I got it at my favorite junk shop for $3. I told Mr. Butler I was looking for wood to make a shelf.

    He suggested the table top because it was nice and thick, solid wood, and big enough for the job. The JTS measured and cut it to size. You couldn't buy wood to make the shelf at the hardware store for $3.

    new wood back for old furniture

    The new back fit perfectly.

    stained and scratched shelves

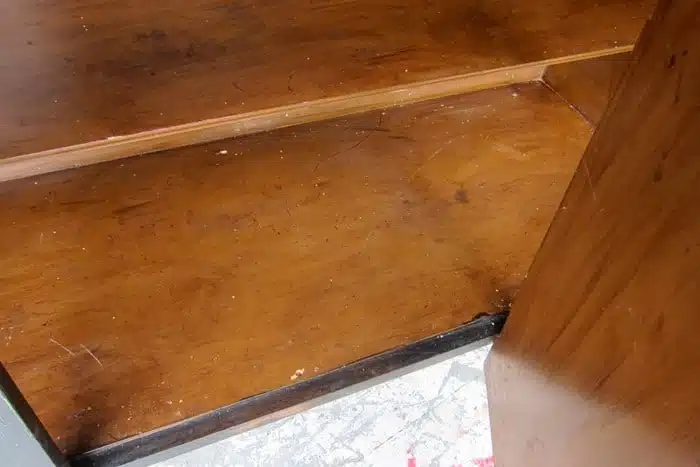
    The inside of the hutch was a bit stained and dirty.

    clean and renew wood finishes with Howards Feed n Wax

    I cleaned it up with Howard’s Feed n Wax.

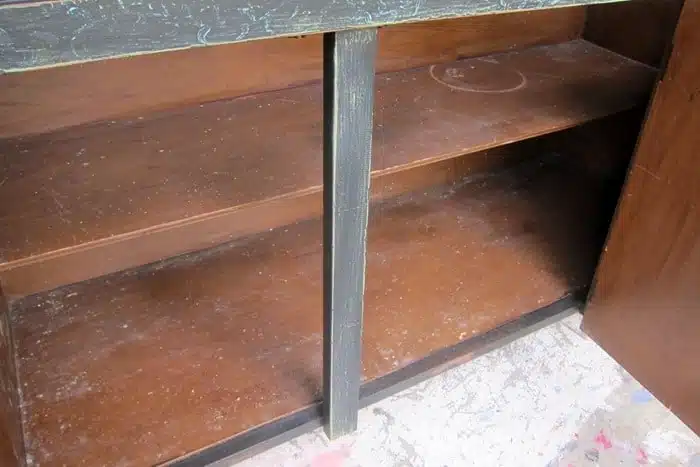
    making repairs on vintage furniture

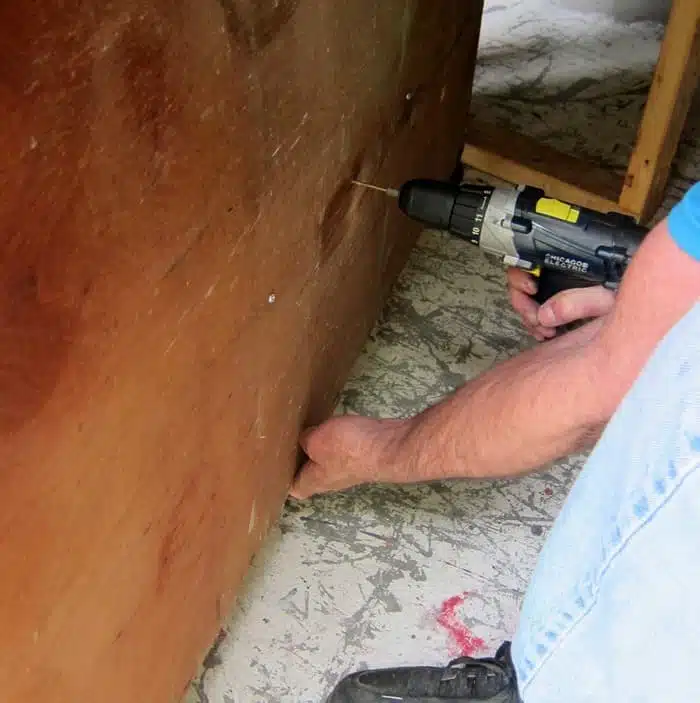
    When cleaning the shelves in the bottom of the hutch I noticed the back had bowed away from the shelf. The JTS used screws to pull the back and shelf together.

    distress black paint

    I brushed on two coats of Beyond Paint, Licorice color. I painted the new shelf and new hutch back before attaching them to the hutch. Much easier to paint that way.

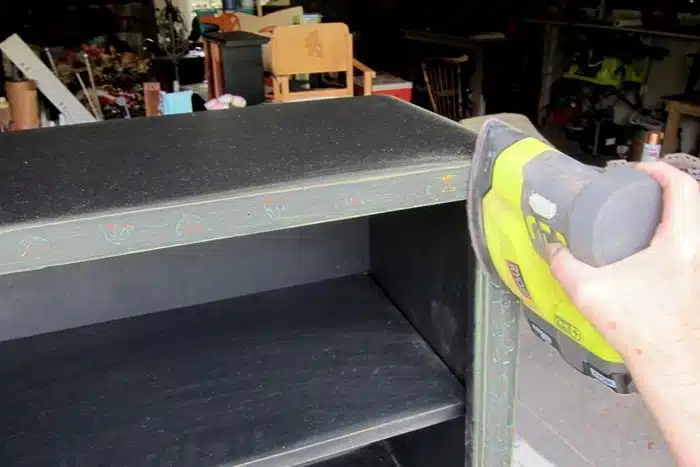
    Next I used my battery powered Ryobi sander to distress the edges, the floral accents and any detailed areas on the hutch, including the drawers.

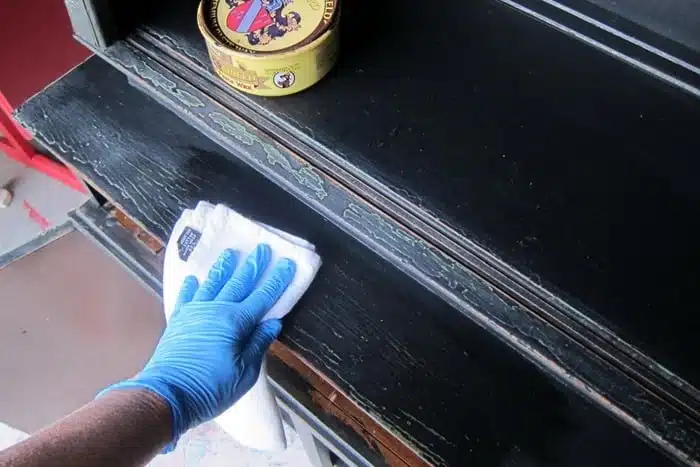
    apply dark wax to painted furniture

    To cover the raw wood and the white streaks caused by sanding I applied a coat of Howard’s Wax, walnut color.

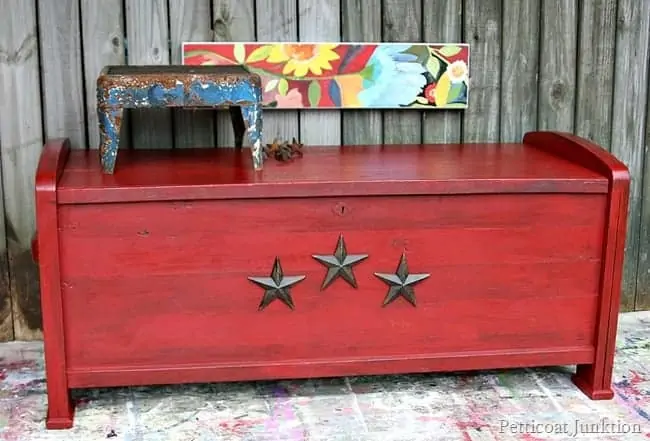
    Dark wax can also be used to age or antique paint like I did with the cedar chest below.....

    antiqued-red-cedar-chest-adorned-with-iron-stars-Petticoat-Junktion_thumb.jpg

    Click here for the details on the red iron star chest.

    spray paint wood knobs

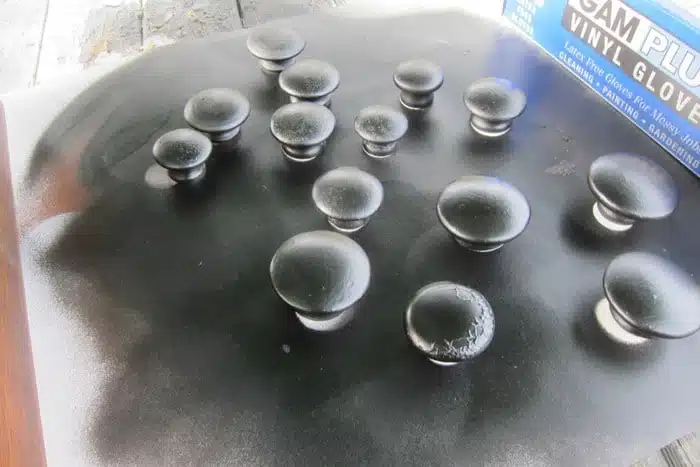
    The two drawers and the three cabinet doors called for a combined total of 10 knobs. The easiest and cheapest thing to do was spray paint 10 wood knobs of various sizes to use on the hutch. The new owner may want to change out the knobs to fit their décor.
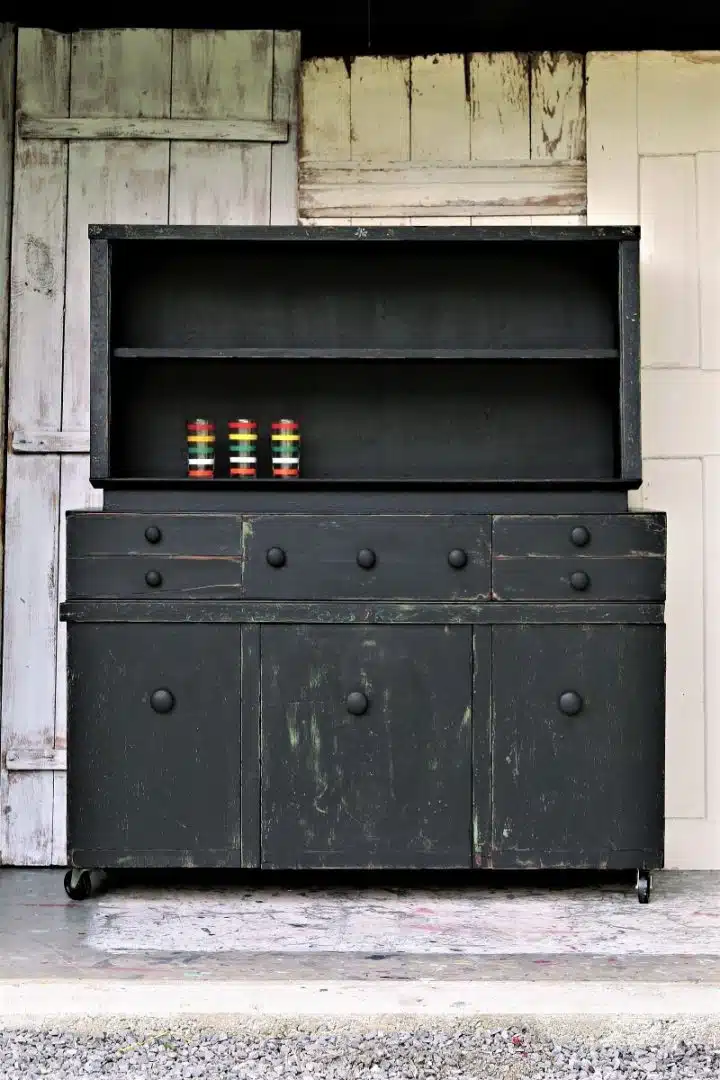
    Farmhouse Style Hutch Gets Painted Black

    Black Painted Farmhouse Style Hutch

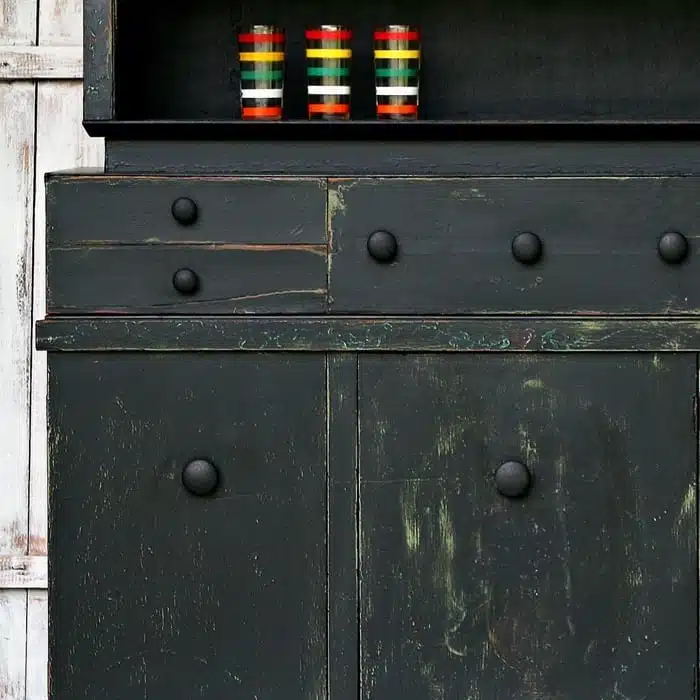
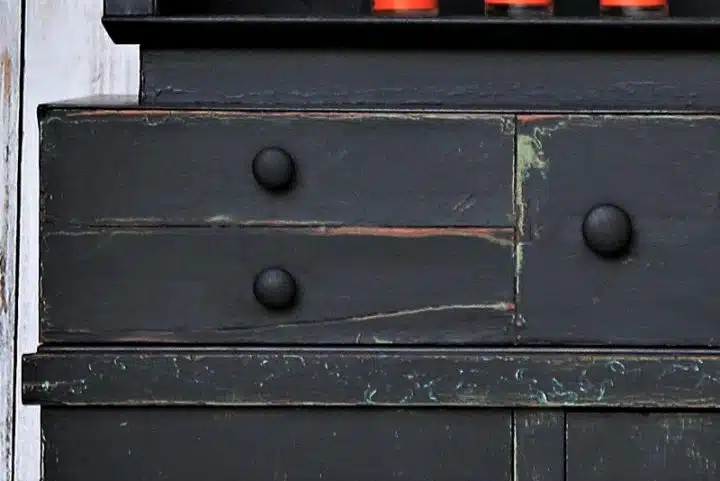
    Once all the knobs were in place they looked too shiny. I brushed a bit of FolkArt Home Décor Chalk in black over the knobs. The chalk finish is flat and looks much better than the shiny spray paint.

    vintage hutch is painted black and distressed

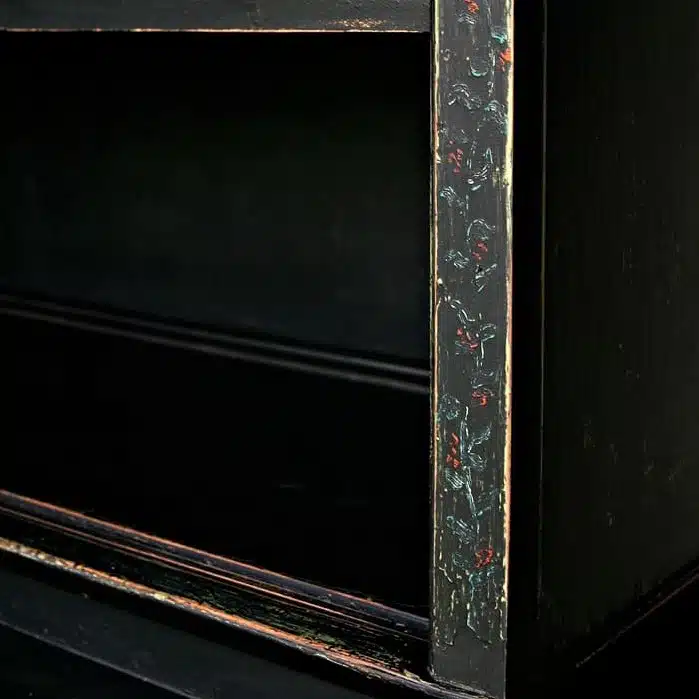
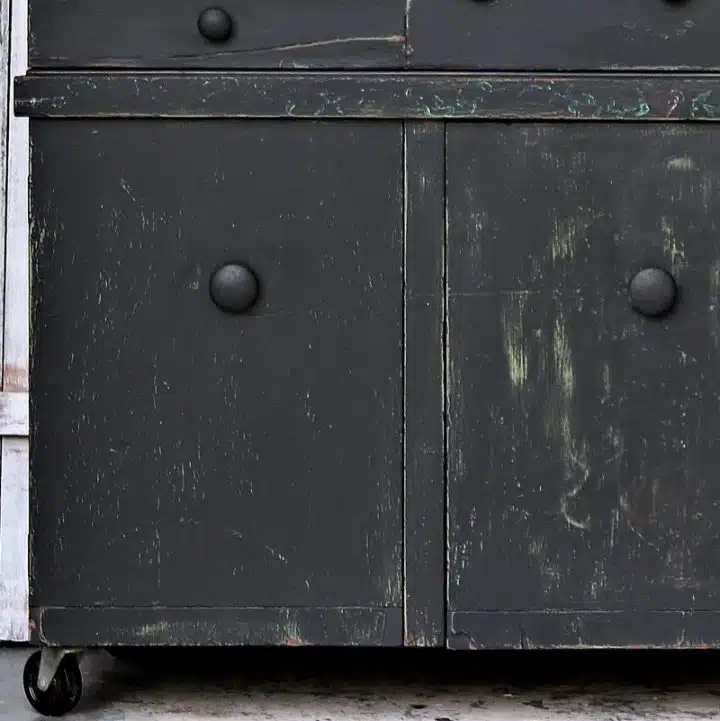
    I distressed the black paint just enough to let the painted flowers and a few bits of the green paint peek through the black paint.

    Black Farmhouse Style Hutch painted and distressed

    The overall look is definitely country or farmhouse style. At first I wasn’t sure about the hutch but the more I look at it the more I like it. What do you guys think? Be honest but be kind in your comments. I took it to the shop yesterday so we will see how fast it sells, if it sells.

    I have a new video for a project coming up later this week. You get to see it first. On this video I am on camera.....not my favorite thing to do...talking you through using white wax to accent furniture details. I love white wax. Gives furniture a designer look. The video is below....

    How To Use White Wax On Chalk Type Paint

    Primative Farmhouse Style Hutch repaired and painted black with distressed details

    As always thanks for being here and have a great day, Kathy
    Similar Posts For You....

    • How To Refresh Antique Furniture | No Paint Please!
    • The Best Painted Furniture Makeovers of 2022 From The Furniture Fixer Uppers
    • How To Distress A Painted Trunk
    • The Best Way To Paint Outdoor Metal Furniture

    Reader Interactions

    Comments

    1. lynda

      May 22, 2022 at 9:07 am

      Hi,, love all your works...u have so much energy!!...i just love the black hutch..wish i lived close to u i would buy in a second...what a good job u did...i really like all the makeovers u do...i have been doing furniture for a very long time...way before everyone was doing...lbut u are one of the best...so enjoy ur blog...thank you

      Reply
    2. regena

      April 24, 2019 at 11:30 am

      You and your husband make an awesome team!
      Everything you two do is just awesome

      Reply
      • Kathy Owen

        April 24, 2019 at 5:45 pm

        ah, thanks Regena. We do make a great team but as all teams we have our ups and downs, lol.

    3. Gloria

      April 19, 2019 at 1:00 am

      I love it love it love it. We have a china hutch that was custom made for us some years ago, using reclaimed windows. We asked that it be painted flat black. The inside of the drawers is in red. Ours was not distressed, as it was built from scratch, but i love it so much and yours reminds me of it. Good job!

      Reply
    4. Gracie Redfield

      April 19, 2019 at 12:24 am

      I agree with Pamela! I really like the way you sanded just enough for the flowers to peek through. If I had come across that hutch in an antiques market, I know it would have caught my eye right away. The hutch has a Primitive look, which is a favorite of mine. I don`t think that it looks "blah" at all!

      Reply
    5. Pamela

      April 18, 2019 at 7:50 pm

      I love the hutch, but I think different hardware would make it a little more exciting. It sort of like a dull cousin...
      to all your other beautiful, bright pieces.

      Reply
      • Kathy Owen

        April 18, 2019 at 9:13 pm

        Thanks Pamela, I totally agree about the hardware. It was hard to select new hardware without knowing what type of home it would be going to. I figure the new owner can select the hardware.

    6. cc

      April 18, 2019 at 12:17 pm

      hey Kathy, just voted for your copper box - good luck!

      Reply
      • Kathy Owen

        April 18, 2019 at 1:41 pm

        ah, thanks so much!

    7. JoAnn Heard

      April 18, 2019 at 11:18 am

      Love the hutch - I am so sorry I don't live nearer to you. Love the projects you do!

      Reply
      • Kathy Owen

        April 18, 2019 at 1:41 pm

        I'm sorry too!

    8. Lola Fields

      April 18, 2019 at 9:27 am

      I really like the hutch! Could you tell the name of the shop where your stuff is?

      Reply
      • Kathy Owen

        April 18, 2019 at 9:36 am

        Thanks Lola. The shop is You Never Know on College St. and I also have a booth right next door at Warehouse 41 Antiques.

    9. Sandy Richardson

      April 18, 2019 at 8:29 am

      Like the flowers showing through. Honestly a little too rough for my taste. Hey, as long as you like it, that's all that matters. I think a softer color might be more appealing to me.

      Reply
      • Kathy Owen

        April 18, 2019 at 8:53 am

        Thank you Sandy. Yes, it's not everyone's style. I selected black because it is a neutral color and hopefully will sell fast.

    10. Pamela

      April 18, 2019 at 8:22 am

      Beautifully executed. Has a primitive look with many stories to tell.

      Reply
    11. Patricia Packer

      April 18, 2019 at 7:34 am

      I love how well you did all the repairs. I am not a big fan of the black, but to each his own!?

      Reply
    12. Tammy

      April 18, 2019 at 7:29 am

      Very pretty! I've painted a lot of furniture in my time but I've never seen a piece like this. I love it! Excellent job. I love how the flowers just peek out at you....

      Reply
    13. Judy

      April 18, 2019 at 7:18 am

      I love love the black hutch makeover. Looks great. I would love it in my farmhouse. What a great job.

      Reply
    14. Rebecca

      April 18, 2019 at 6:36 am

      Love the farmhouse hutch makeover! It's one of my favorites from your collection. Did you put vaseline or something over flowers so they would be easy to distress and show through?

      Reply
      • Kathy Owen

        April 18, 2019 at 8:55 am

        Hi Rebecca, I did not use Vaseline. The flowers were like raised details so they didn't have to be "Vaselined".

    Leave a Reply Cancel reply

    Your email address will not be published. Required fields are marked *

    Primary Sidebar

    Hi, I'm Kathy!

    The creator at Petticoat Junktion and I love decorating my home. My decor is an eclectic mix......

    More about me →

    Popular

    • How To Weather Furniture: Painted Sideboard Coastal Or Nantucket Style?
    • How To Paint And Distress Fake Wood Furniture

    Footer

    ↑ back to top

    Get daily tips and tricks for making your best home.

    SUBSCRIBE
    • About
    • All DIY
    • Tutorials
    • Shop
    • Crafts
    • Home Decor
    • Painted Furniture
    • Projects

    As an Amazon Associate I earn from qualifying purchases.

    Copyright © 2023 · PETTICOAT JUNKTION · PRIVACY POLICY

    Receive my furniture painting tutorials by email free! Sign up below....