How to Repair And Paint An Old Farmhouse Buffet And Hutch
As an Amazon Associate, I earn from qualifying purchases.
How we repaired an old farmhouse buffet and hutch and then gave it a modern makeover with black paint moderately distressed.

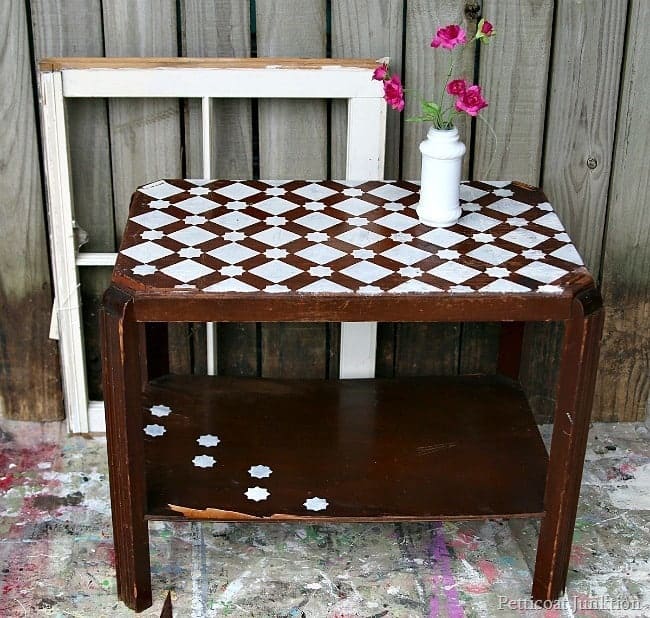
I bought the hutch at the Nashville Flea Market in 2013 and it was a mess. It had missing veneer, extra hardware holes, missing hardware, decorative flowers painted all over it, a missing shelf, and a warped back. Is that all you ask? No, but that’s the big stuff.
I shined it up with hemp oil and it looked pretty good for a while. It’s been in the workshop holding Sofi’s playthings and other junk. I replaced it with a smaller storage piece during my latest workshop purge.

I made the decision to paint the hutch black and not sand off the painted designs beforehand. I knew it would take a lot of sanding, and I thought the green paint might be lead-based. I didn’t want to take the chance of sanding the paint and getting lead particles in the air. Most paint made before 1977 was lead-based paint and I think this piece was painted before then.
So, the JTS and I started working on the green buffet and hutch, getting it ready to paint. There were a number of extra holes in the drawers and I tried to figure out which of the screw holes were the original ones. The others I filled with wood putty.

Some of the veneer was broken off in places and I didn’t worry about that. Those areas will look great distressed. I glued and clamped the broken or loose veneer back in place.

The backing on the top of the hutch was peeling and warped, so we replaced it.

The JTS cut a piece of 1/4” Luan to fit the back of the hutch. I can work with most power tools but am a little nervous working the table saw so hubby does it for me.

I nailed it in place with my Ryobi brad nailer (my new favorite tool), and it fit perfectly.

We also cut a shelf to replace the missing shelf. The wood is a recycled tabletop leaf. I got it at my favorite junk shop for $3. I told Mr. Butler I was looking for wood to make a shelf. He suggested the tabletop because it was nice and thick, solid wood, and big enough for the job. The JTS measured and cut it to size. You can’t buy wood to make the shelf at the hardware store for $3.

The inside of the hutch was a bit stained and dirty. I washed it down with Simple Green.

Next, I used Howard’s Feed n Wax to refresh the wood.

When cleaning the shelves in the bottom part of the hutch, I noticed the back had bowed away from the shelf. The JTS used screws to pull the back and shelf together.

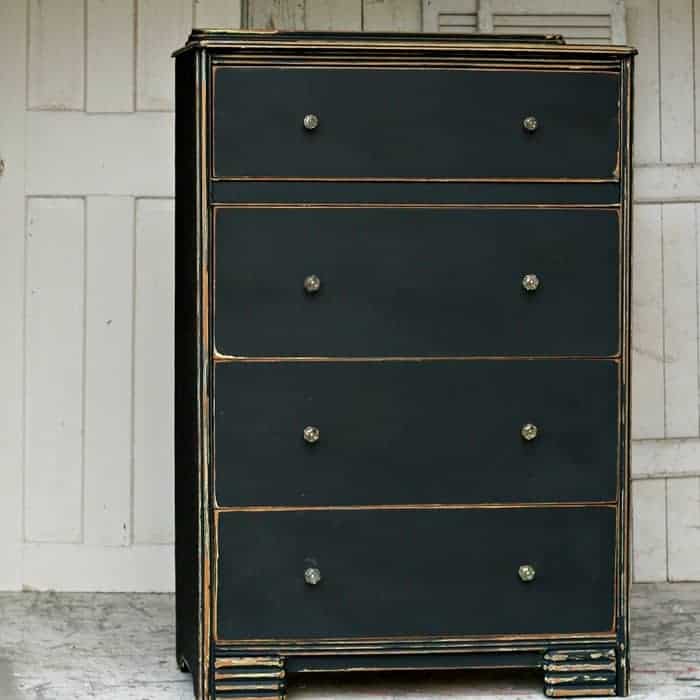
For the paint, I chose Beyond Paint, and the color is Licorice, a nice rich black. Beyond Paint is a primer, paint, and sealer all in one. I brushed on two coats of paint. I painted the new shelf and new hutch back before attaching them to the hutch. Much easier to paint that way.
Then I used my battery-powered Ryobi sander to distress the edges, the floral accents, and any detailed areas on the hutch, including the drawers. I wanted some of the flowers and the original green paint to peek through the black paint.

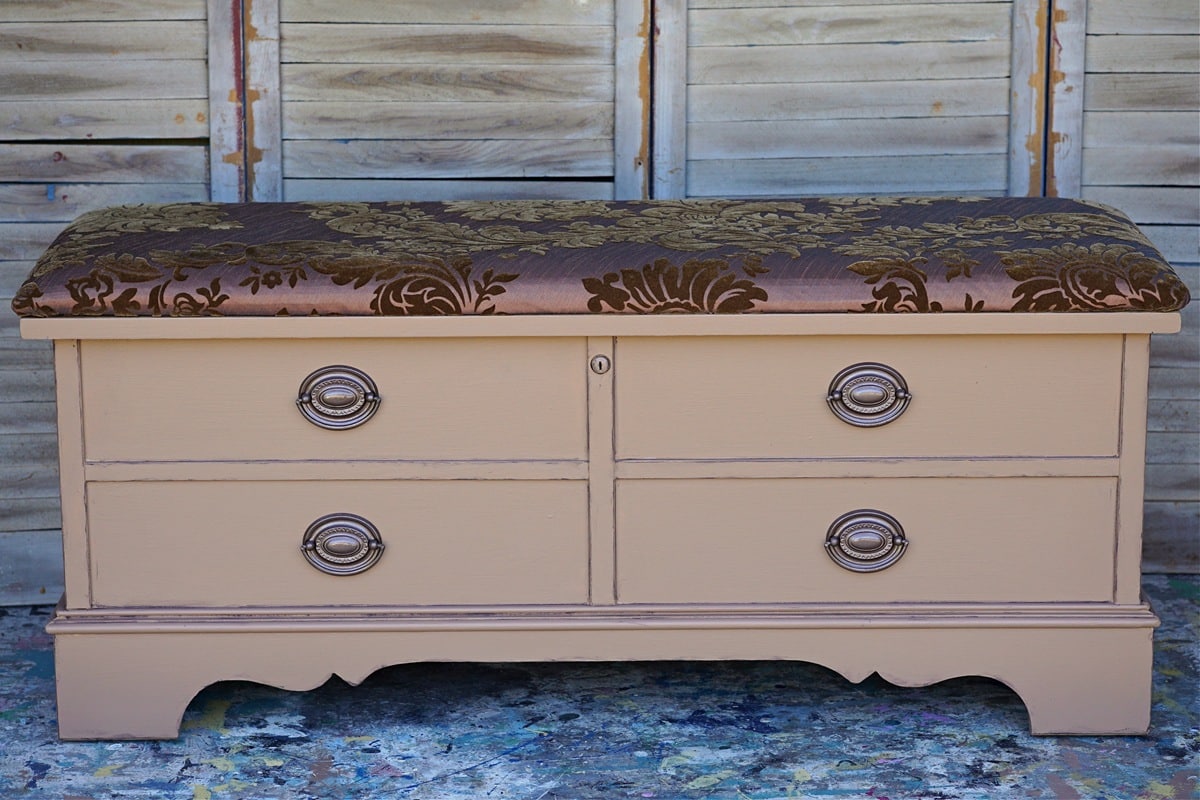
To cover the raw wood and the white streaks caused by sanding the paint, I applied a coat of Howard’s Wax in a walnut color. Dark wax can also be used to age or antique paint as I did with the cedar chest below…..

Click here for the details on the red iron star chest.

The two drawers and the three cabinet doors called for a combined total of 10 knobs. The easiest and cheapest thing to do was spray paint ten wood knobs of various sizes to use on the hutch.

Once I screwed all the knobs in place, they looked too shiny. I brushed a bit of FolkArt Home Décor Chalk in black over the knobs. The chalk finish is flat and looks much better than the shiny spray paint.

I distressed the black paint just enough to let the painted flowers and a few bits of the green paint peek through the black paint.

The overall look is definitely country or farmhouse style. At first, I wasn’t sure about the hutch, but the more I looked at it, the more I liked it.

One way to layer paint is to re-paint a piece and then distress the paint. You can see bits of green where the black paint is distressed.

Where the cabinet wood was cracked or separated, sanding the black paint made those areas stand out. It is sometimes better to play up the damaged areas on the furniture. Gives the piece character.

I’m in love with the piece now. What about you?

I read all of your comments! As always, thanks for being here, and have a great day, Kathy
They sure don’t. Love the style and the solid wood
Hi Kathy! It definitely looks better black.they don’t make them like that anymore.
It looks better painted black and a wonderful old piece.
That’s beautiful! Great work. I love the black.
Absolutely gorgeous!! I wasn’t sure about the flowers at first, but I love them! And the black looks amazing!! What a transformation. The older I get, the more I love these old pieces and what they can become with a little love.