Best Antiquing Process For Metallic Silver Furniture
As an Amazon Associate, I earn from qualifying purchases.
In this metallic furniture antiquing tutorial you will learn what type of primer, metallic paint, and antiquing product to use to get the perfect aged metallic paint look.
Does everyone feel refreshed and ready to start the week? I do, I do. The weather was just gorgeous here in middle Tennessee this past weekend. I got a lot accomplished. I managed to get a paint project together, spend time with my two granddaughters, study for a college exam, and go to the Nashville Flea Market!! I’ll share photos from the market tomorrow.
Today I have a furniture project, and I must say I’m really proud of it. Patting myself on the back.
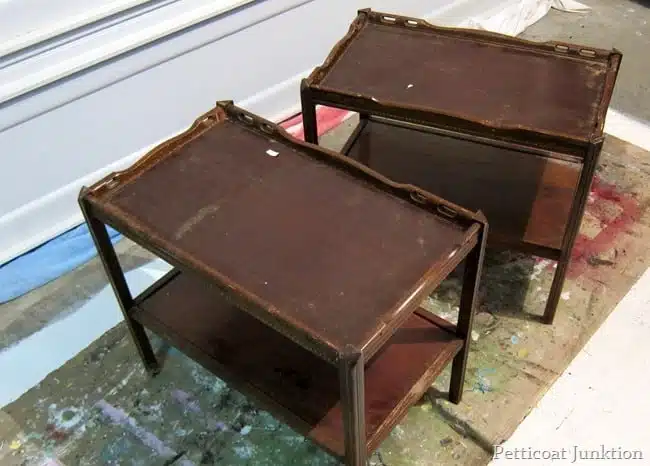
the before photo
I purchased this pair of tables at My Favorite Junk Shop for $30. Now you know why it’s my favorite junk shop. It’s always nice to have a matching pair of anything.
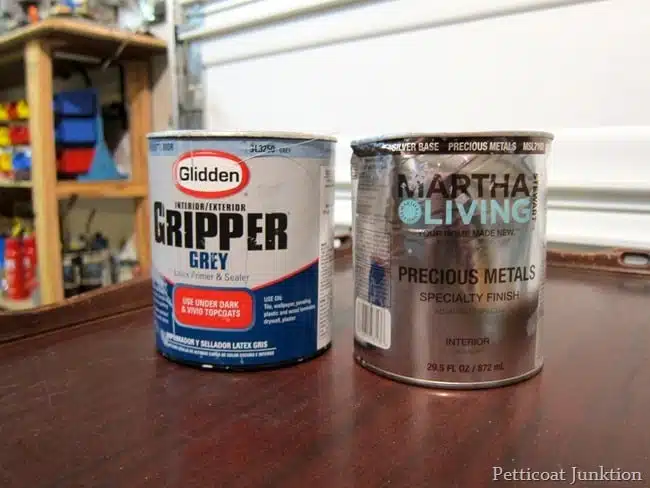
I guess metallic furniture is still popular because I receive a lot of emails about the metallic paint. So I pulled out my Martha Stewart Metallic Silver Paint and Glidden Grey Gripper and went to town. Don’t know what happened to that MS paint can…..I don’t remember beating it up like that! Home Depot doesn’t carry the Glidden primer anymore and I need to find out if it’s been discontinued.
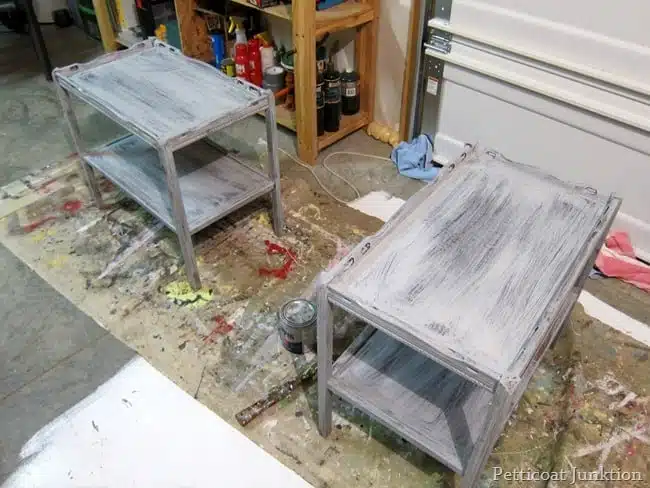
This is how the tables looked after one coat of primer. I don’t worry about covering everything completely. I timed this project and it took me 30 minutes to prime both of these tables. Some people tend to think that painting furniture takes a long time, but it doesn’t. The primer dried in 2 hours.
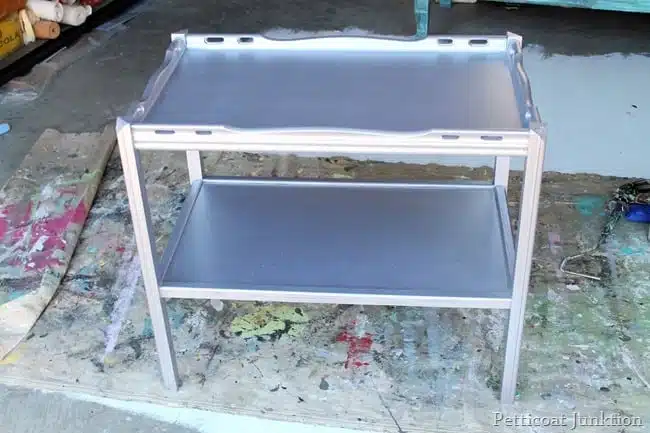
I used two coats of the MS metallic paint. The last few times I used this paint it was a little streaky. For the last coat of paint I used a small sponge roller and the paint finish looked a little better.
I wasn’t too concerned about the streaks because I was going to antique the paint and I knew the streaks wouldn’t show. The first coat of paint took 45 minutes to brush on and the second took me 20 minutes. I waited two hours between coats and I let the paint dry overnight before using the toner.
I used the Caromal Colours Toner to age the tables. I also learned a new technique. I try different things all the time. That’s the beauty of paint….you can try a new technique….if it doesn’t work….paint over it.
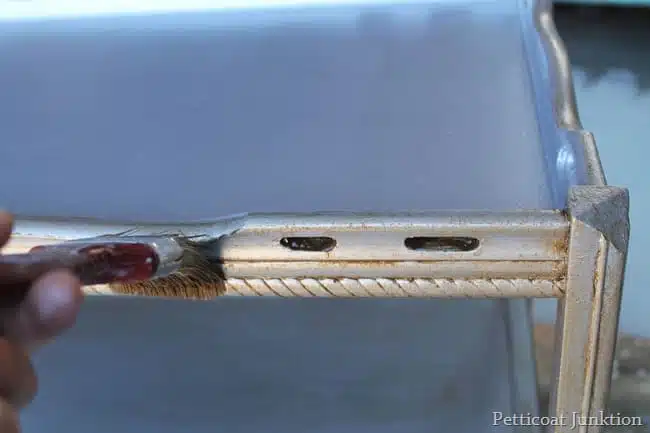
I usually brush the toner on using straight strokes…like up and down the legs and all the way across the top edge. I did that then wiped the toner off with a dry rag until I got the look I wanted…then I used the brush like above and went parallel to the original brush strokes.
This is kind-of like dry brushing. For the up and down brush technique I wiped the paint off of the bristles on a paper towel until the brush was almost dry, then dry brushed the toner onto the table.
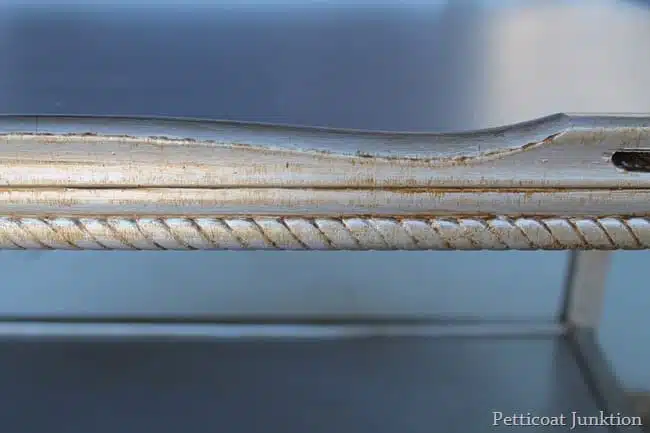
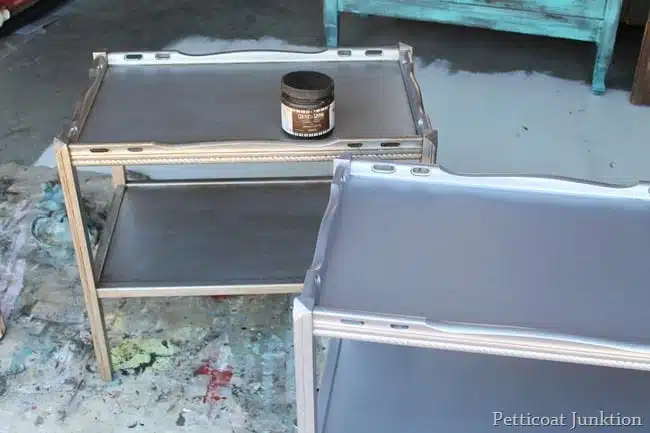
Can you see where I made the brown up and down strokes. I thing this look is really nice….very professional. I toned both tables in 30 minutes.
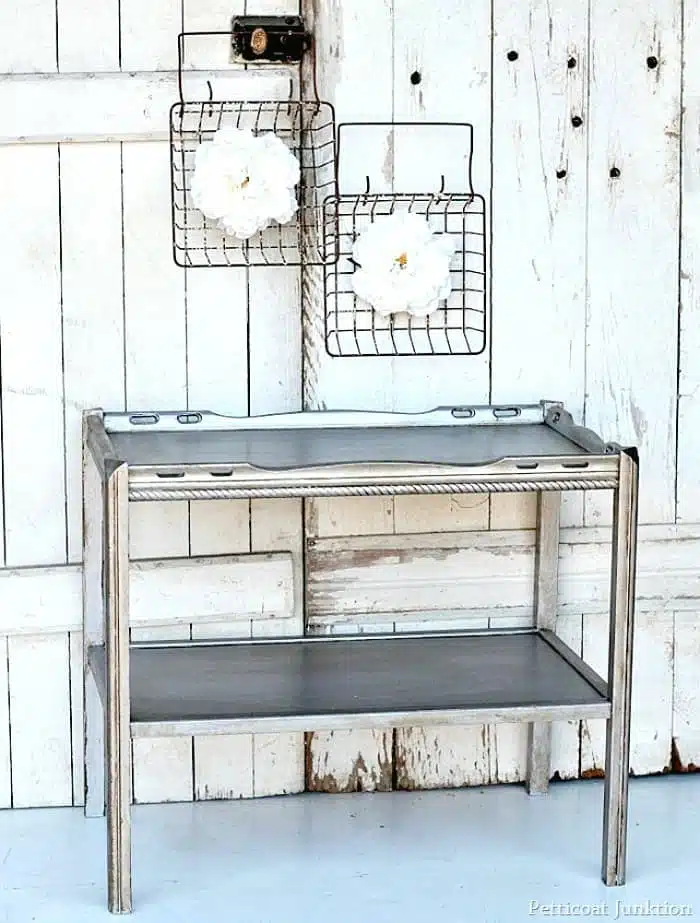
What a difference, huh? The toner cuts the shininess of the metallic paint but doesn’t hide it.
Table Pair – Furniture Antiquing Tutorial
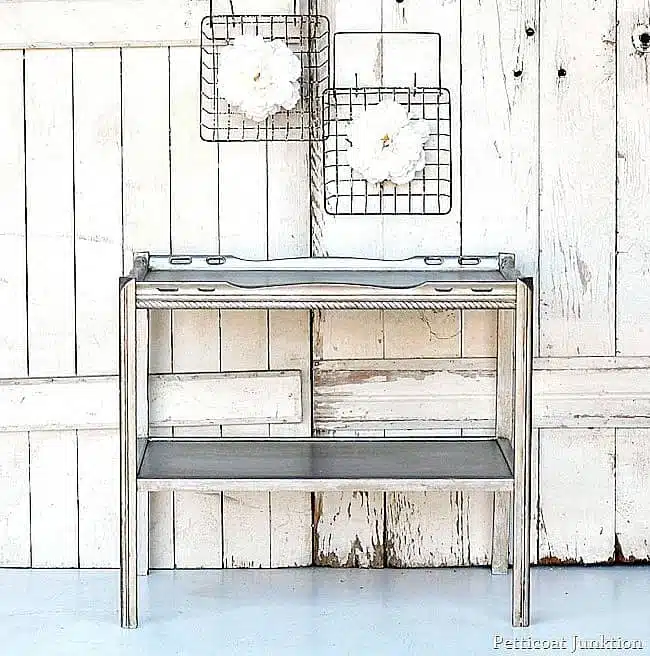
To stage this photo I used a couple of old gate doors and the 10 minute junk projects I made last week. I really like the white flowers on the rusty baskets. The metallic paint works well with white décor. And it looks great with bright colors too. What about the tables…like, love, don’t like?
Allowing for drying time, this was a two day project. But the actual time to do the project was 3-4 hours, counting cleaning and prepping the furniture. If you don’t paint everyday like I do…it may take a little longer.
I have a more in-depth toner tutorial you can check out by clicking here and if you have any questions about the metallic furniture antiquing tutorial just send me an email or leave a note in the comments below. I love hearing from you. Thanks for stopping by and have a great week,
See more of my metallic painted furniture with full tutorials by clicking here.

Thank you Odette. I may try the Ralph Lauren glaze. Thanks for sharing your recipe!
If you primed your table it should not chip. And no need to seal
I use Ralph Lauren glaze . Recipe is 1/4 cup of paint any color you want your antic looking like with 1 cup of glaze mixed together. I use the same method by applying and wiping the excess to satisfaction. It gives me a lovely antic finish. Enjoy painting! Love your work!!
Do you seal the metallic furniture with polycrylic or another sealer? I have having trouble with a table that I painted silver chipping, but I’ve read that some metallic paints don’t take sealers very well. Any advice?
How far are you from Dandridge?
I also have a piece similar to the one you are using in a bathroom. I have an old china buffet that I am thinking of using the base for a TV stand and whitewashing it. Not sure if that is what you call it, but trying to get a beach like look.
Thanks for the reply – this will be my first project and I hope it comes out as I hope. The pieces are not rough, just old and a mahognany in color. I will let you know how they turn out. Guess I will follow your tips and use the same paint. Thanks.
The tables do shine but they aren’t quite as shiny as the silver foil. I don’t sand before the primer unless the piece is really, really, rough. Thanks for the nice compliment and the comment. Hope this info helps!
Hi – beautiful work and appreciate your how to info. I want to redo two pieces (dresser and chest) actually three including nightstand and am thinking of doing them all in the metallic. The pieces are from the 60’s, solid wood, but I am wondering if I need to sand them before I apply the primer?
I want to have some shine – your table look as though they do. Should I use this method instead of foil?
Thanks,
Barbara
I agree! These are great tables and really appreciate you sharing how you do this kind of work. I’m learning as we go on how to paint vintage furniture to make it contemporary and desirable. Thanks for the inspiration!
You do not know how much I appreciate people like you who share their DIY adventures! These are beautiful and I admire your talent.
Oh wow Kathy! First, talk about an awesome steal at $30.00. I absolutely love what you did to these tables – gorgeous! Awesome tutorial too – thanks. Your tables caught my eye over at the Wow Us Wednesdays Party. BTW, love the new look of your blog too!
Your tables are gorgeous! I’ve been wanting to try painting something with metallic paint. Using the toner gives it the perfect aged look that I love. Thank you for the awesome tutorial. Pinning for future reference.
Blessings,
Patti
Love the toner, I see that you did prime the tables.
Do you have to use Glidden Grey? Can’t you use Kilz?
Love the finish product… I am turning into a silver nut.
I will be ordering your Caromel toner. Thanks for the
inspirations! I am a new subscriber.
oh my goodness, I love love love this technique, it looks awesome!Thanks for all the great tips!
A pat on the back? I’d be patting you so hard you’d go flying on your butt !
They’re GORGEOUS Kathy – absolutely gorgeous –
I’ve never antiqued silver pieces I paint – always just leave them silver – but now that seems very boring after looking at yours – have to try this!!!
Came by through Kim – at Savvy Southern Style
Hugs,
Moi
Oh Kathy these turned out beautifully!!Love!!
These turned out so pretty! The toner really took them up a notch, amazing!
~Tami
LOVE LOVE LOVE!!!! I MUST do something like this for my spare bedroom! I have to get some of that toner! I really like the silver furniture, it’s so professional looking when toned!
It’s beautiful Kathy, both of them! It’s amazing how different they look with the toner!
Nancy
Kathy, I really like your photo that shows the 2 tables beside each other, one with the toner & one not. *Connie
Love them, I am going to do more silver pieces. Luv it
For a girl who loves all things that glitter…these tables are calling my name! Beautiful!!! Very nice job!
I LOVE these!!! Gorgeous Kathy!
i love these tables the difference before and after is amazing and the hanging baskets look great with them xx
Beautiful transformation, and I’m sure the tables look even better in person.
My husband sells Glidden products to Home Depot. He says they are bringing the primer back in the near future. In the meantime, they can tint the white primer grey. Beautiful tables!