Paint An Old chest And Use Dark Wax To Antique The Paint
As an Amazon Associate, I earn from qualifying purchases.
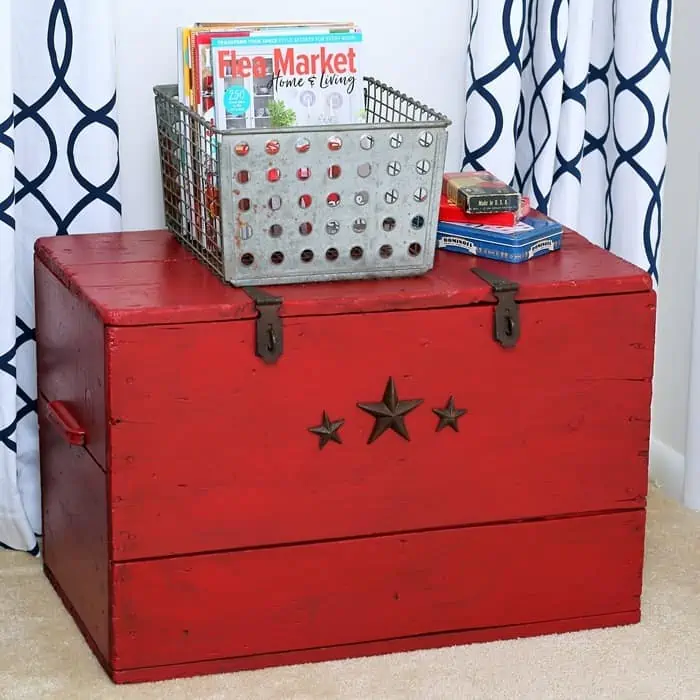
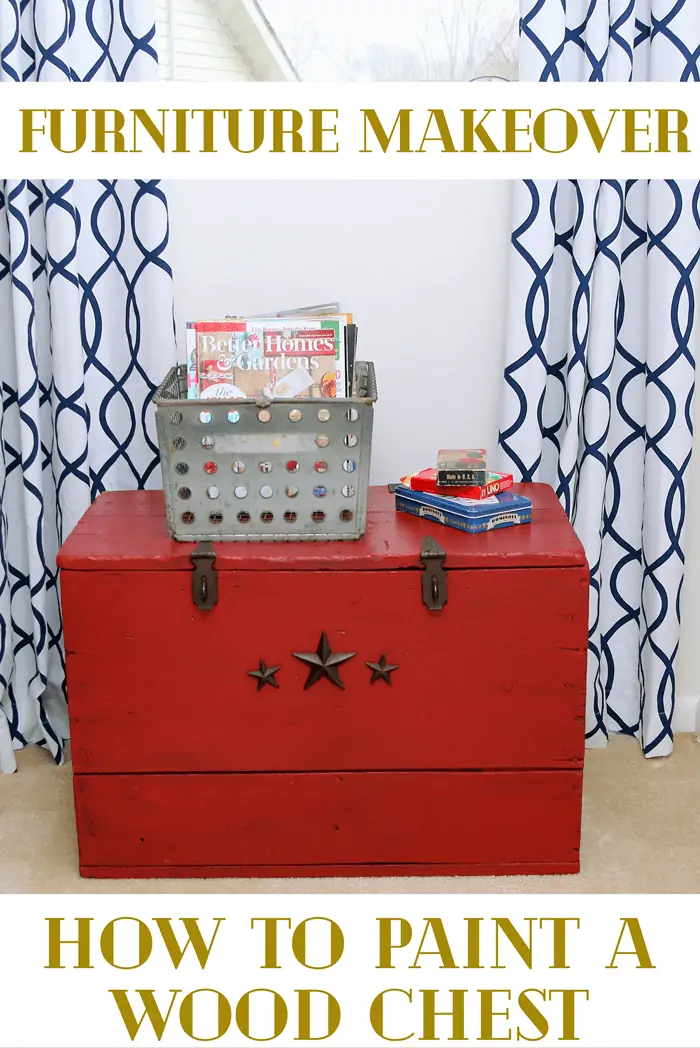
How to paint an old chest and antique the paint. For more pizazz attach star nails to the front of the chest.
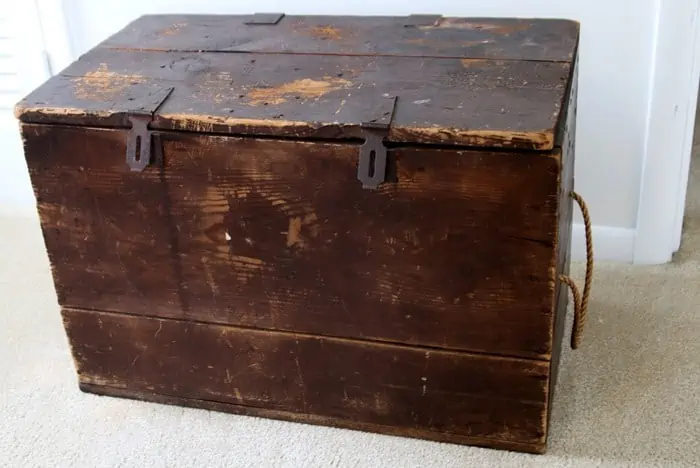
I bought this old wood chest or wood box with hinges when we lived in Florida. It is one of the things we loaded onto the moving truck and brought back to Tennessee with us. I don’t know why I’m so attached to it. The chest was just plain old wood with a lot of scratches and dull areas in the rough finish.
It also had one lone rope handle on the side. So if I moved it anywhere I had to drag it by the rope handle. Well before painting the chest I took care of the handle problem. And yes, I admit to being a little anxious about painting the chest. I liked it just as it was and don’t know why I got a wild hair to paint it.
This is the wood chest before painting. I don’t remember where I bought it in Florida or how much I paid for it but I guarantee it wasn’t much. I loved shopping the garage sales and the thrift stores in Pensacola. They have the best stuff!
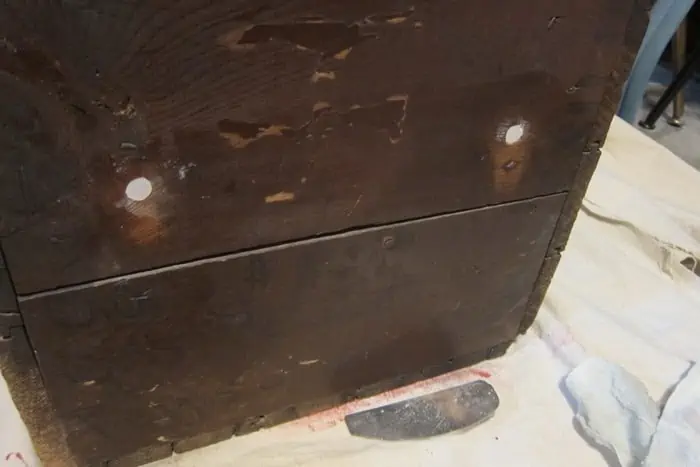
As I mentioned earlier I removed the rope handle then filled the holes with wood filler. Once the filler was dry I sanded it smooth and flat to be even with the wood surface.
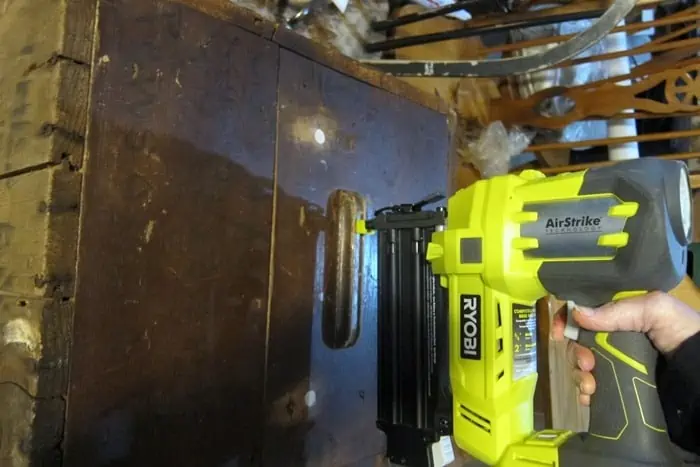
I went through my stash of metal handles and wood pieces and really didn’t find exactlyl what I was looking for. I was thinking about large worn, kind of rusty, metal handles but I only had one. New handles just wouldn’t look right so I settled for two wood drawer pulls removed from an earlier project and I nailed them on with my Ryobi brad nailer.
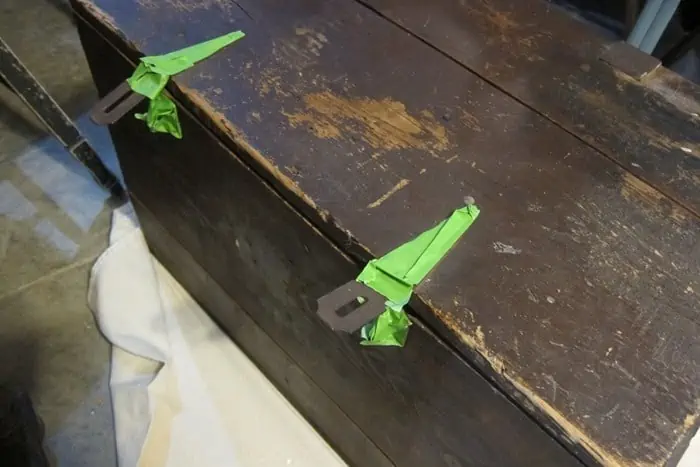
I didn’t want to paint the hinges so I covered them with Frogtape. Not easy to do with all those angles. That’s why the tape looks all wonky.
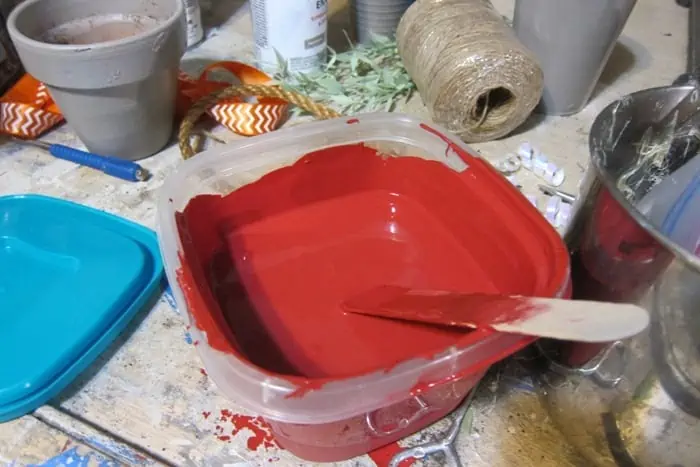
I mixed paints together to get the perfect color. The only red I had was a little too orangey so I added just a bit of black paint to the red and it deepened the color and no more orange red.
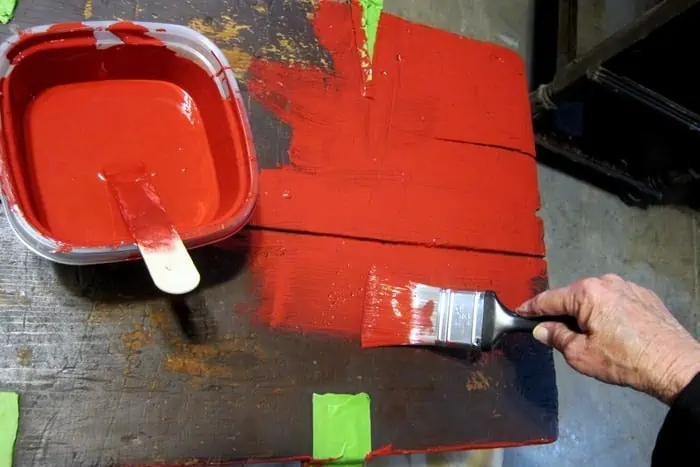
The paint brushed on smooth and covered well. I applied two coats.
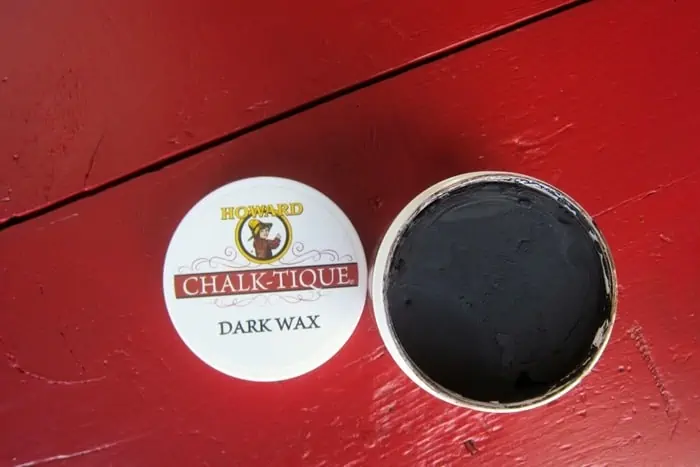
Next I wanted to give the paint an aged or antiqued look. The chest is old and I wanted it to look like it had been painted for awhile. I always use Howard’s Wax in Walnut or Golden Oak to darken paint. But, guess what. They don’t make the colored waxes anymore. They now have Howard’s Chalk-Tique Dark Wax. I have to tell you I don’t like it very much. Now, the paint is latex and not chalk so maybe it works better on chalk type paints.
I wiped the wax on with a lint free rag then let it dry for about 20 minutes. Next I buffed it up with a dry lint free rag. Usually the dark wax gets down into the dents and dings and clings more to the paint than this did. So the paint is not as “aged” as I would like it to be. I’m on the hunt for another dark wax to use and I’ll keep you posted.
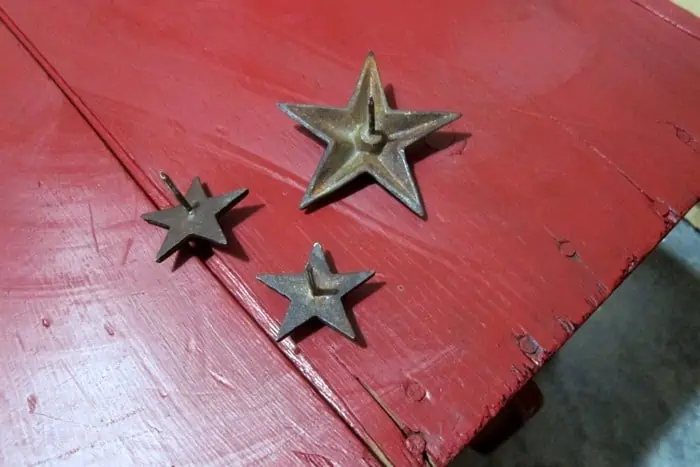
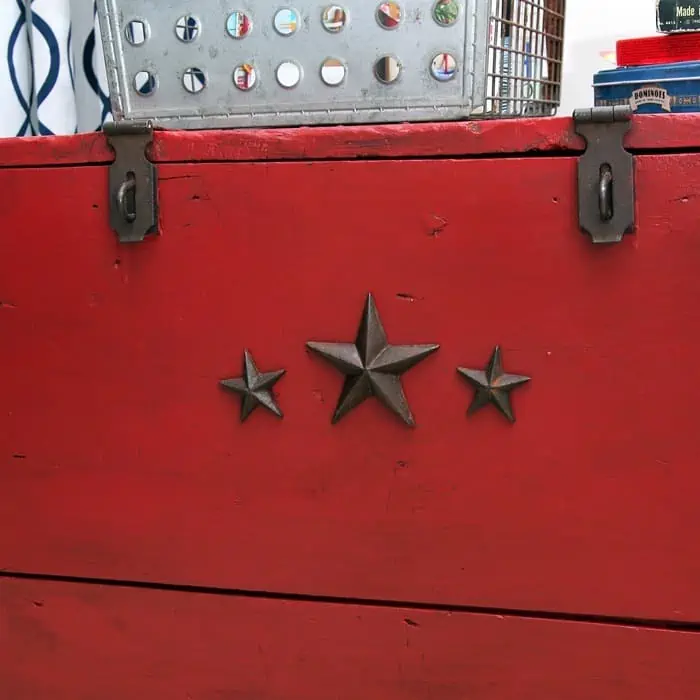
The star nails are really cool. I think I decided to paint the chest is because the red aged paint look with the rusty star nails is a style or technique I first saw on a cedar chest when we lived in Florida and I started painting furniture. A friend at the shop where I had my booth kept painting all these old chests red and nailing the stars to them. The chests sold like hot cakes and I really liked the look.
I paint a similar chest a few years ago. You might have seen it before. If not take a look at the photo below….
This cedar chest was very large and before it was painted it kind of looked like a coffin. Not kidding. Take a look at it here…The Secret To Antiquing Furniture The Easy Way
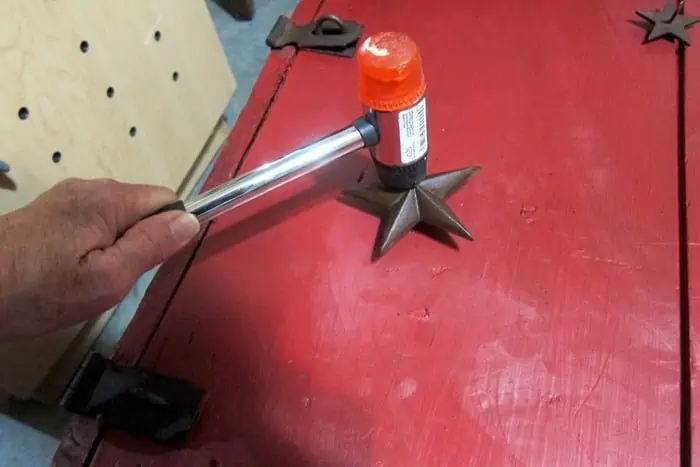
The stars were rough and rusty so I used the wax on the stars too. Then I nailed them to the trunk. I buy the stars on eBay and like everything else they have gone up in price.
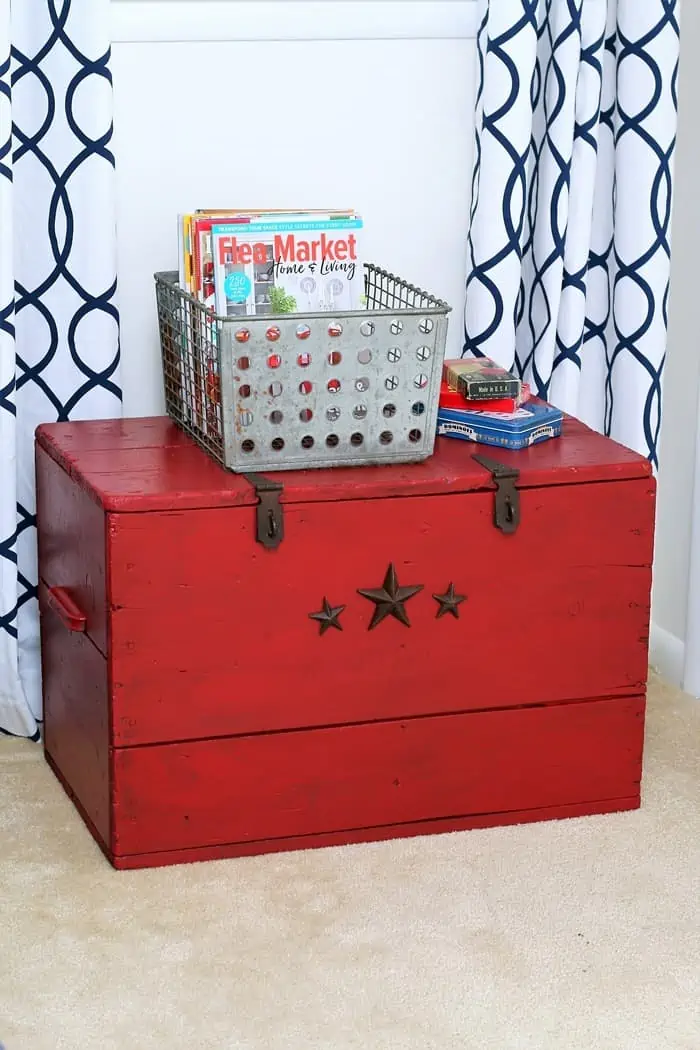
I’m pretty happy with the red chest but I still want to find another type of wax to darken the paint and also I might have to do a little distressing. Don’t know why I didn’t do already.
What do you think of the stars? Is the look a little too rustic or country? One of the reasons I painted the chest red is because it sits in our navy and white bedroom.
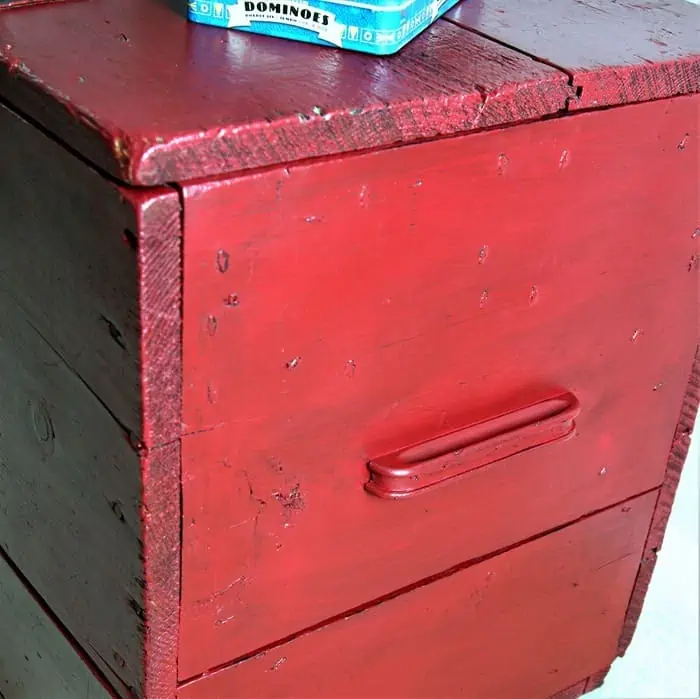
The photo above shows the wood handle on the side of the chest. The handles aren’t very big but they work. The JTS helped me bring the chest back into the house after painting it and we carried it by the handles.
That’s about it for me. What do you think? Like it or not? Leave a note if you have time and thanks for being here, Kathy

I will, thank you!
You might want to check out Christy James at her blog “Confessions of a Serial DIYER”.
She uses different waxes to seal and age her painted projects. See what you think.
I like the red chest in the blue and white room. Have you tried adding paint to the wax to get the right color? I have tried it and it worked for me. Let me know what you think.
I liked the red chest. For me, I would like it a little darker, pretty bright. I am sure it looks great in your patriotic room. The stars are awesome. Thanks for the idea and instructions.