Whitewashed Chock Painted Furniture Makeover
As an Amazon Associate, I earn from qualifying purchases.
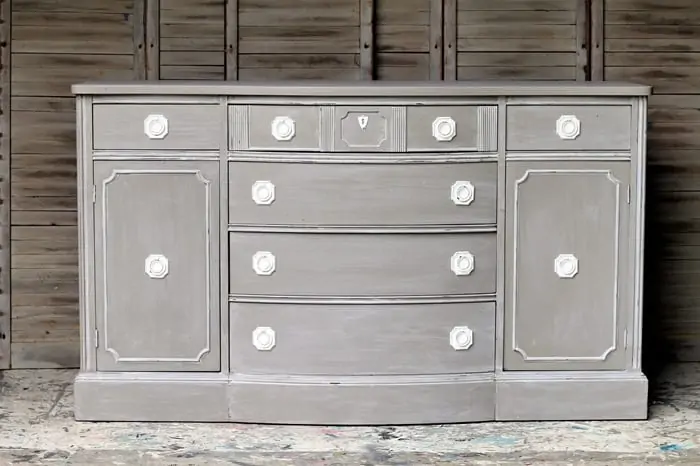
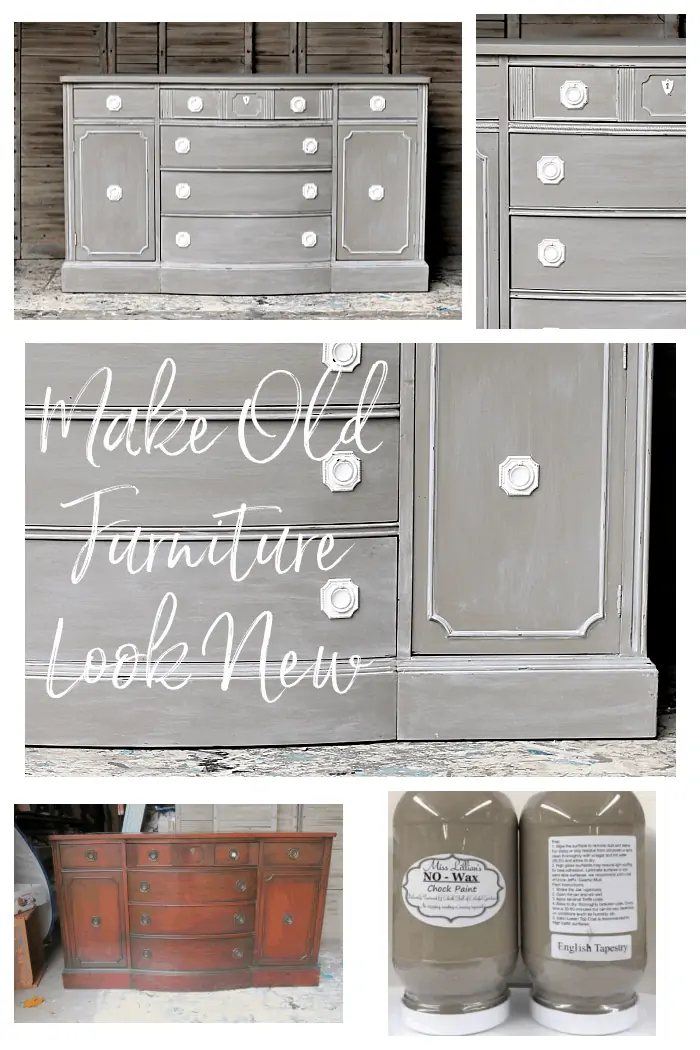
There are many ways to whitewash chock painted furniture but this is the best technique to get a natural looking whitewashed finish. The buffet I painted is so pretty I can’t stop looking at it. I really love the look of whitewashed painted furniture. And the Chock Paint (type of chalk paint) I use is fantastic.
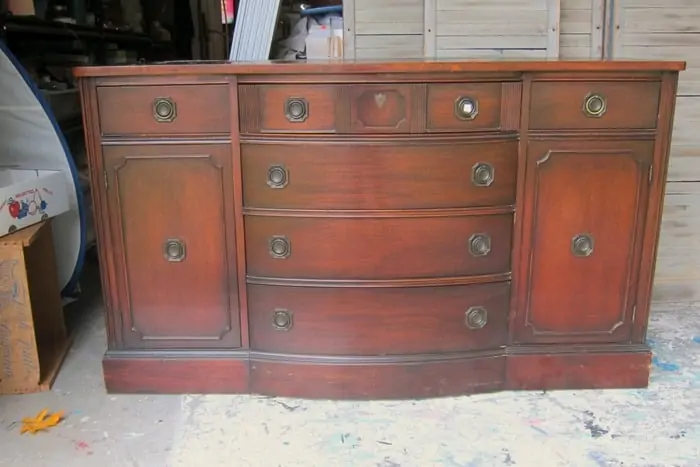
This is the buffet, or sideboard, I never know what to call them that I bought at auction for $40. Yes it was a deal. I think I know what scared off most bidders.
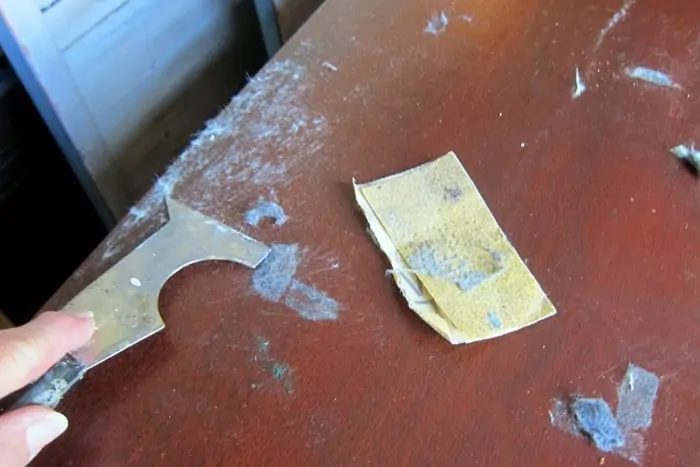
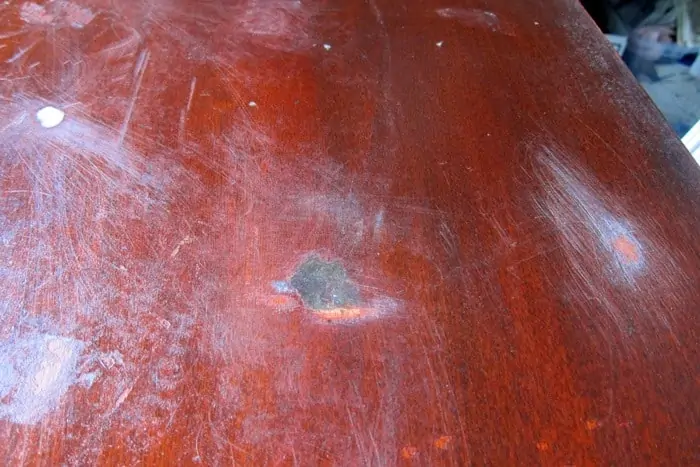
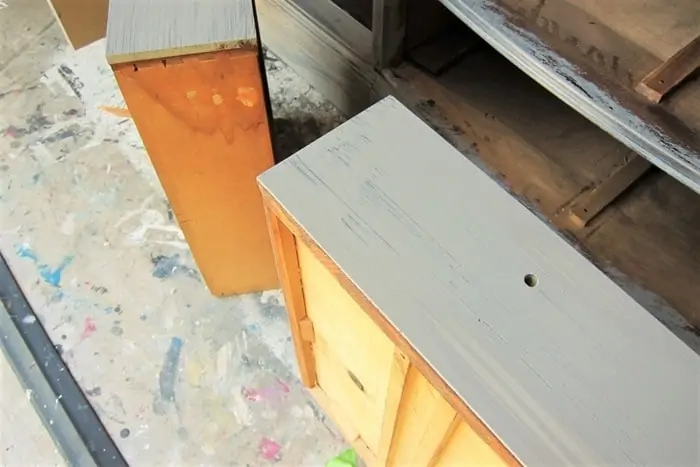
The top. I’m not sure what all happened to it but there were leftovers of felt stuck to the surface, or I believe it’s felt. Then there were small piece of thick tape in spots. A lot of gummy areas to clean up. Seems like the more I sanded the rough areas the gummier they got.
You can see the gummy looking dark spot in the photo above. I finally gave up because the more I sanded the worse some of the areas got.
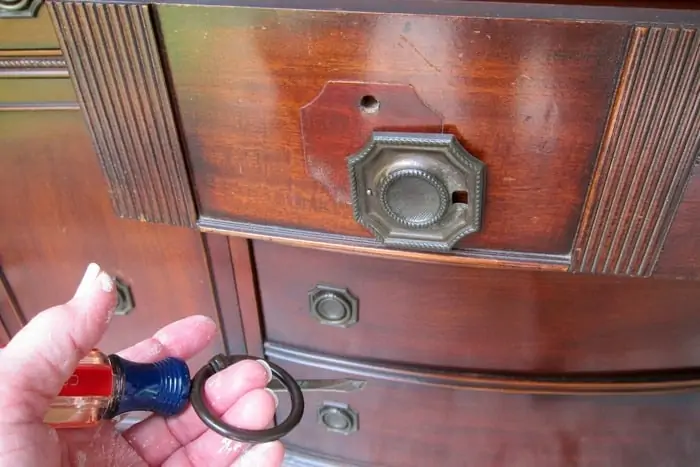
Next I removed the drawer pulls. They were all there and all intact for a change. These drawer pulls had a tiny nail at the bottom of each plate to keep it in place. Nice to have but extra work.
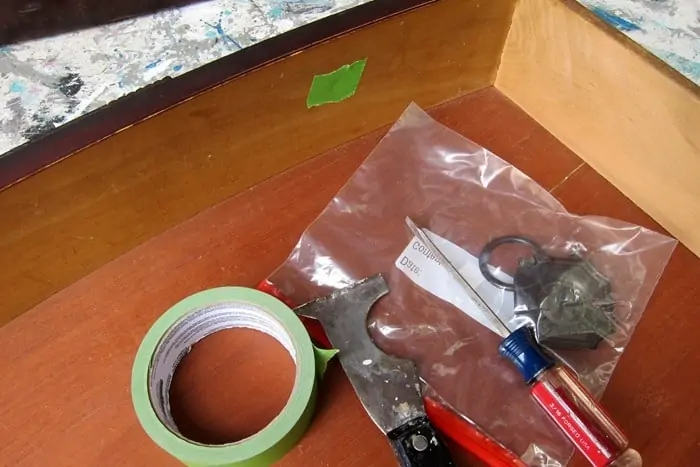
I needed the paint scraper to slip under the drawer pull to get the nail to work loose. I always put all of the drawer pull pieces including screws in a plastic bag. I learned that tip the hard way. Now if you loose the pulls you lose them all, lol. To keep paint from seeping into the drawers when I paint them I stick a small piece of painters tape over the screw hole in the inside of the drawer. Most times I stand the drawer on it’s back side to paint the drawer front.
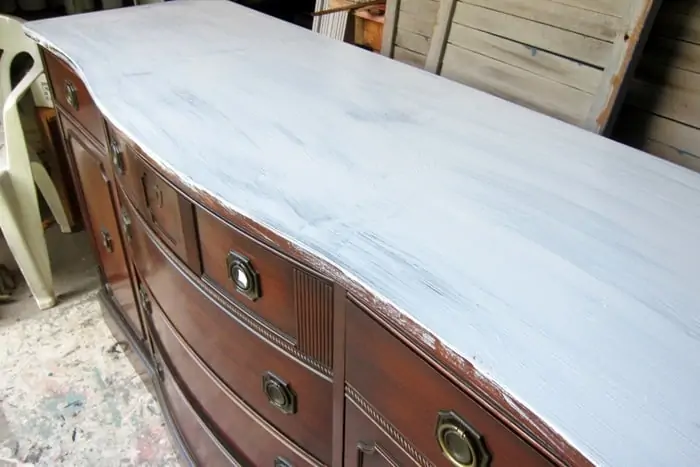
Since the top was such a mess I applied two coats of primer trying to cover the gummy areas so I could paint them.
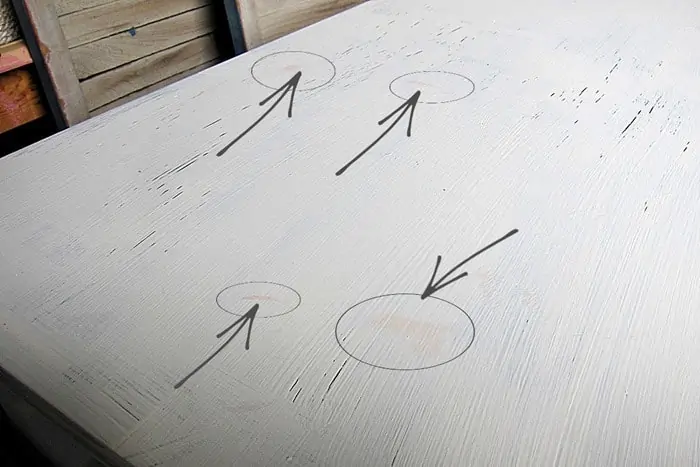
I had a problem with reddish stains from the wood seeping through the primer. After two coats of primer the stains were still there but the paint covered them up.
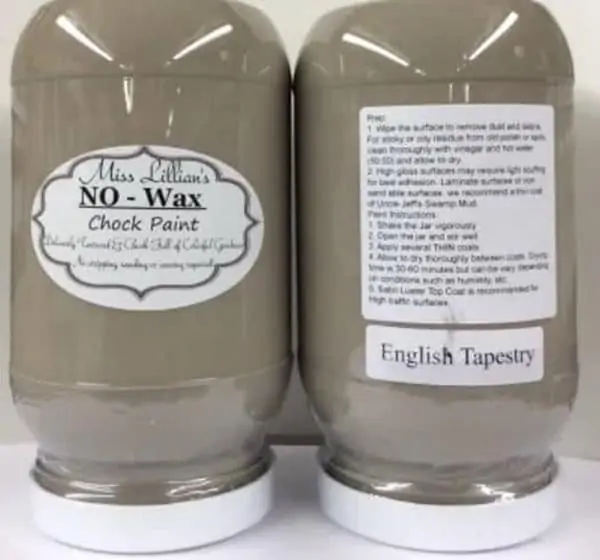
The paint for the project is Miss Lillian’s No-Wax Chock Paint. The color is English Tapestry which I’ve used before. It’s kind of gray and kind of brown. It looks more brownish when I use off-white paint for the white wash and the details. I only had a partial jar of the paint left from a dresser I painted earlier. I had enough to paint this buffet so one quart of paint will paint two large pieces.
This is how the drawers looked with one coat of paint. I applied two coats of the English Tapestry.
I left the paint to dry for a couple of days. For the white wash technique the paint is very thin….and wet. If the furniture paint isn’t really dry then it will come off in places. I used Beyond paint in off-white for the white wash and I mixed 1 part paint to 2 parts water.
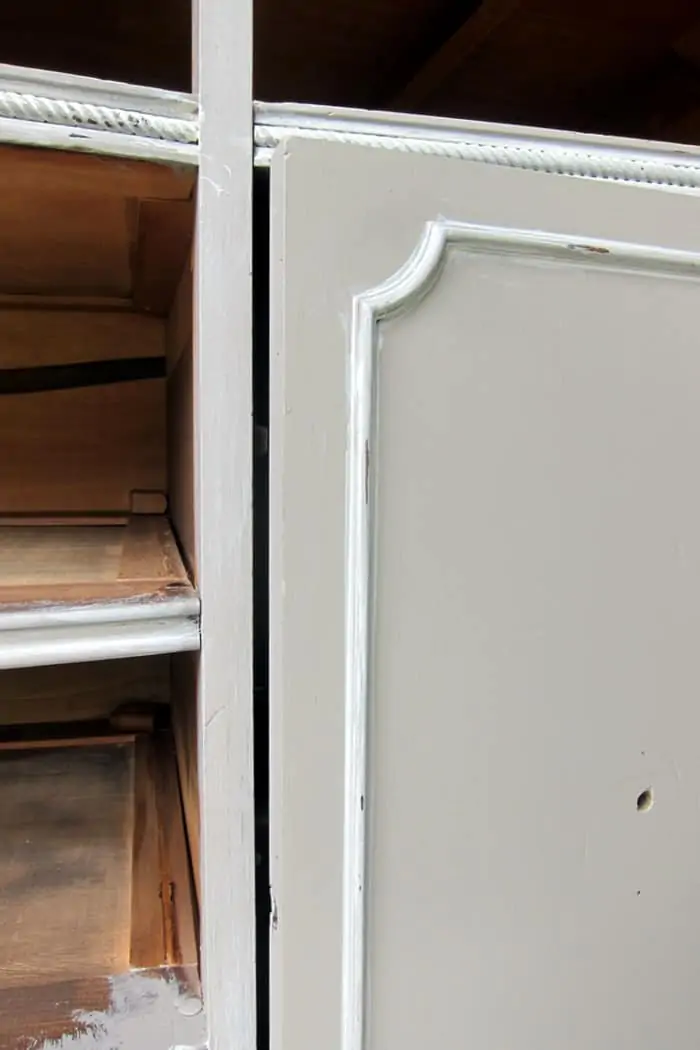
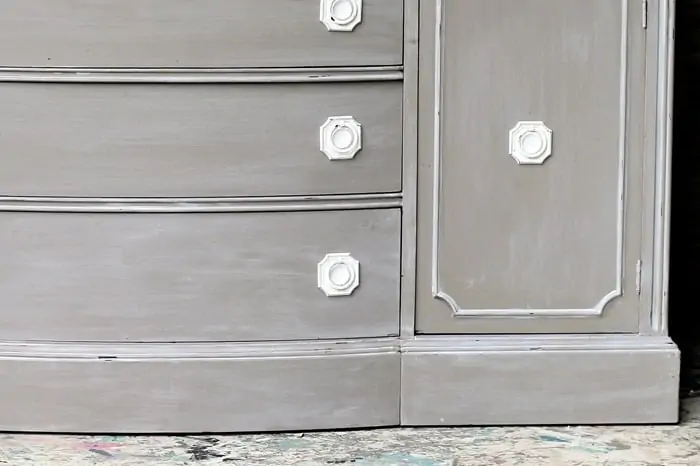
The white wash technique really looks good on vintage furniture with a lot of details. This vintage buffet or sideboard is the perfect example of that. I’ve worked this technique on several pieces lately. The whitewash isn’t hard to do it’s just time consuming.
I hand painted the corners and insets with a small paint brush, then used a rag to do the whitewash job. I didn’t make a video of the technique on this project because the wash and painting I did on the pink piece from last week is the same technique…..just a different color. I have that video below if you need a refresher or if you missed it earlier.
[adthrive-in-post-video-player video-id=”wKX2QTpj” upload-date=”2021-05-26T13:33:40.000Z” name=”How To Highlight Furniture Details With Paint” description=”Highlight Furniture Details With Paint” player-type=”default” override-embed=”default”]
How To Color Wash or Whitewash Painted Furniture
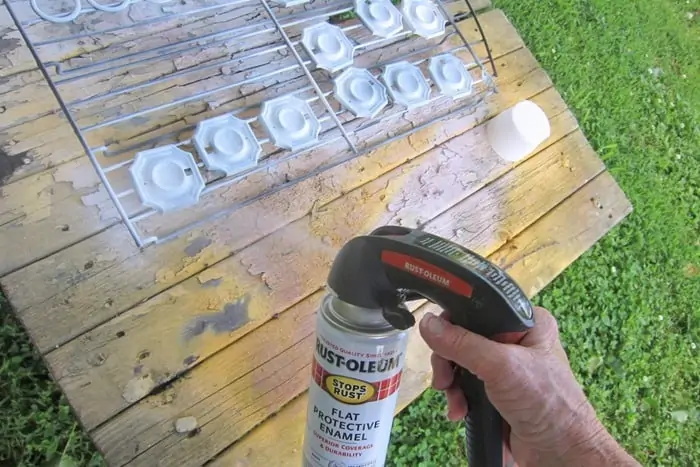
Next, I spray painted the hardware, and that turned out to be quite a job. I wanted to paint them with my favorite Rust-Oleum Heirloom Satin White but I didn’t have any and neither did the hardware store I visited. So I applied a white white. It looked too white and I went to another store to get the Heirloom Satin. I sprayed it on and it was too tannish. So I used Rust-Oleum Spray Paint and Primer color Blossom White. The third paint color was the charm.
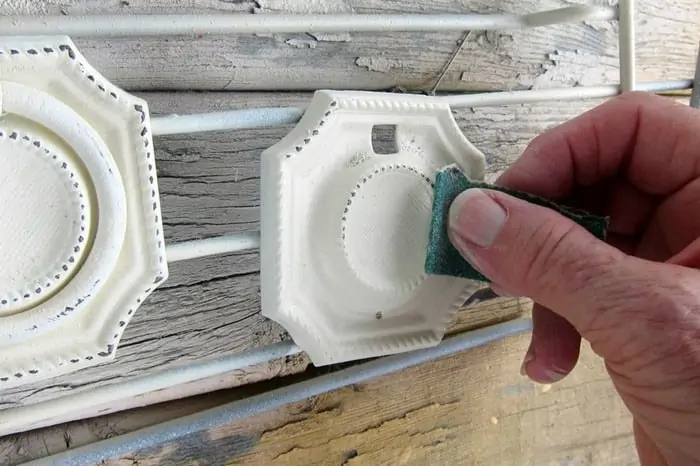
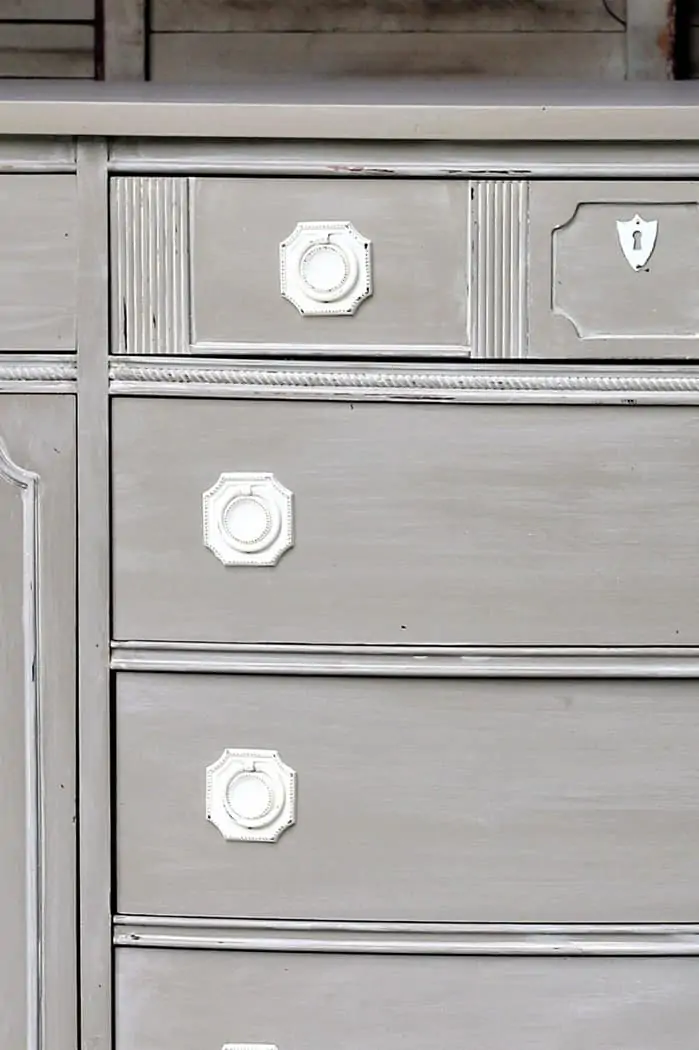
I thought the drawer pulls would look better and not be so…..white……if I distressed the pretty detail on the pulls. I did this by hand. It only took a few minutes to do all 12 of the pulls.
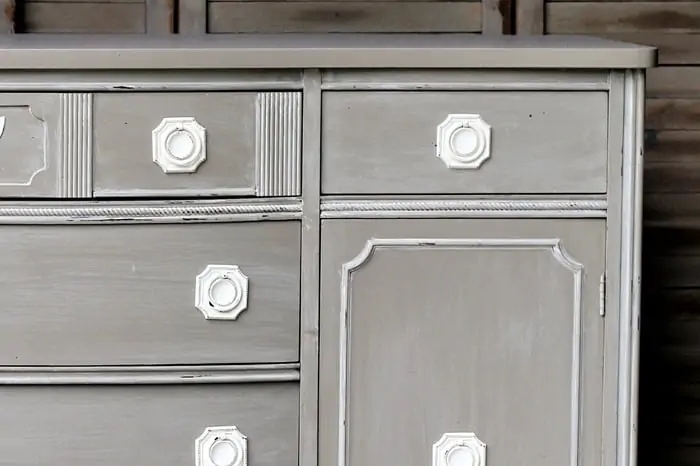
All that spray painting and paint distressing was worth it. The pulls are perfect for the new paint look.
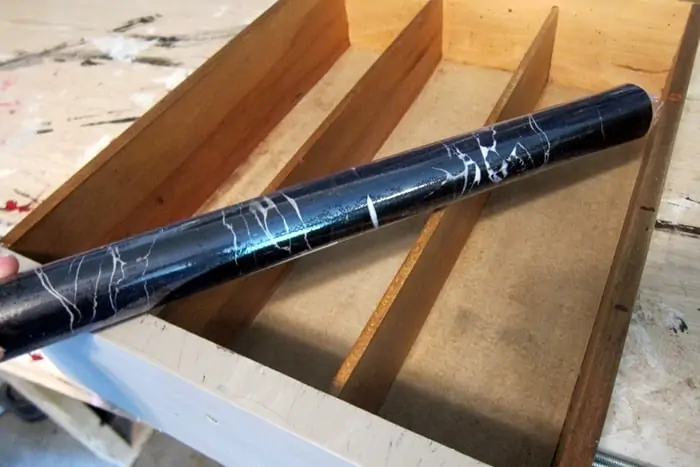
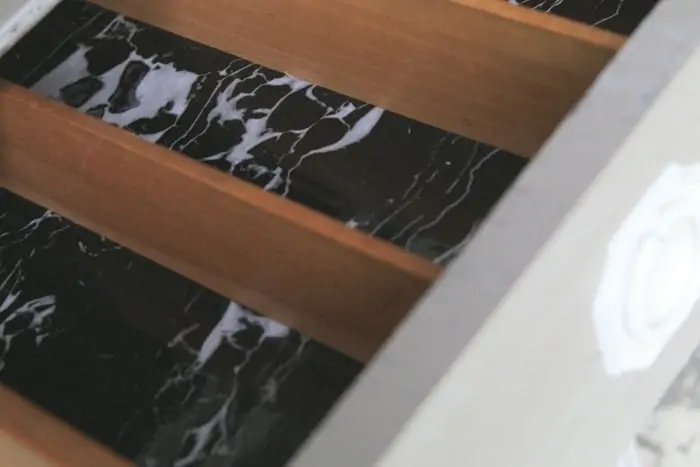
One more simple project to add pizazz to the makeover. The lined silverware drawer was a bit ratty looking and I pulled out another roll of adhesive vinyl paper I ordered from Amazon here. I ordered several colors and styles, thinking they would come in handy.
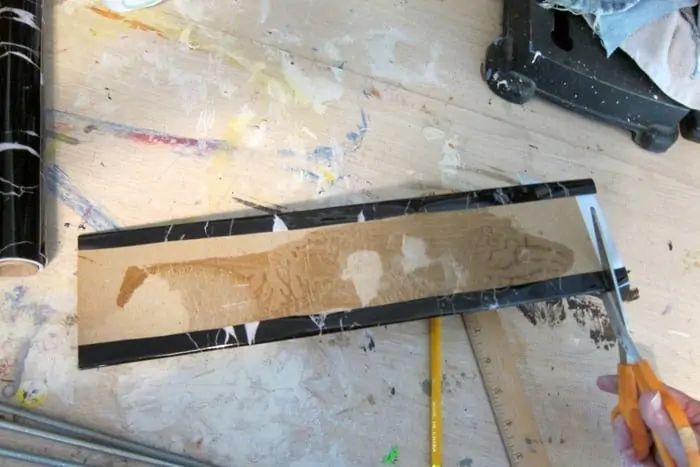
I pulled out the three cloth-lined pieces from the silverware drawer and wrapped the adhesive vinyl paper around them.
I don’t know that it’s the perfect liner for the paint color but it’s what I had, and it definitely looks better than the original stuff.
And that was it. See why I smile when I look at the buffet now. It’s even prettier in person. Wish you guys could see it.
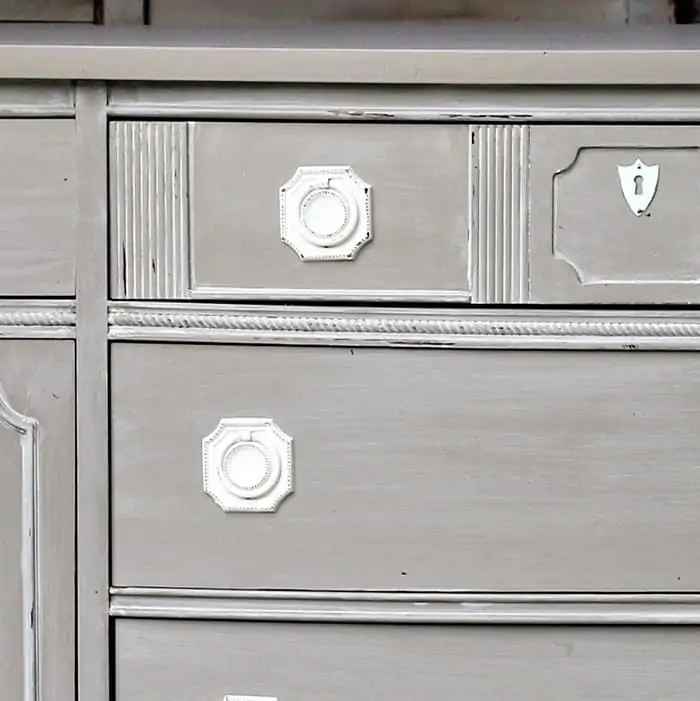
The buffet had all kinds of details to work with. The top middle drawer even had the little keyhole thingy that also got spray painted too……3 times. The rope trim between the top drawers and the bottom drawers and cabinets is another detail that looks great whitewashed.
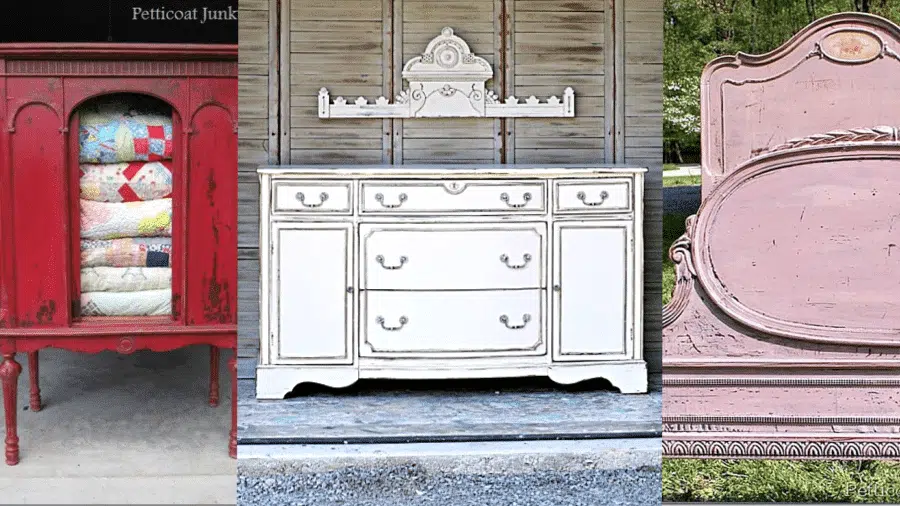
The rounded front on these old buffets is not something you find in new furniture. I think this is my favorite style of buffet, and I’ve painted many of them. This buffet here had very curved drawers and a different paint look….Weathered Gray Sideboard: Coastal Or Nantucket style?
Well, that’s the end of this story. How do you like the buffet now?
Leave a comment if you have time, and as always, thanks for being here, Kathy

Kathy,
Do you know maker, name, and year(s) made of this piece of furniture? We just bought same piece, really like it, but can’t find maker or name for it.
Alan
How beautiful! Question: did you sand the piece before priming? I have a similara piece, but it is a much darker color, that I’d like to grey-wash. I figured I’d apply grey primer, then white wash. Thoughts? Thank you!!!
Such a wonderful transformation. It came out well!
That’s a great transformation. It went from outdated to beautiful. You do amazing work!
Love the work you do Kathy. Do you sell your pieces online?
The piece turned out really well. The wash on the accents was the crown on the jewel. A suggestion try Goo Gone on sticky gummy pieces stuck on your furniture finds. You only need a little work it in with your finger and wipe it off with a cloth. Then use your Simple Green to give it a final clean. Hope this helps.
This is one of the most beautiful pieces that you’ve done!
It turned out beautiful! I really love the color you chose!
Hi Kathy! Yes looks great! I am definitely going to try it. Did you sand or top coat your paint before you put the wash on it? I tried to watch the video but it wouldn’t play for me. Probably my device. Thank you for sharing this. I have hear of this paint but I dont know where to buy it. I will go on their website
What a beautiful paint job. You have great style,vision and and attention to detail.
Kathy,
You got a steal of a deal on the buffet and it turned out beautifully , don’t mind me I’m just not a gray girl although I know it’s super popular these days. The technique would work with whatever color one chooses. Lovely work.