Make A Gray Weathered Table
As an Amazon Associate, I earn from qualifying purchases.
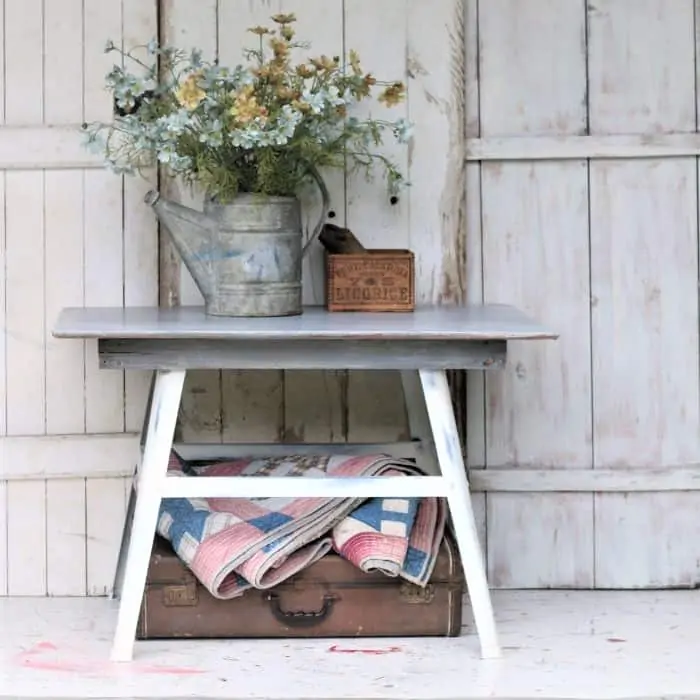
You can make a gray weathered table by starting with a plywood table top and a metal base. Then paint the table top with a gray weathered finish.
This is the technique I used to achieve the gray weathered paint finish using various paint colors. It was a process of trial and error but I got there eventually. I created the weathered gray finish for the themed furniture project from last week.
The process was fun for me because I enjoy trying new things. I may recreate the finish on a small stool now that I know how to do it!
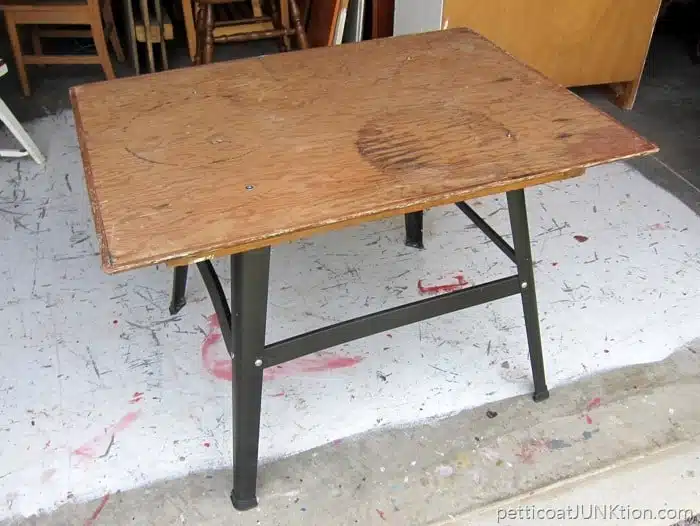
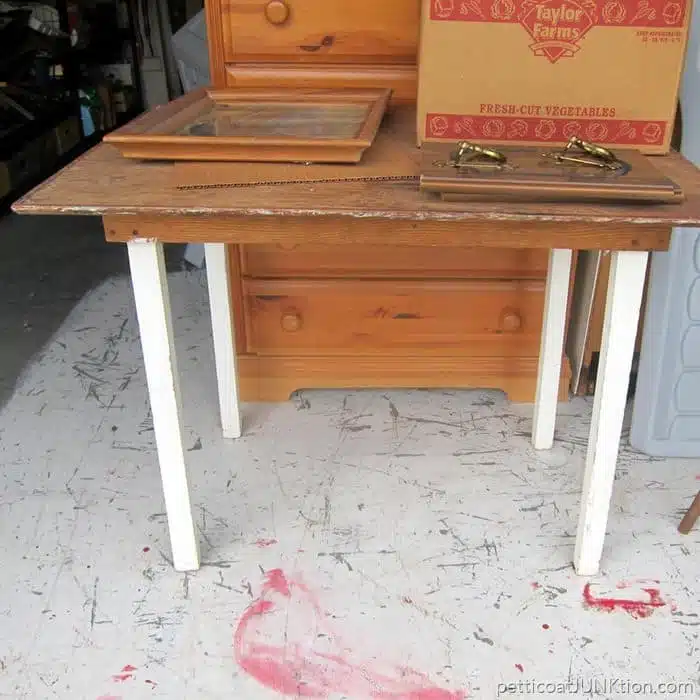
This is the table before painting. We had a rustic wood table and we had a metal base. So this table is a marriage of the two.
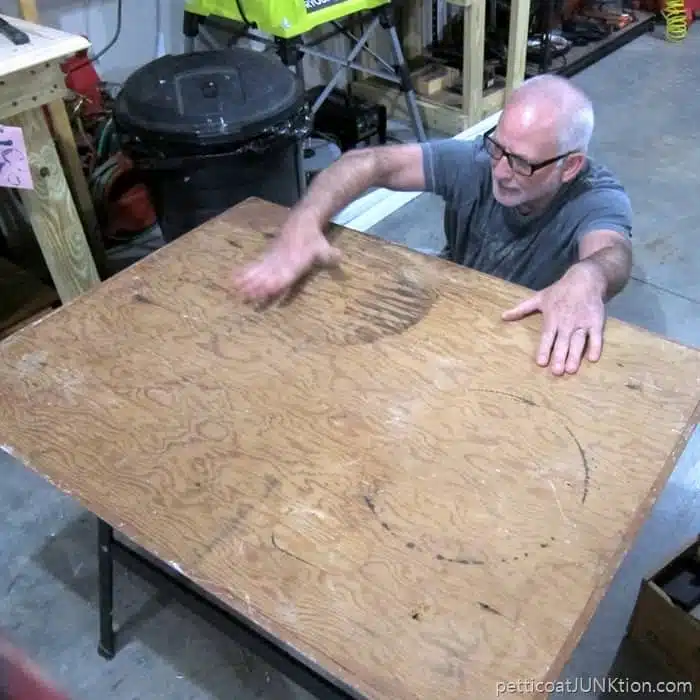
We didn’t really like the one table with the wood legs. The JTS paid $2 for the table. Now it doesn’t look like a lot but it did have potential. The table top looked all out of proportion to the white legs. The legs were too long or too skinny or too …..something. But the top was worth spending time on.
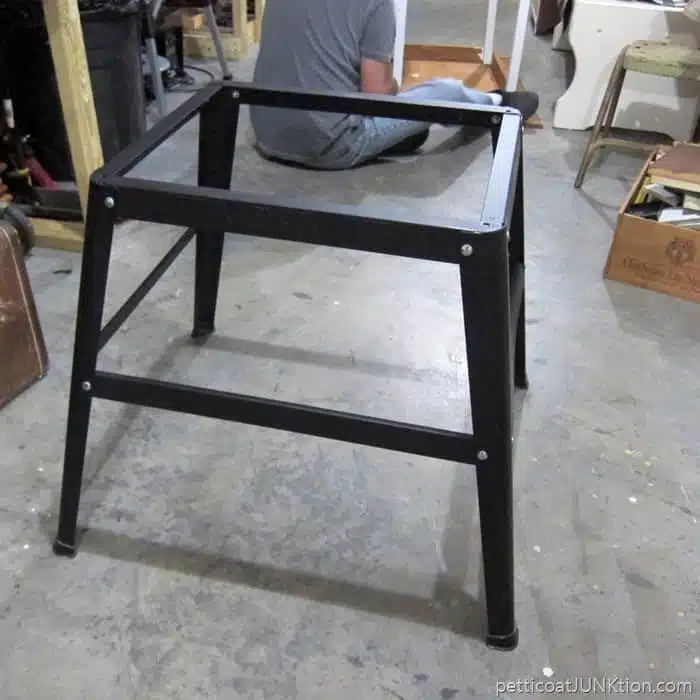
We had a reclaimed table saw base (also purchased at the junk shop on a different shopping trip) that was in perfect condition. I set the auction table over the saw base and it was a match made in Heaven.
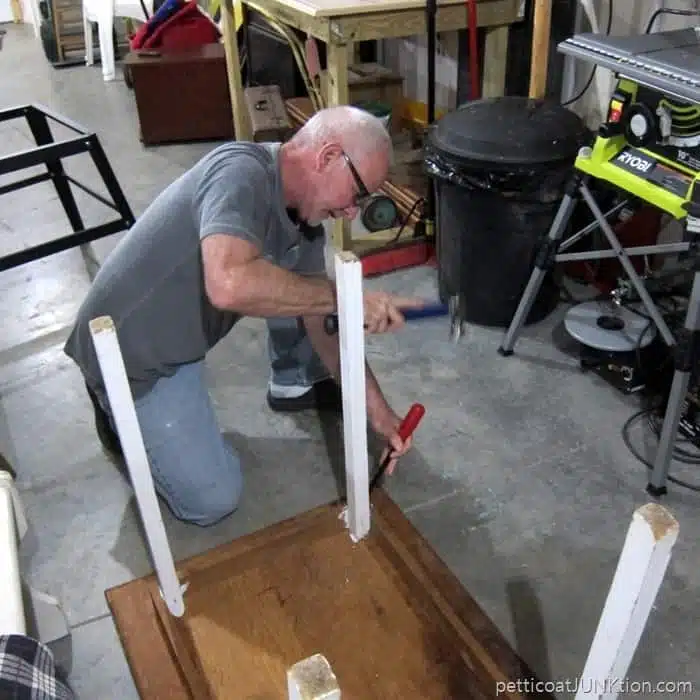
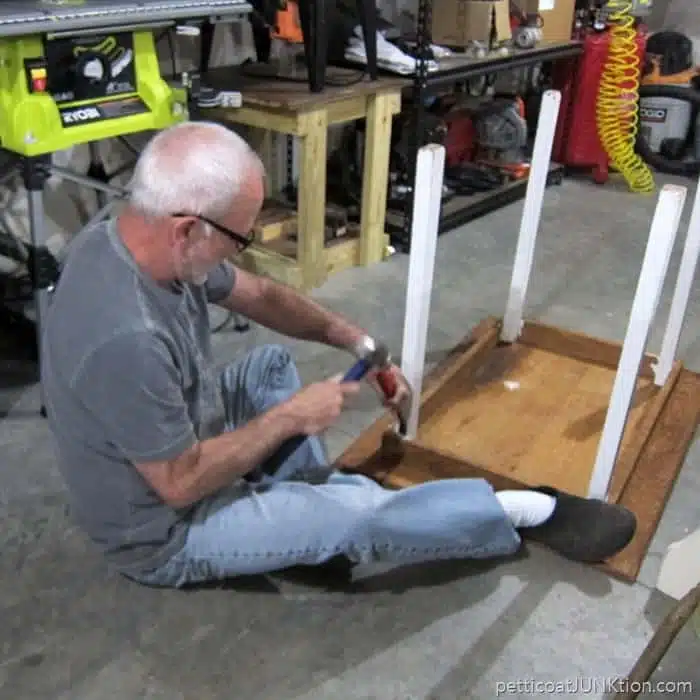
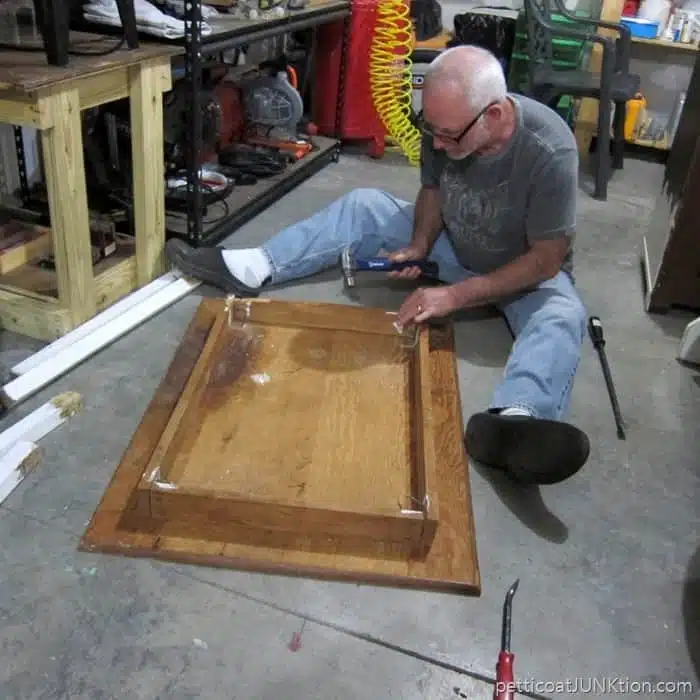
The JTS went to work taking the white legs off of the top. The job turned out to be a little harder than expected. The legs were nailed on instead of screwed on. The long nails are a lot harder to take out than screws are.
The JTS probably worked for a good hour if not more removing those legs. The hubby can do just about anything and he is always ready to help me with my projects. ! I know you girls are jealous.
Some of the wood on the table apron split but a little wood glue took care of that.
Next he just set the table top on the table saw base. The table apron (or skirt) slipped perfectly over the metal base….just like they were made to go together!
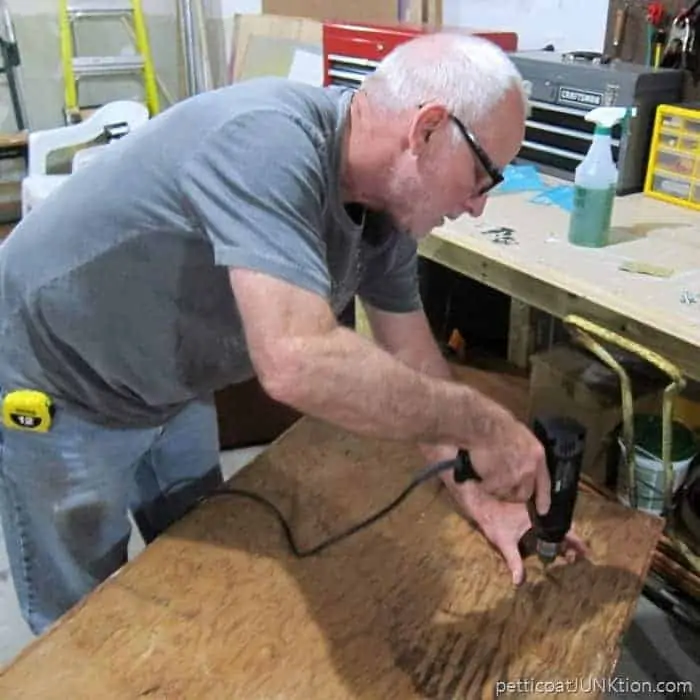
The JTS drilled holes in each corner then countersunk the screws into the top. That means the screw heads are level with the wood top, or just a tad lower than the top. After I paint the top the screws shouldn’t be noticeable at all. And now it’s time to paint…..
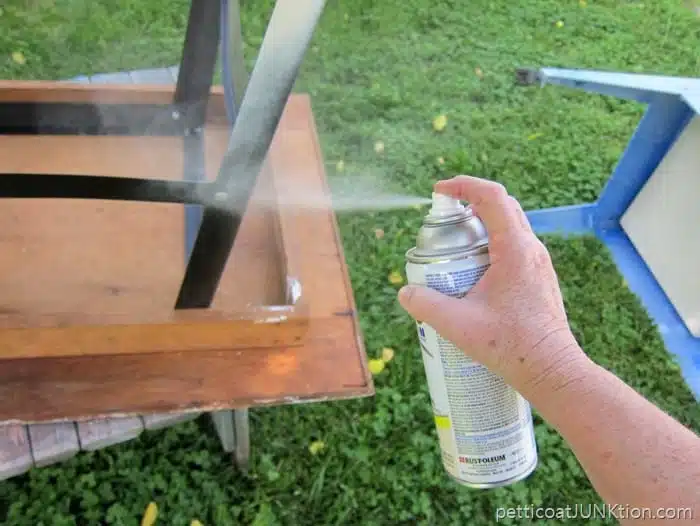
First thing to do was paint the metal table base. The legs received a coat of Rust-oleum Heirloom White Spray Paint. This is my go to spray paint color for almost everything. The paint was dry in 30 minutes.
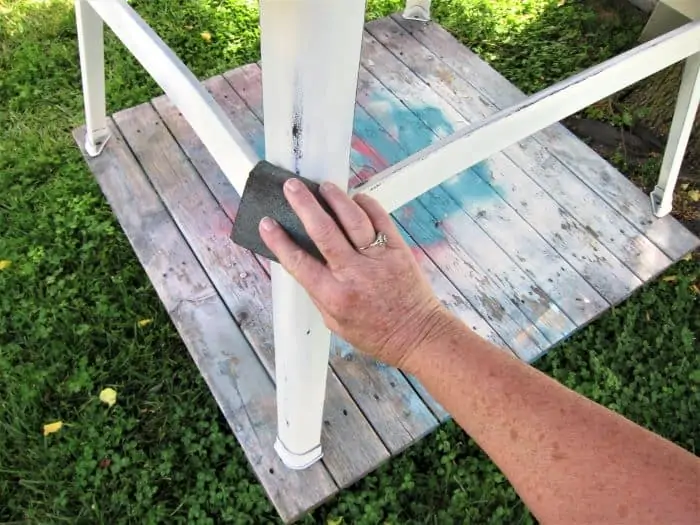
If you’ve been around here very long you know I’m the Queen of Distressing! I love distressing paint because distressed paint adds character and depth! I used a sanding block to distress the metal base. This process didn’t take long. The layer of spray paint is much thinner than brushed on paint.
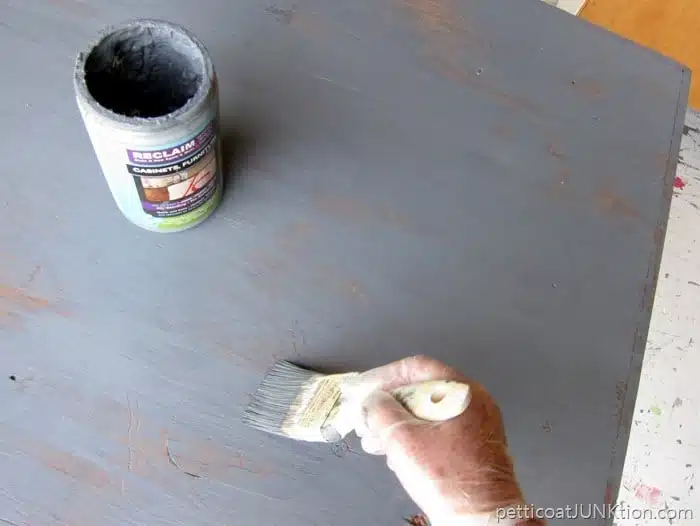
Now to work on the plain old plywood table top. I brushed a thin coat of Reclaim Beyond Paint Pewter color on the top. You notice I didn’t cover the wood in all areas.
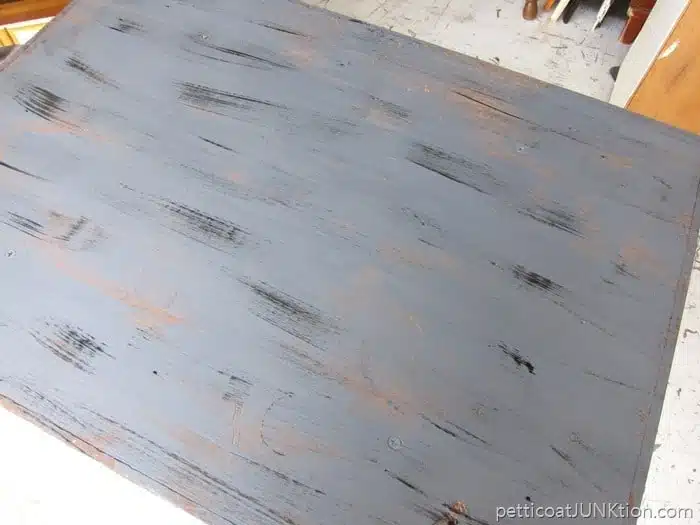
Next I dry brushed a little black paint in random areas on the top.
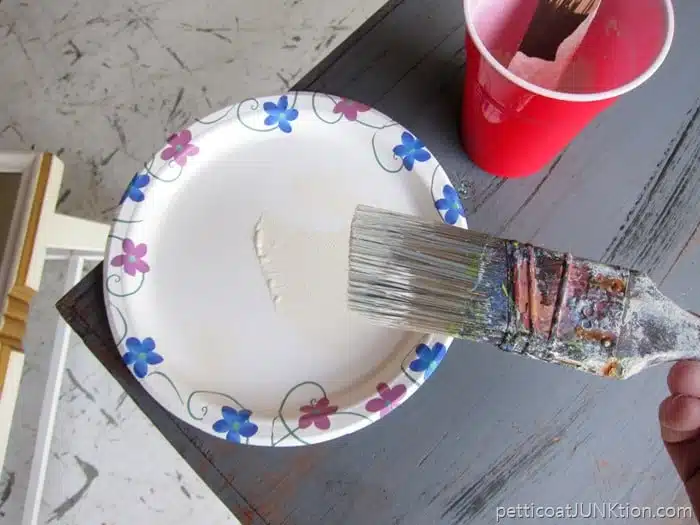
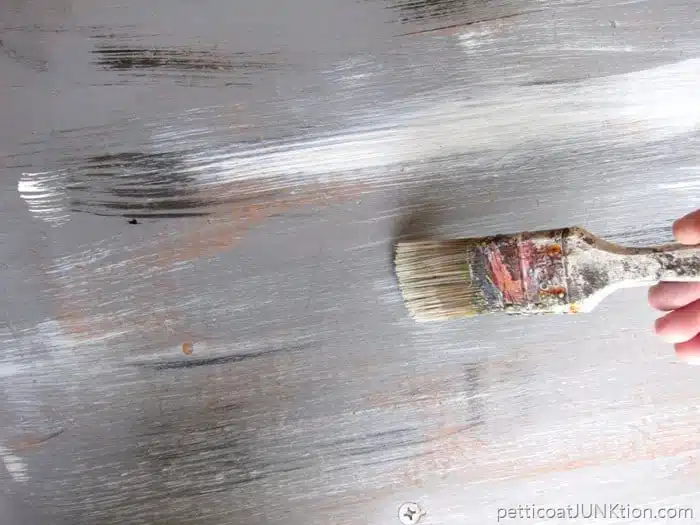
Before the black paint completely dried I dry brushed watered down off-white paint in strategic areas. When I say dry brush I mean dip the tips of the brush in the paint then wipe off most of the paint on a paper plate or paper towel. And I do mean most of the paint.
The you run the “dry brush” lightly over the surface you are painting.
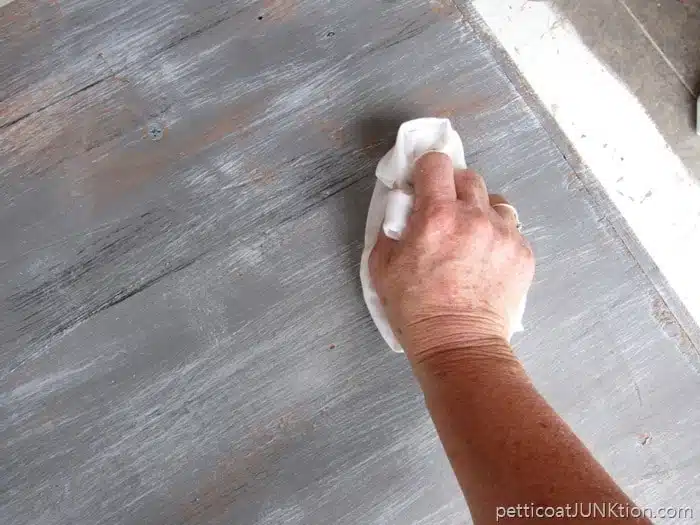
Immediately after applying the white paint using the dry brush technique I went over the table with a damp rag trying to blend the paint.
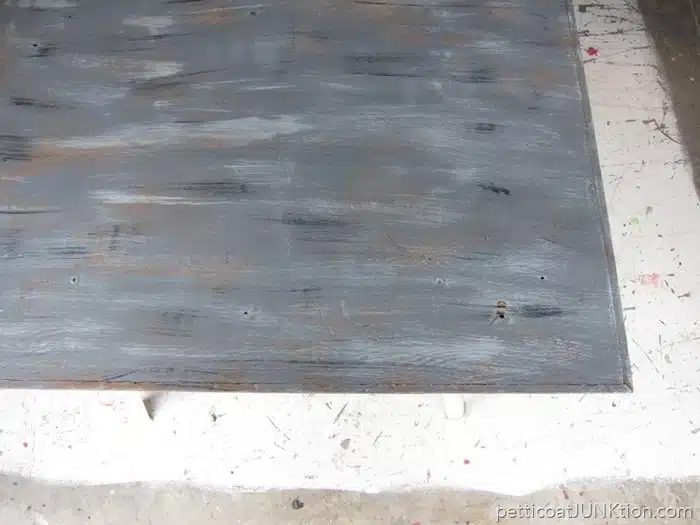
The paint didn’t blend very well and this is what the project looked like at the end of the day. I quite for the day because I was frustrated.
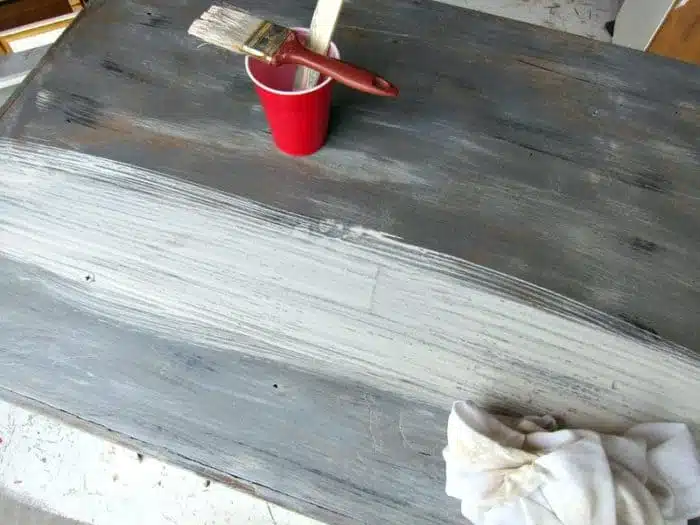
The next morning I decided I hated the look. I went over the painted table top with dark wax. That didn’t work either. I then mixed more off-white Reclaim Beyond Paint with water to thin it about half and half. I brushed the paint on in a heavy coat and started wiping it off with a damp rag. Now we are getting somewhere. This look worked!
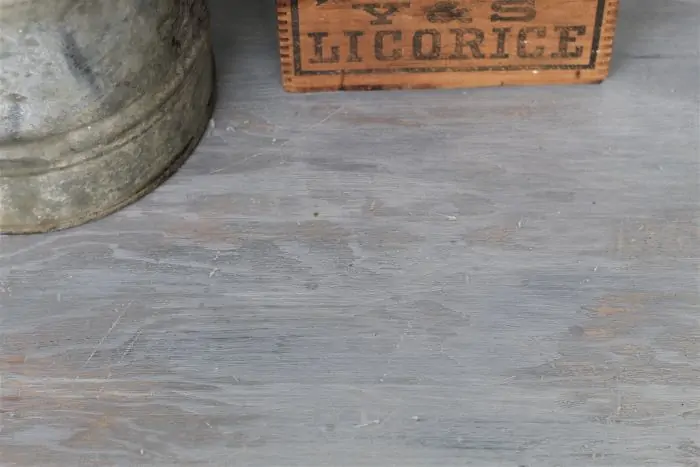
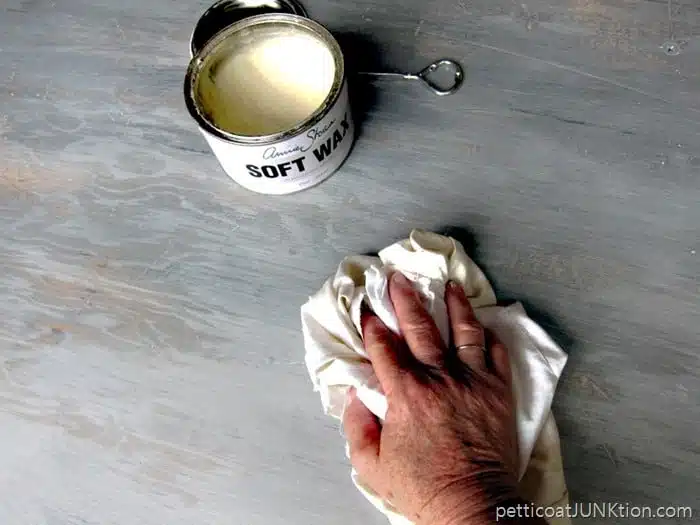
Once the paint dried I finished the table top by applying a thin coat of Annie Sloan soft wax in neutral.
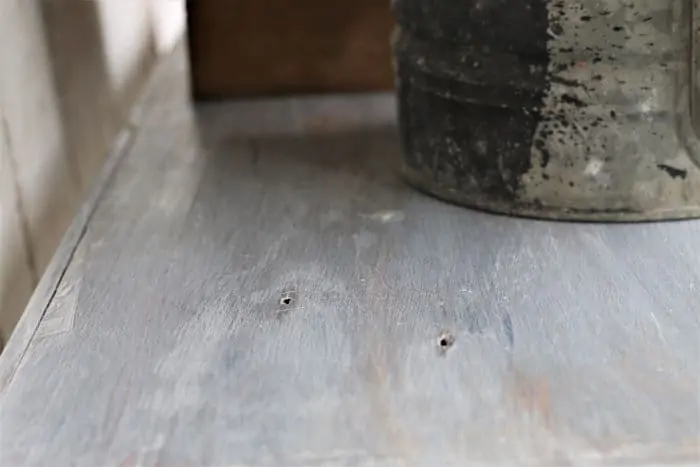
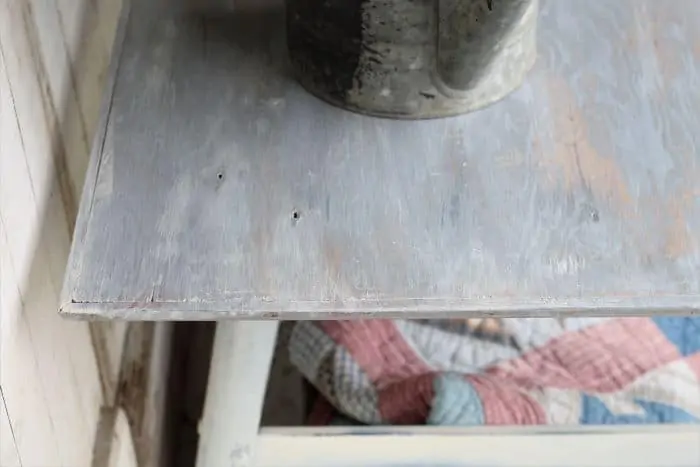
You notice in the photo above there are nail holes and imperfections in the plywood. Those just add to the worn weathered look.
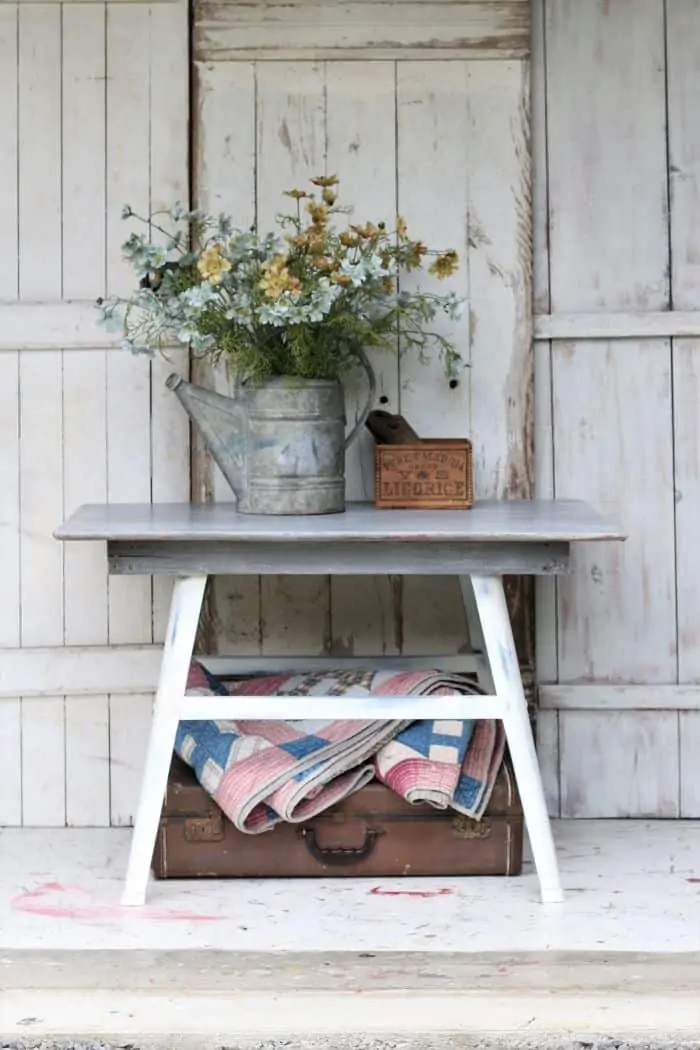
So that’s the story of the gray weathered paint finish. Even though I worked on the table for two days the whole paint process including drying time only took about 2 hours. Seriously.
When working on a project don’t be afraid to experiment. That’s what I did. Keep working until you get the look you want or trash it and start over with a new vision. Let me know what you think of the weathered look finish. Have a great day and as always, thank for being here, Kathy
Supplies used in this project (on Amazon):
Sanding Block
Clear Finishing Wax
Rust-Oleum Heirloom Spray Paint
Beyond Paint in Soft Gray (Pewter is on backorder).
Paint Brush

I love the weathered look! Just picked up some projects at auction and think I’ll try that on one of them. Thank you for sharing your projects, love to see them!
Loved how your piece turned our – adorable. Love the color. Some of my best projects are the ones that I experiment on.
Bev
I love the weathered look of it. I have a side table that has been begging for a makeover for a long time now that this technique would look great on. Thanks for sharing!
Love the licorice box! The gray finish is very nice.
Thanks for the tutorial Kathy. Love that you, like me, aren’t afraid to “play” and experiment until you get the look you want. Your playing paid off because like I said in your project post, I couldn’t believe it was the same table!