Upcycling Denim Jeans: How To Recover A Fabric Seat With Denim
As an Amazon Associate, I earn from qualifying purchases.
Upcycling denim jeans instead of tossing them or donating them is a great idea and there are a ton of ways to use old denim. Well, maybe not a ton but you know what I mean.
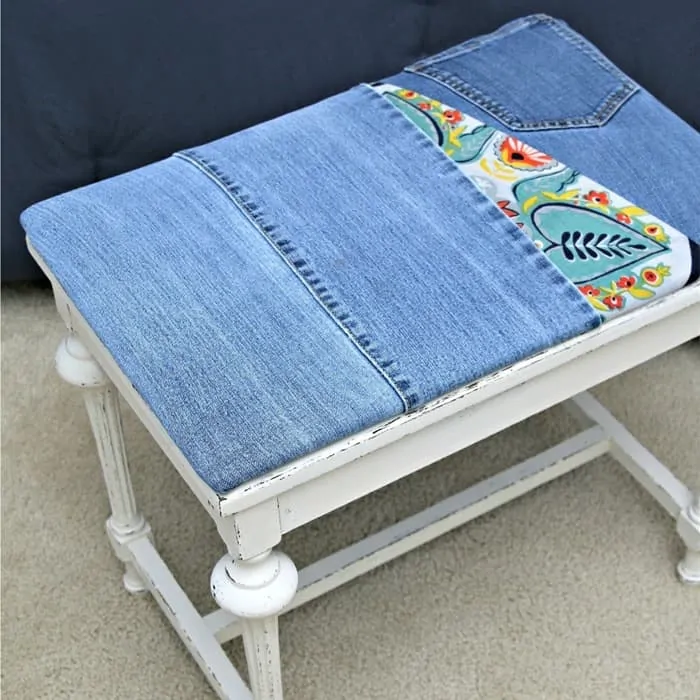
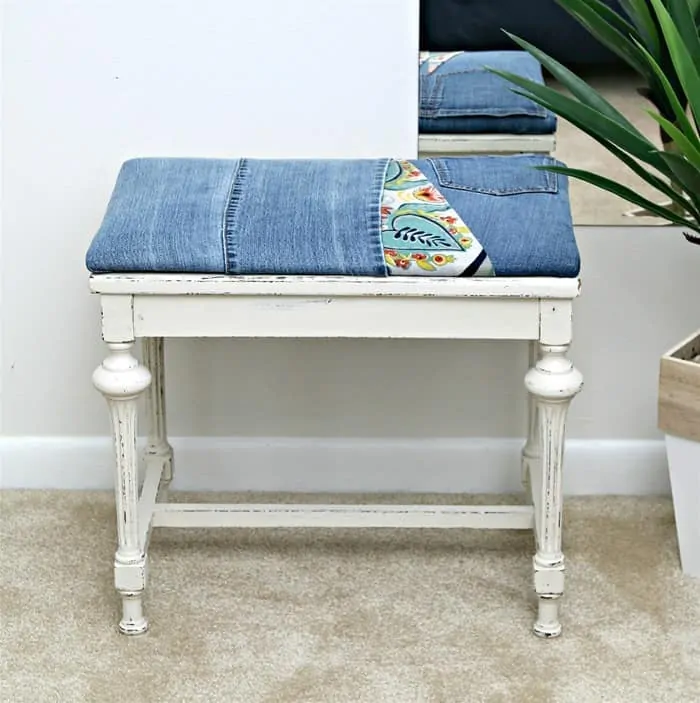
For one thing, you can cover or recover a fabric seat with recycled denim jeans. I’ll show you how I painted my vanity stool and recovered the seat with recycled denim jeans….my old fat jeans. The vintage stool is a statement piece now.
How To Recover A Fabric Seat With Denim
The project is easy. To cover or recover a seat (any padded fabric seat), remove a few screws and remove the seat from the furniture, then staple new or recycled fabric to the seat. Anyone can do this. Trust me.
Find The Perfect Project Piece
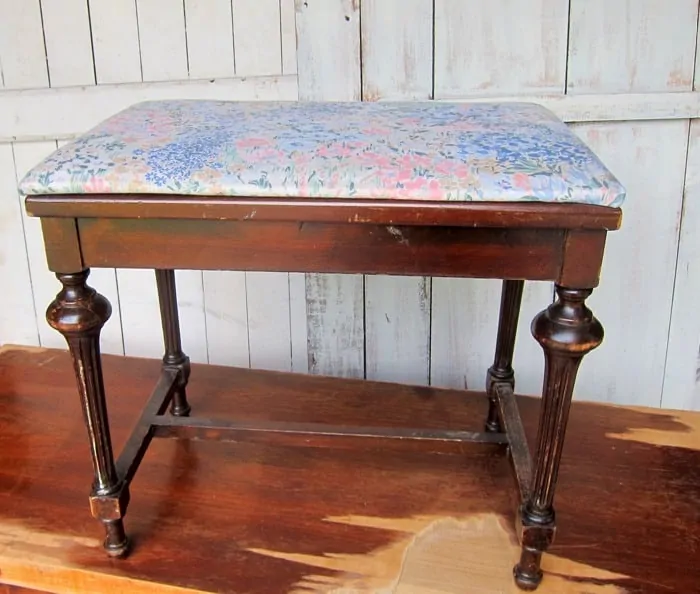
The photo above shows how the stool looked when I got it. Miss Sofi and I were in Warehouse 41 Vintage Market where I have a booth when I spotted the stool. The price was $10, and I passed on it the first time. I was in the shop a few days later, and the stool was still there. It had potential, so I brought it home with me.
The makeover was really simple, although I did have to make a few changes when I started placing the denim and fabric on the seat. Seems like my first plan for a project never pans out exactly.
Remove The Seat From The Wood Base
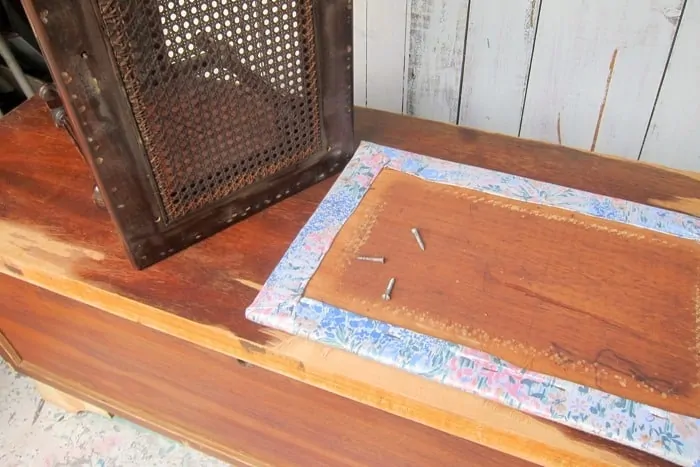
The first step with chairs, benches, stools, etc. that have fabric seats is to remove the seats from the chair or whatever. All you have to do is turn the piece upside down and remove the screws holding the seat in place. You don’t need any special tools. A plain old screwdriver works just fine for this job.
Decide On the Paint Color And the Fabric
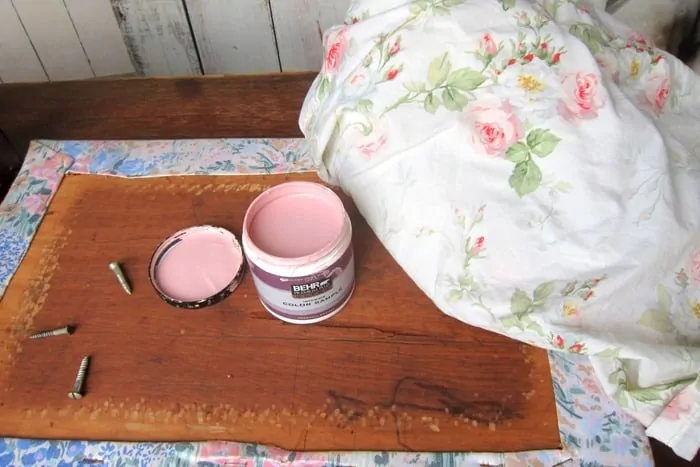
I had a plan that involved rose pink paint and an old floral sheet. That plan never even got off the drawing board. Glad there were a couple of days between deciding on the plan and actually doing the makeover.
Paint The Project Piece
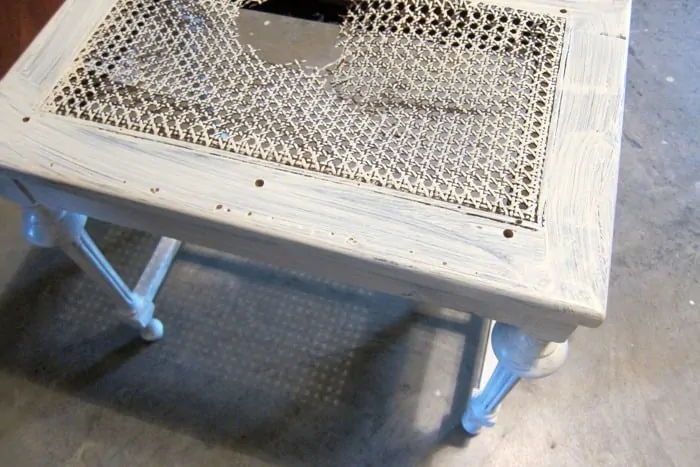
I painted the stool off-white and the photo above shows how the stool looks with one coat of paint.
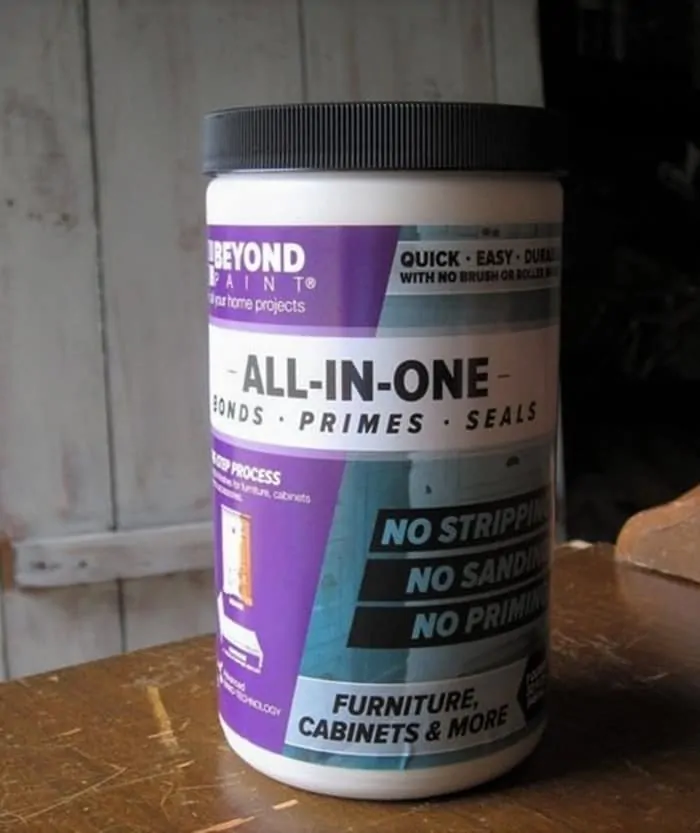
The paint is Beyond Paint and as you can see from the photo of the jar, it is an all-in-one paint and is perfect for painting cabinets too. I applied two coats of paint to the stool.
Distress The Paint
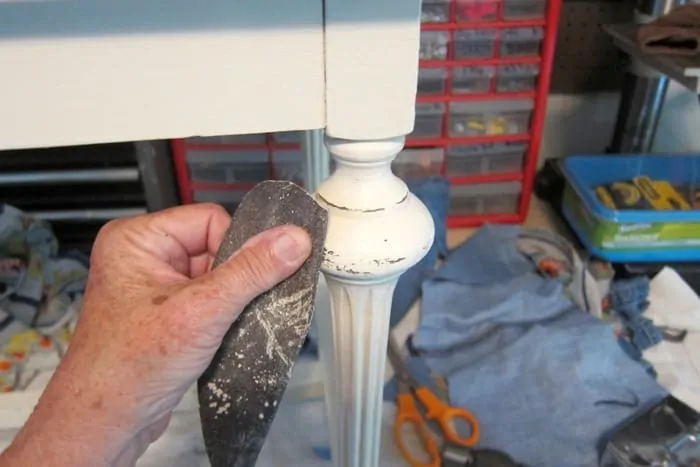
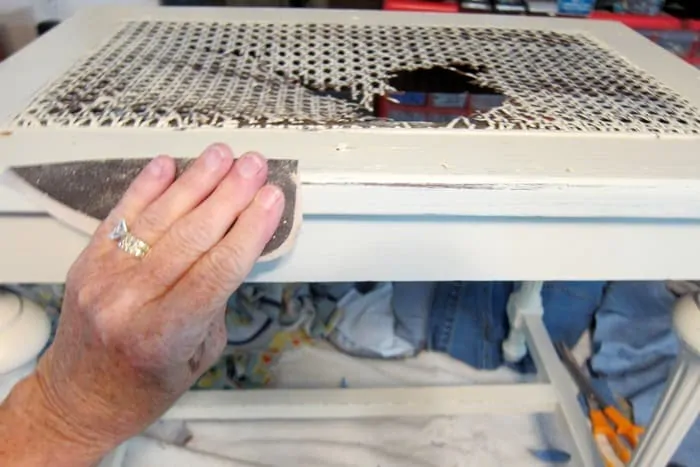
Next, we need to do some distressing. Distressing adds depth and character to any painted piece. I distressed the white paint by hand using 100-grit sandpaper and rubbed the sandpaper over all the raised details.
It’s better not to wait too long after the paint dries to do the distressing. Some paints are hard to remove after they dry for a few days. The Beyond Paint is really hard to sand off after it dries.
Recover The Seat
Now we come to the coolest part of the project….re-covering the seat. The fabric and padding seemed to be in good shape so I just gave the seat a good cleaning with Simple Green and let it dry before moving on.
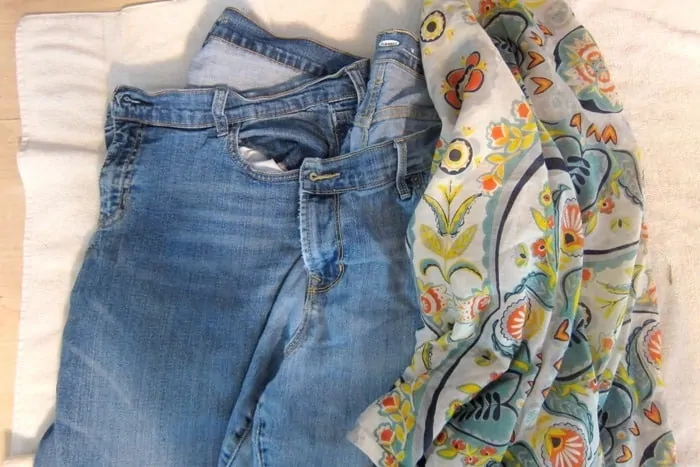
When we painted our master bedroom and cleaned out the closets and junk areas, I saved the jeans that were too big for me. I didn’t have any projects in mind for the denim but knew something would come up and this is it.
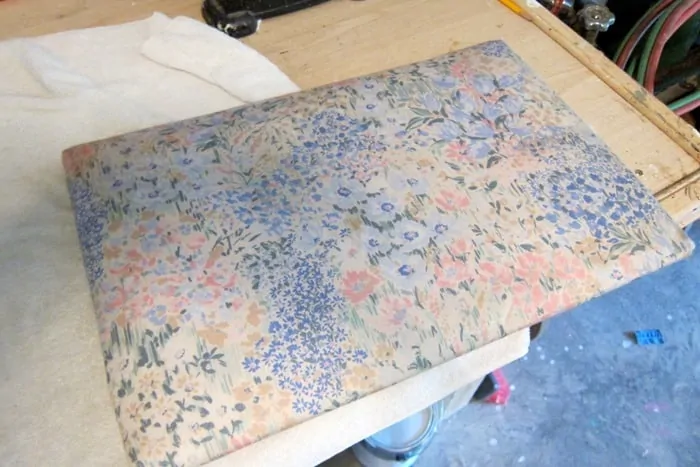
The pretty fabric is a curtain panel. I don’t remember where I bought the panel because I’ve had it for a long time. It came from the junk store or a thrift store for sure.
Cut The Fabric
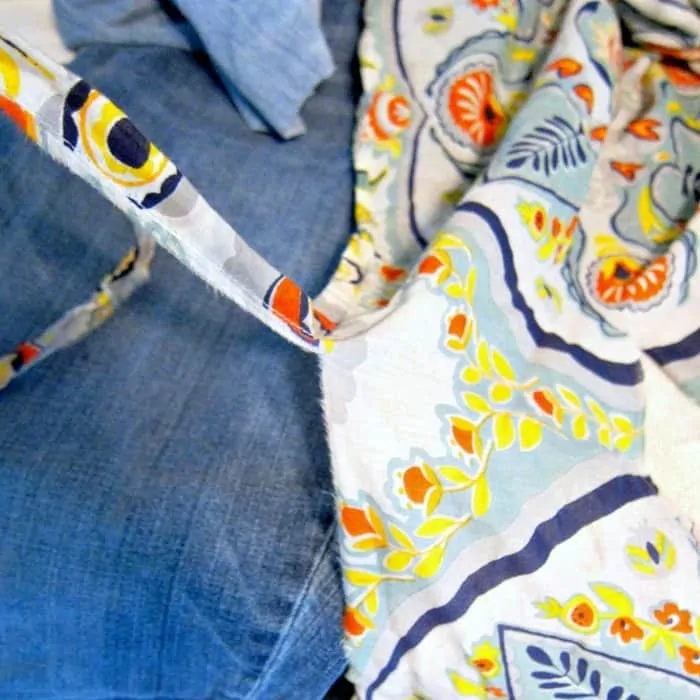
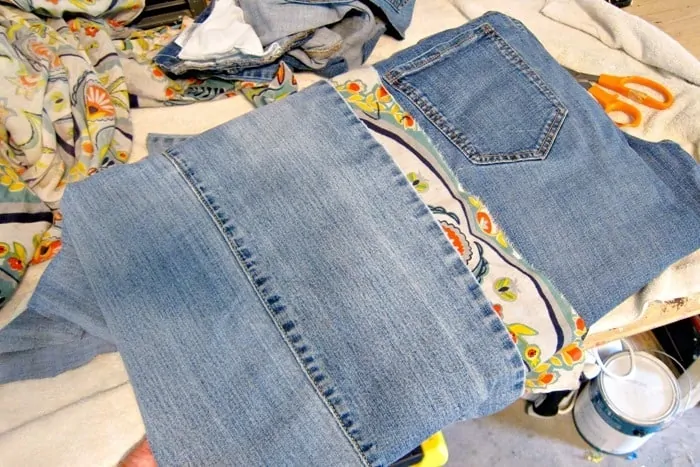
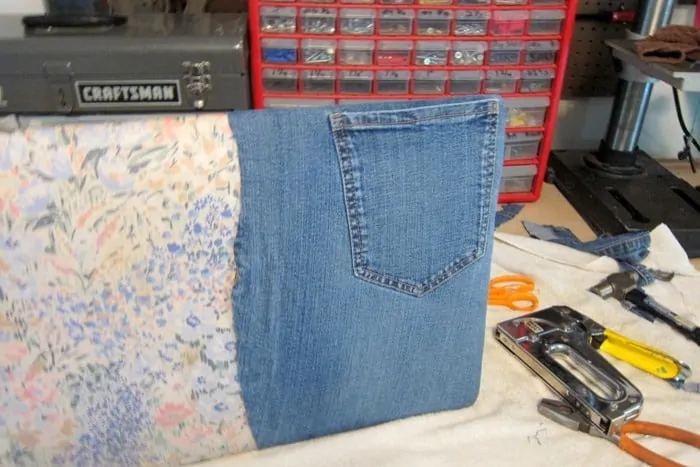
The plan was to cut up one side of the jean legs on both pairs of pants and work with the seams, pockets, and different shades of denim. A piece of the curtain panel was going to lay across the short side of the stool between two pieces of denim I tore the strip from the fabric panel instead of cutting it and wanted to show the torn, frayed edges when I used it to cover the seat. When cutting fabric to re-cover a seat, be sure and leave plenty of room to wrap the fabric around the seat and staple it to the back edges.
Plan Fabric Layout
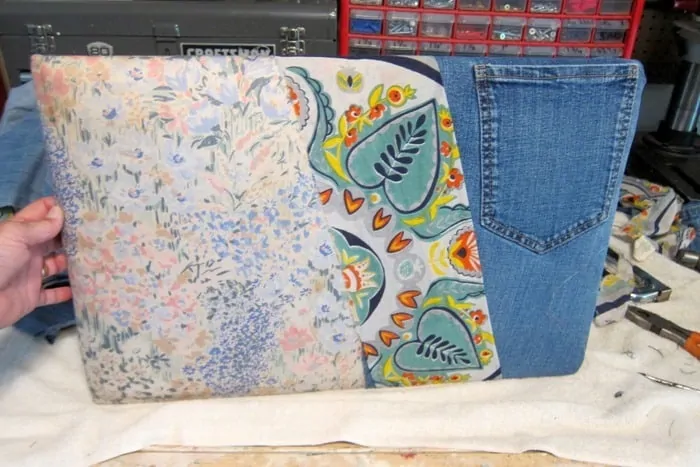
This is how I laid out the jeans and fabric getting ready to staple the stuff to the seat.
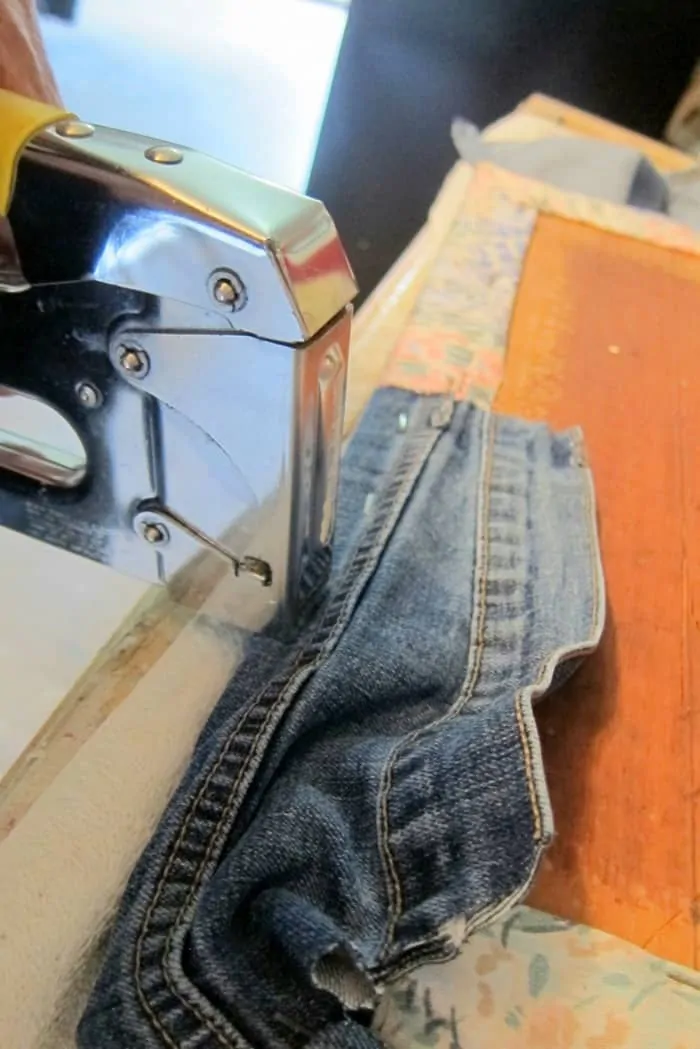
Staple Fabric To Seat
I started stapling the denim piece with the pocket to one end of the stool. While working with the piece, I noticed that the pocket was folding over the edge of the seat.
Make Adjustments When Needed
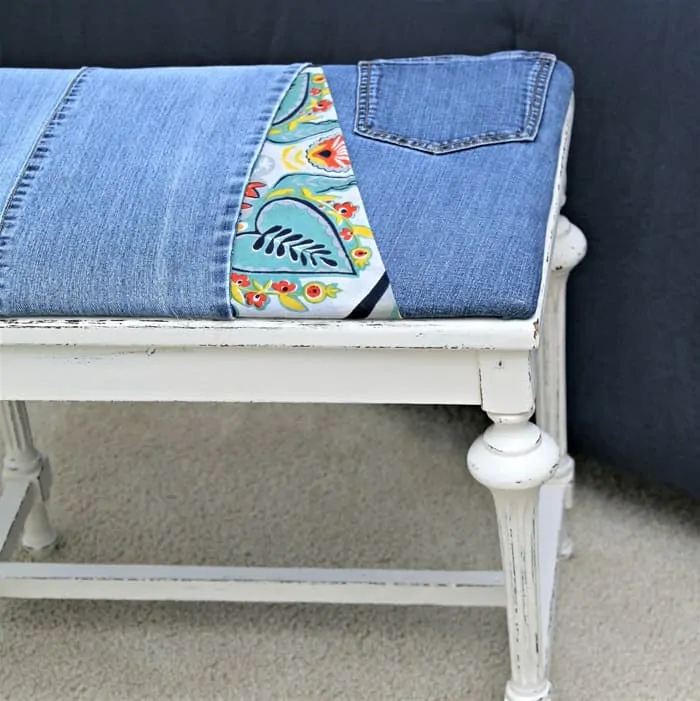
I ripped out staples and started over. The second time around, I liked the layout. The reason the denim pocket is so close to the edge of the seat is because of the way the jeans are made. I didn’t want to remove the pocket and sew or glue it to the denim in another spot, so that’s just how it is. I’m a lazy DIY’er.
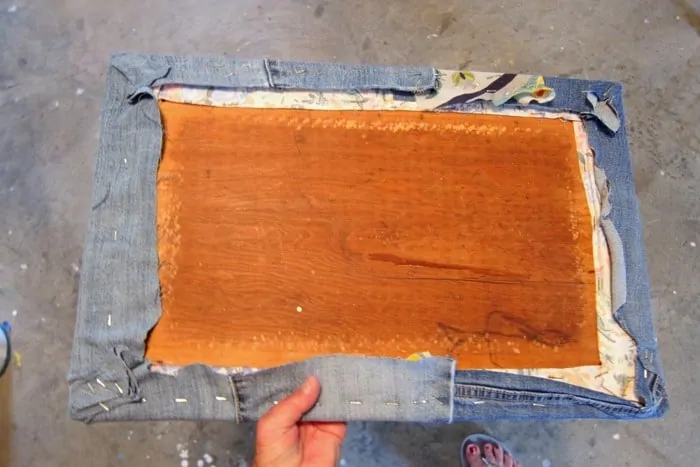
When stapling the fabric to the wood backside of the seat, it’s always best to work one side, then pull the opposite side tight and staple it to the wood. Then work on the end and the corners in that order. Of course, this project is a bit different because I’m working with three pieces of fabric instead of one to cover the seat. I have a cover-a-seat tutorial here.
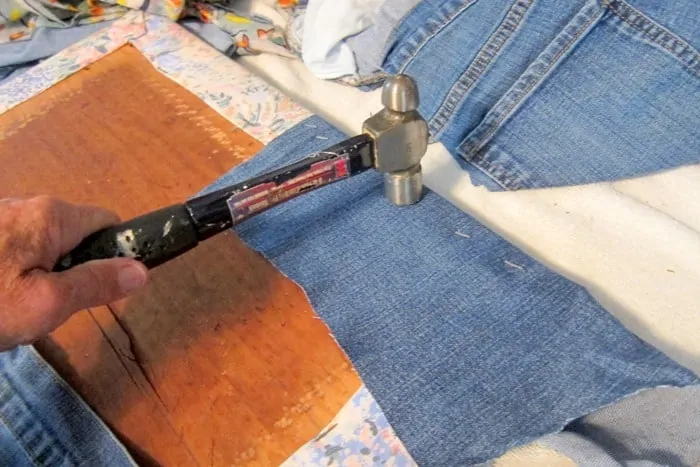
Sometimes the staples don’t go all the way into the wood, and I just hammer them down.
Trim Excess Fabric At Corners
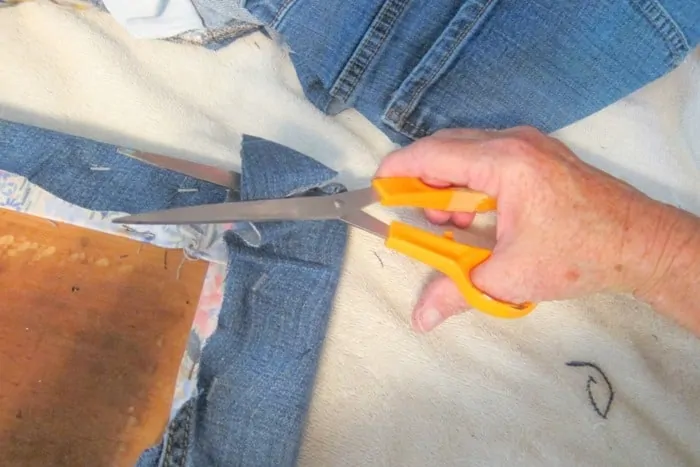
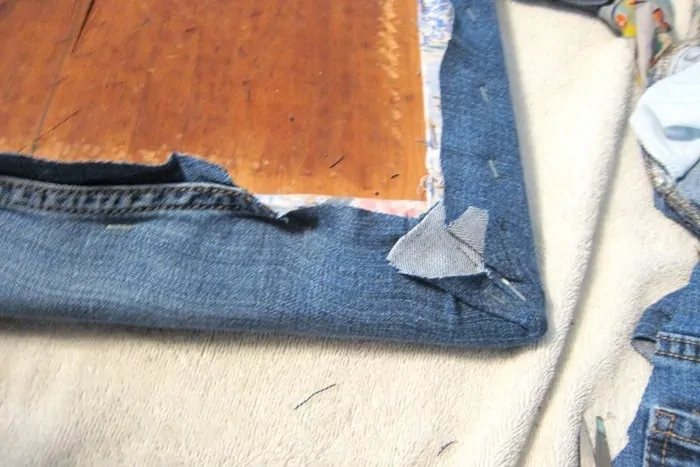
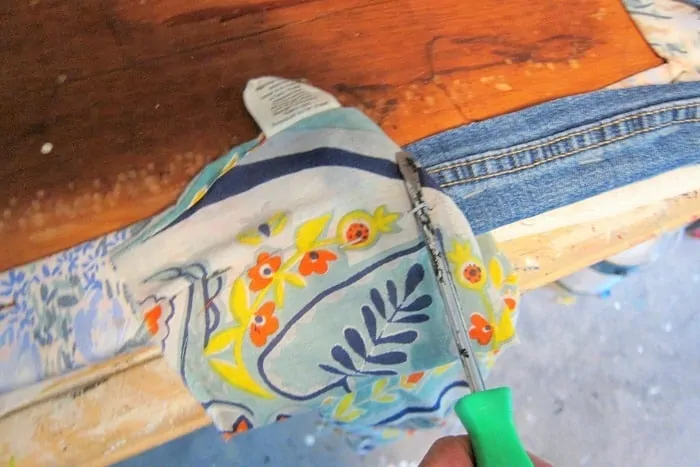
Working the corners is always trying. Getting all the creases and folds out is a must. If not, they will show on the front side and not look too great. There is always a wad of fabric at the corner that needs to be trimmed. It’s not a big deal if the fabric is thin, but the denim is heavy and thick.
Check Fabric Alignment At Each Step
The material should lay nice and flat after it’s stapled down and trimmed. If you have big lumps of fabric on the bottom side where the staples are, there will be a noticeable gap between the seat and the stool when you put them back together.
You can see in the photo above how the first denim piece looks on the seat, nice and tight.
At this point, I was still going with the plan to lay the fabric panel straight across the short side of the seat between and parallel to the two denim pieces.
Adjust Plan If Needed
But when I was trying to place the design like I wanted it and get everything straight, it didn’t look right.
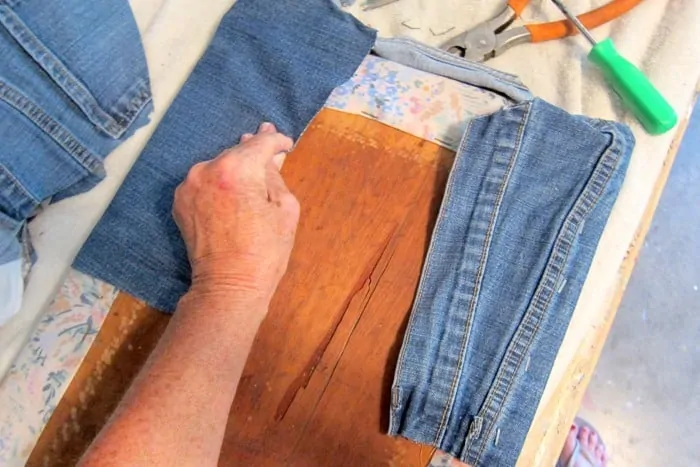
I started pulling out staples again. To remove the staples, I used a straight-tip screwdriver and a pair of pliers.
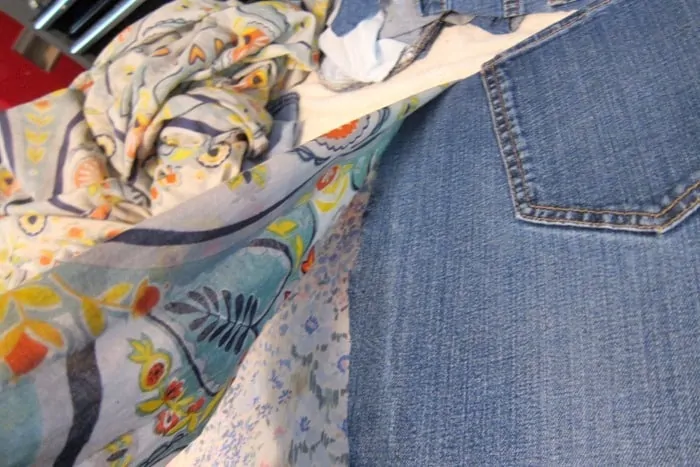
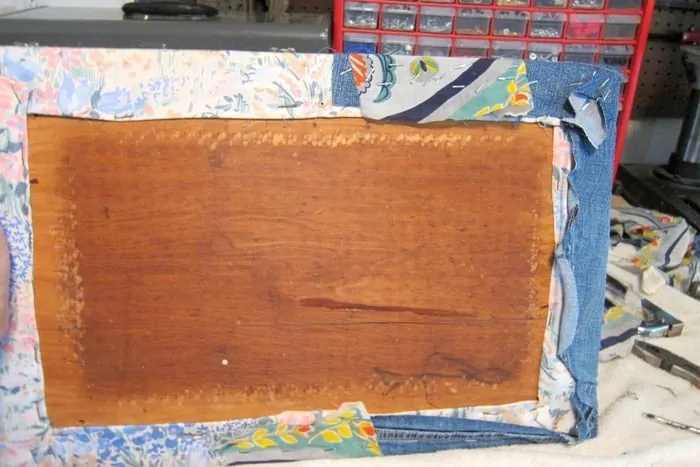
The new plan was to lay the fabric strip at an angle and you can see how I did that by looking at the stapled strip on the back of the seat.
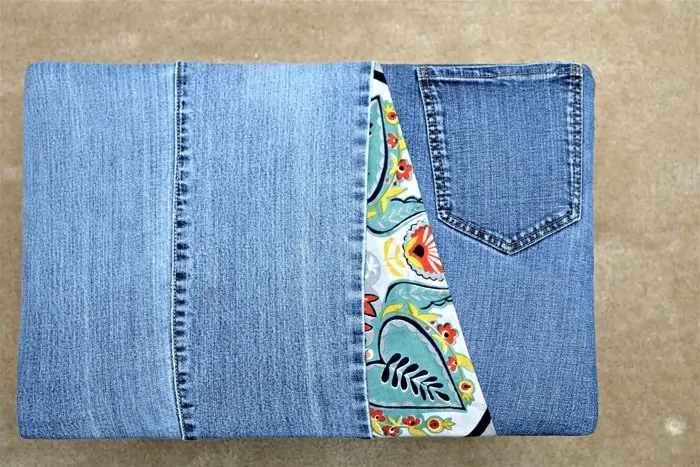
The photo above shows how the fabric strip is angled on the front of the seat. I placed the design in a way that wouldn’t cut off the blue leaf design on the printed fabric. I also decided to fold under the edge where I tore the strip and not show the frayed edge. The left side of the strip in the photo will lay under the second denim piece, and I didn’t fold under the torn edge.
Trim Fabric On All Sides
I stapled the second denim piece to the seat. At this point, I’m done with covering the seat. I trimmed all of the excess fabric, ensuring not to get too close to the staples in case the fabric frays.
You guys know how the legs of jeans narrow as they get closer to the hem. Well, that meant it was really hard for me to get those two leg seams to look nice and straight, but I did a pretty good job. The denim on the left is all one piece from one jean leg.
The three pieces I used to cover the seat are not connected in any way to each other. They should stay in place just fine. The pieces are all pulled taut and I used a whole bunch of staples.
Re-Attach Seat To Furniture
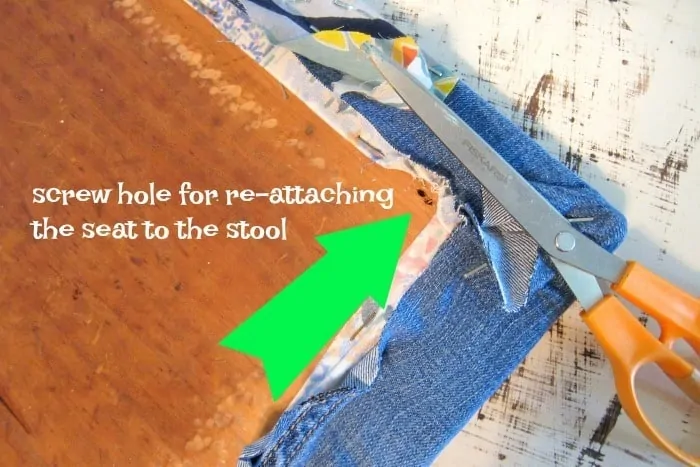
The only thing left to do at this point is screw the seat to the wood stool. To make the job easier, be sure and trim all of the fabric away from the screw holes in the seat. Sometimes the holes get covered up with the new fabric.
If the fabric covers the screw holes as you are screwing the seat to the stool they twist the fabric around the screw and pull the fabric.
The newly painted stool is no Plain Jane. The denim pocket, jean seams, and pretty fabric give the seat a unique look.
I have to say I’m patting myself on the back. This project was a lot of fun. It had me thinking throughout the whole seat recovering part, trying to work out all the project pieces like a puzzle.
It’s boring always doing the same old thing. Yes, just using one pretty piece of fabric to recover this seat would have looked nice and been a lot easier….but would it have been as cool??
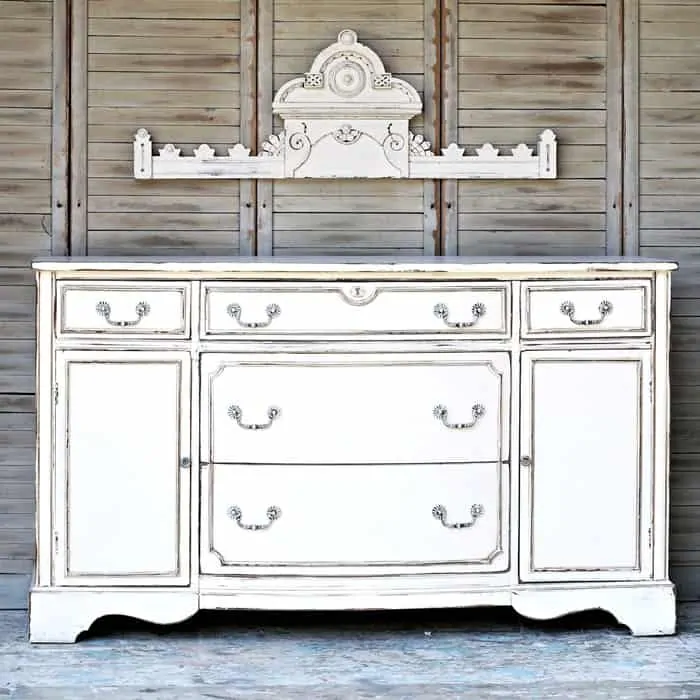
So….what do you guys think of the recycled denim jeans stool seat? Is it a hit or a miss? This piece would be perfect in a teenage girl’s room. I have more denim so give me some project ideas! I love to try new paint techniques and the project below is an example of a new technique that worked better than expected.
You can see my video on how to achieve this popular paint finish seen online and in furniture stores below….
[adthrive-in-post-video-player video-id=”0d5j8TVx” upload-date=”2020-09-23T23:07:30.000Z” name=”Distressed Antique White Furniture Tutorial” description=”How to create an antique white furniture paint finish.” player-type=”default” override-embed=”default”]
How To Create A Distressed Antique White Furniture Finish
To see the post about the sideboard with more photos and details click here.

I found this great post about Repurposing Denim into Upholstery here. It has all kinds of great ideas!
As always, thanks for being here, and have a great day, Kathy.



Love this idea- such a fun way to breathe new life into old furniture! Today I’ve featured your project on Crafts on Display, I hope you enjoy it, and keep up the great work! https://craftsondisplay.com/home-decor/diy-denim-upholstery-169951/
I just love it!! Thank you for sharing your makeover. Have plenty of old fat jeans that could recover a couch lol.