How To Paint An Antique Dresser With Latex Paint
As an Amazon Associate, I earn from qualifying purchases.
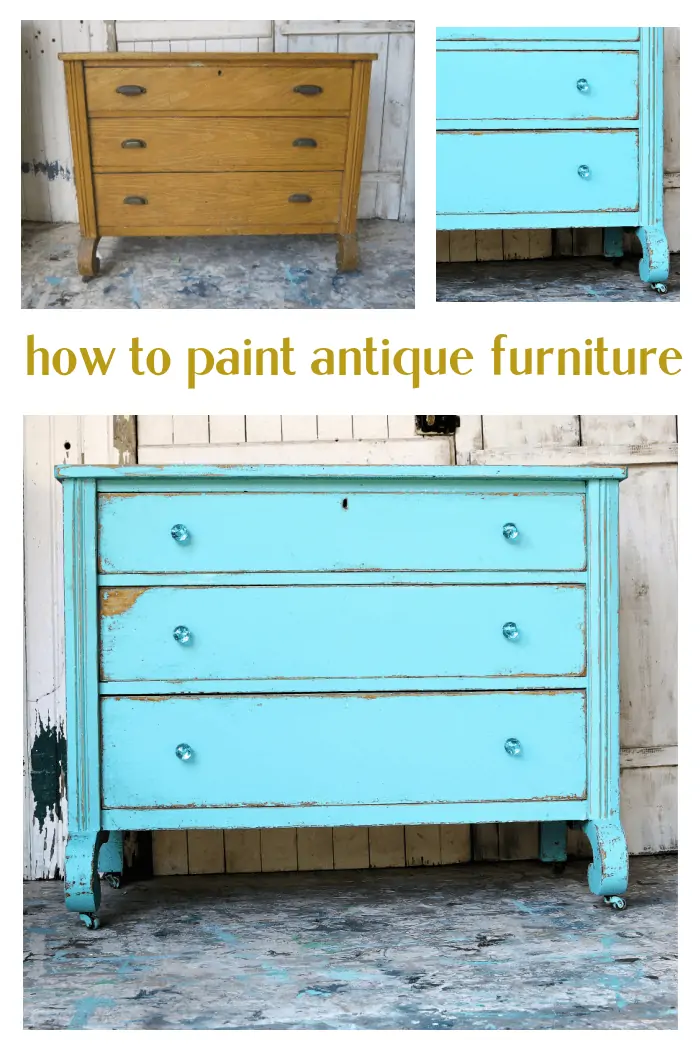
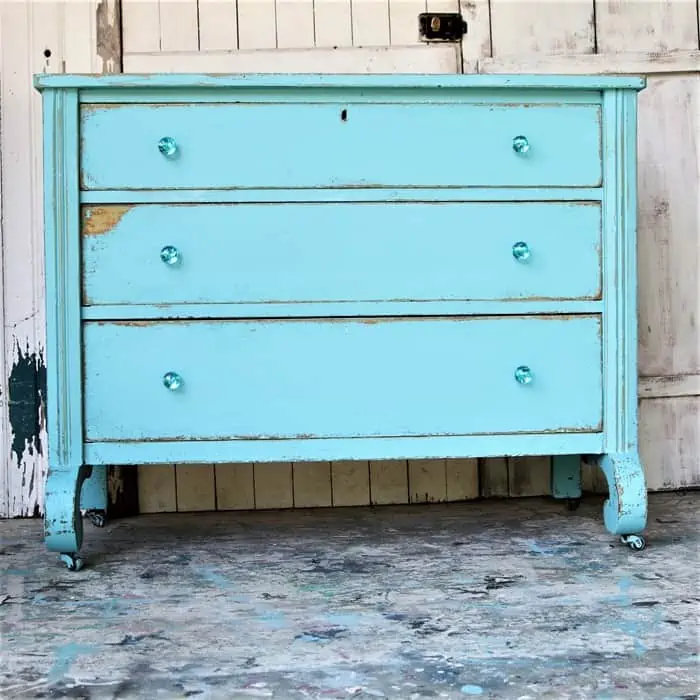
Tutorial on how to paint an antique dresser with latex paint. The paint is distressed to make the dresser look old and worn.
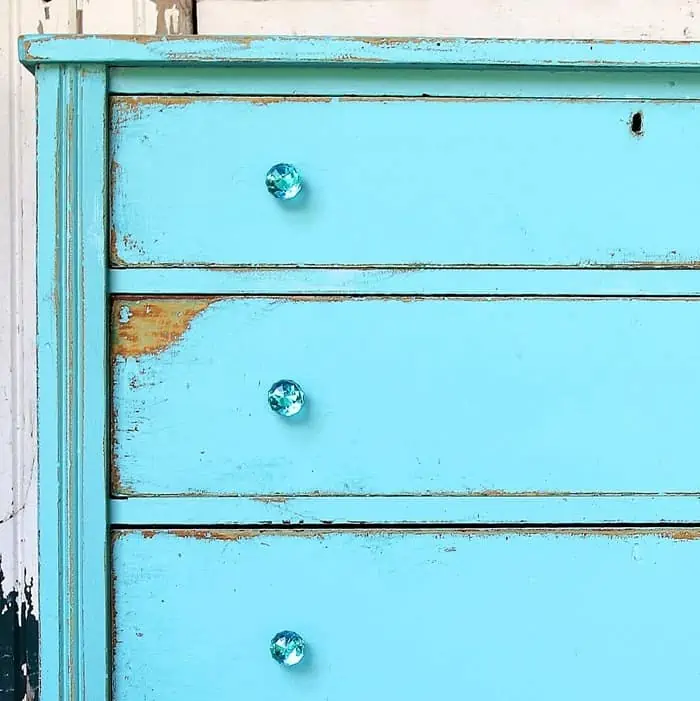
This antique dresser looks so much better after a couple of coats of paint and a bit of distressing with a power sander. Sometimes I get flack for painting antique furniture but for the most part you guys only have positive things to say. It’s usually the people on social media who give me a hard time but I can handle it.
Today is the Furniture Fixer Upper Tour and you know what that means. The links to the tour are at the bottom of the post. Let me tell you about this fun makeover first!
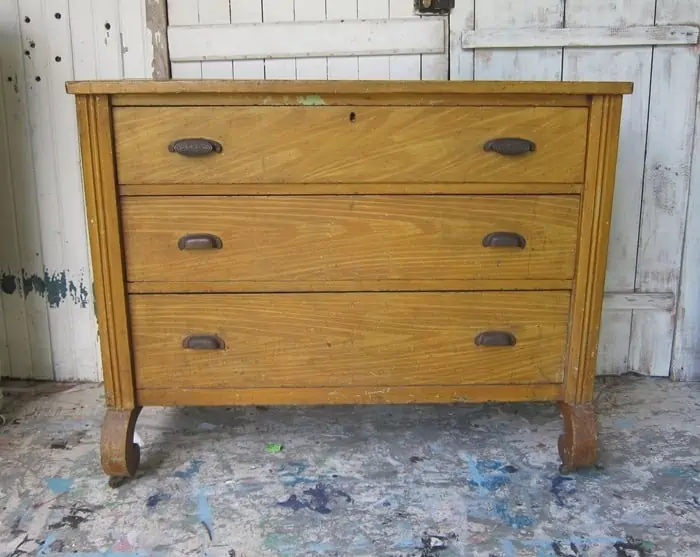
I paid $22.50 for the chest at an online auction. The auction house is local which makes it nice. I usually get some good deals.
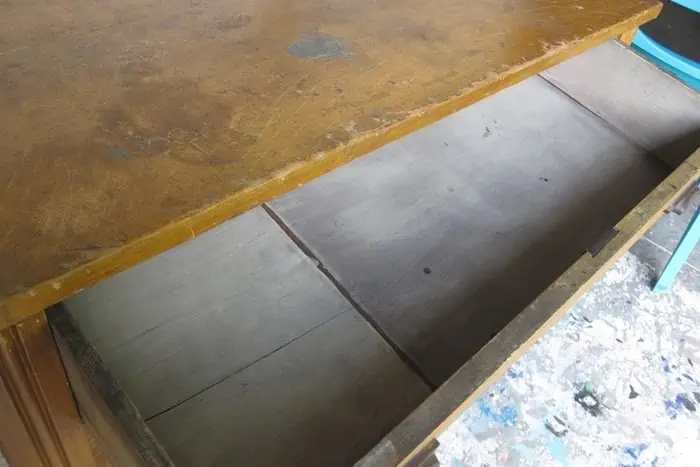
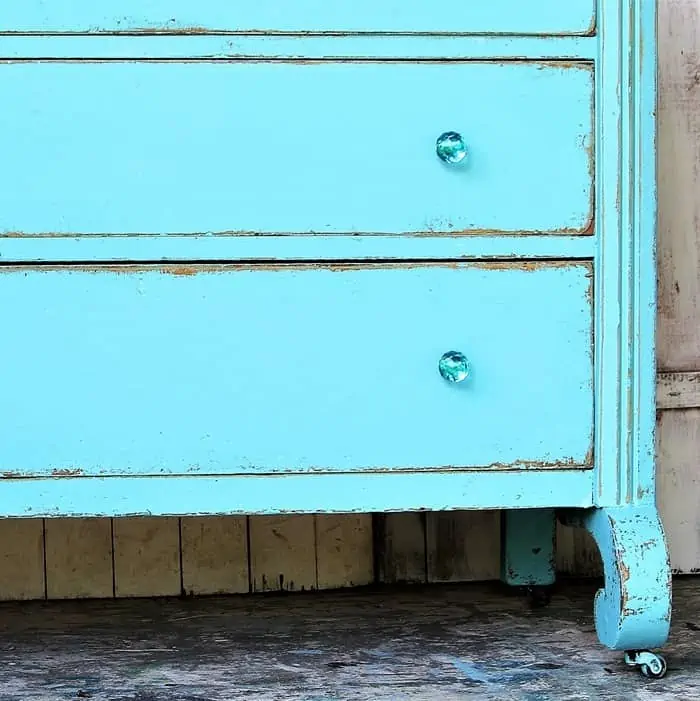
The dresser wasn’t in the best of condition. I worked on the drawers a bit adding a few nails in the dovetailed drawers where they were pulling loose. The dresser was on casters but the two back ones were missing and I had two in my stash of stuff that fit perfectly.
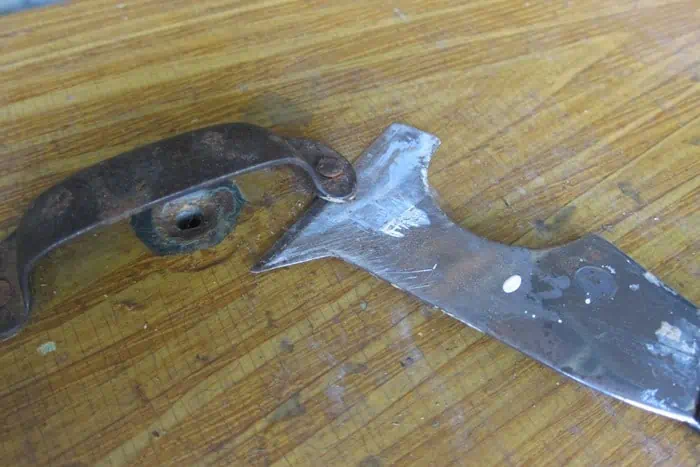
When I looked at the dresser I thought the drawer pulls were original. They were definitely old and were secured to the drawers with nails. Once I looked a little closer I noticed the original screw hole for the knobs was under the drawer pulls. I used a scrapper to get under the pulls to pop them off of the drawers.
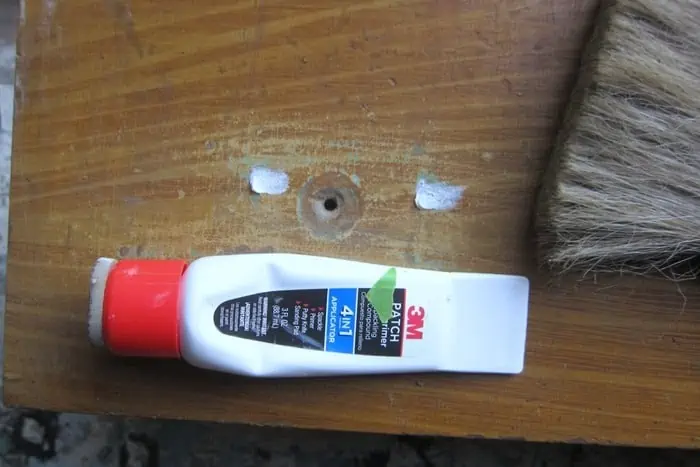
I decided to go with new knobs so I filled the extra holes with patch medium. Once the putty was dry I sanded it flush with the drawer fronts.
The next step was to select the paint color. I usually know right away what color I want to use on a piece but not this time. My first thought was black but I kept looking at the dresser and I thought on it for a few days. I really liked the turquoise cedar chest I painted a few weeks ago so I decided on the same color for this dresser.
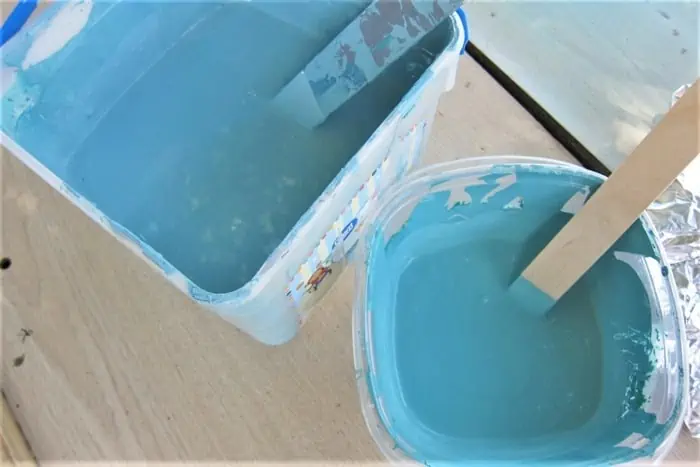
The only problem is I didn’t have enough of the custom mix turquoise color. I mixed up the turquoise color myself using leftover paints I had on hand. The photo above shows the turquoise mix on the right and a bluer paint on the left. I decided it would be okay to use the blue as the base coat for the dresser then I would have enough of the turquoise for one coat over the bluer color. That should do the trick.
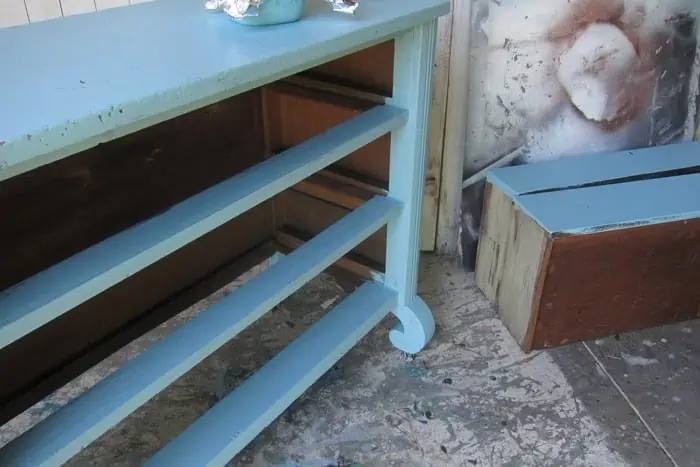
The photo above shows the dresser and drawers with one coat of the blue paint.
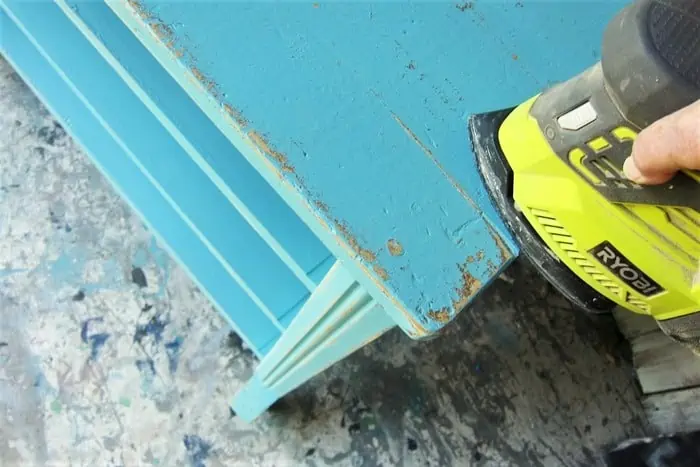
Once the first coat of paint was dry I brushed on the turquoise paint and let it dry. Then I used my battery powered Ryobi sander to distress the paint. I first tried distressing the paint by hand using a piece of sandpaper but that paint was hard to remove.
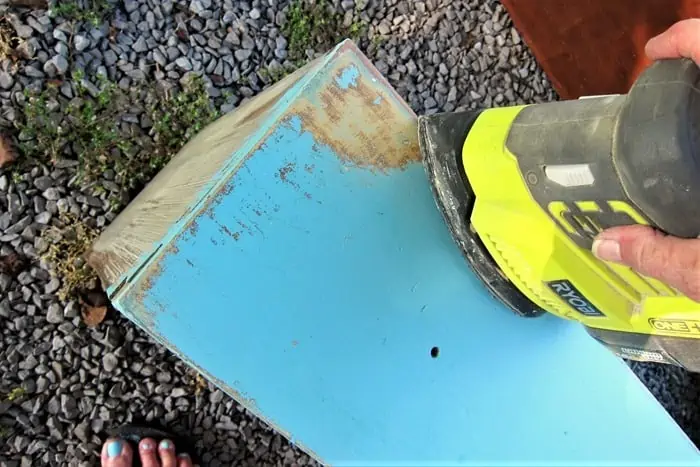
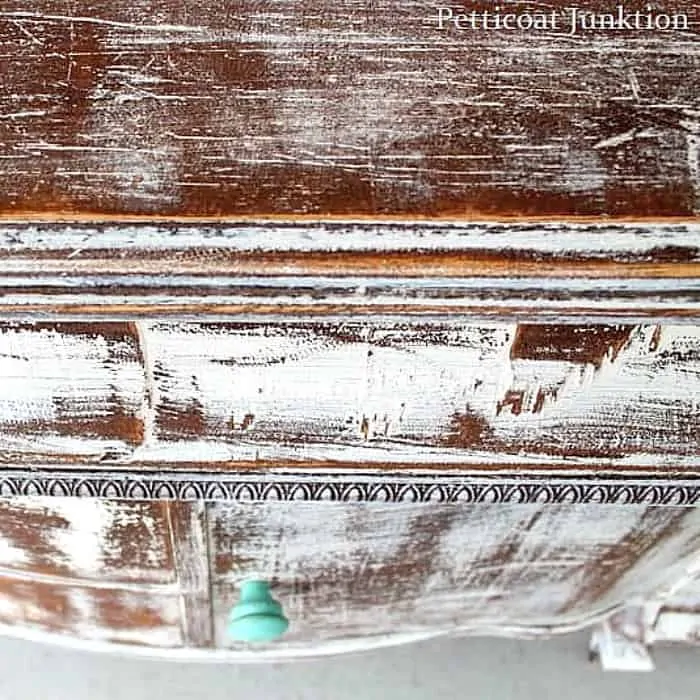
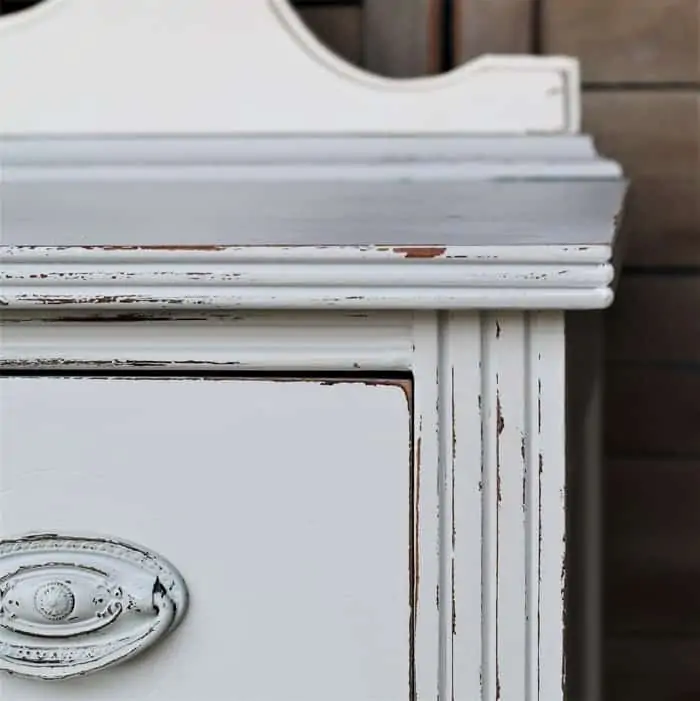
The distressing is a bit heavy which is what I wanted. The only problem with using a power sander is if you are not careful the sander will vibrate and the distressing will not have a natural worn look.
The photo above shows what I mean about the sander vibration issue. You can see the vibration affect on the top part of the distressed shabby chic piece. (the heavily distressed shabby chic piece is here)
I have a video I made on an earlier project showing how to use a battery powered sander to distress furniture….
[adthrive-in-post-video-player video-id=”AnMlLmMP” upload-date=”2021-07-08T00:06:22.000Z” name=”How To Distress Paint With A Sander” description=”Learn how to distress painted furniture using a sander.” player-type=”default” override-embed=”default”]
How To Distress Painted Furniture Using A Sander
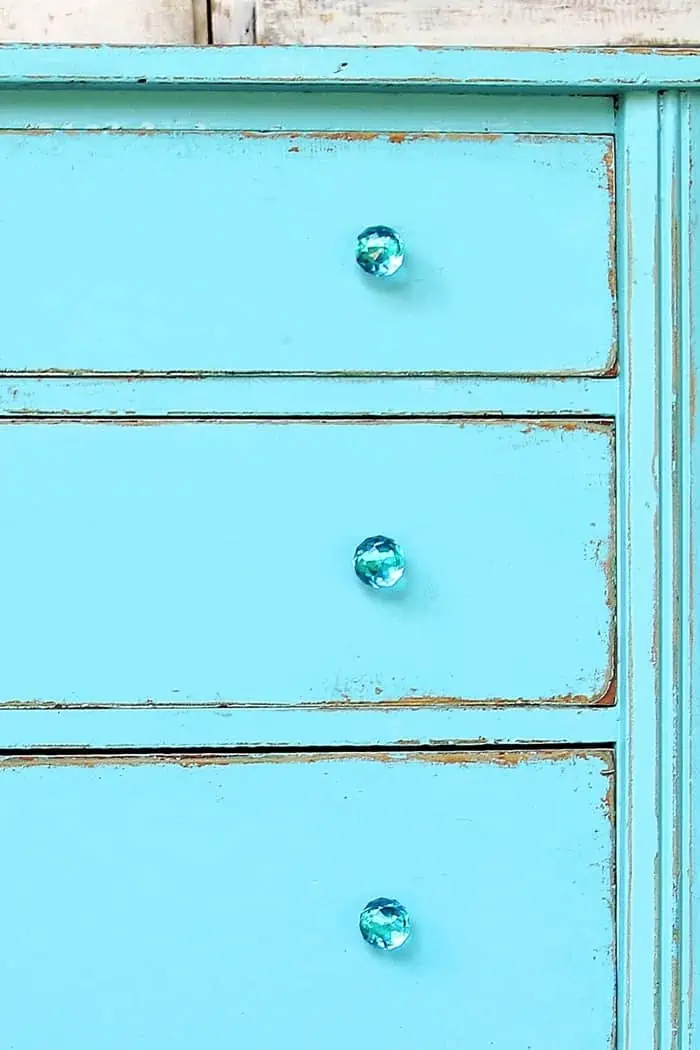
The distressing on the blue/turquoise dresser came out just like I wanted it to. The paint looks worn by time. I used Howard’s Wax, neutral color, to give the raw distressed wood a bit of color. The wax darkens the raw wood and gives it a bit of a sheen too. Sorry, no photo of this step. (find the wax on Amazon here)
I love those feet. I think this style of dresser is called Empire but I’m not positive about that.
I ordered the knobs on Amazon. I keep a supply of them on hand in different colors. Find them on Amazon here…..furniture knobs.
There is a keyhole to lock the top drawer but I don’t have the key.
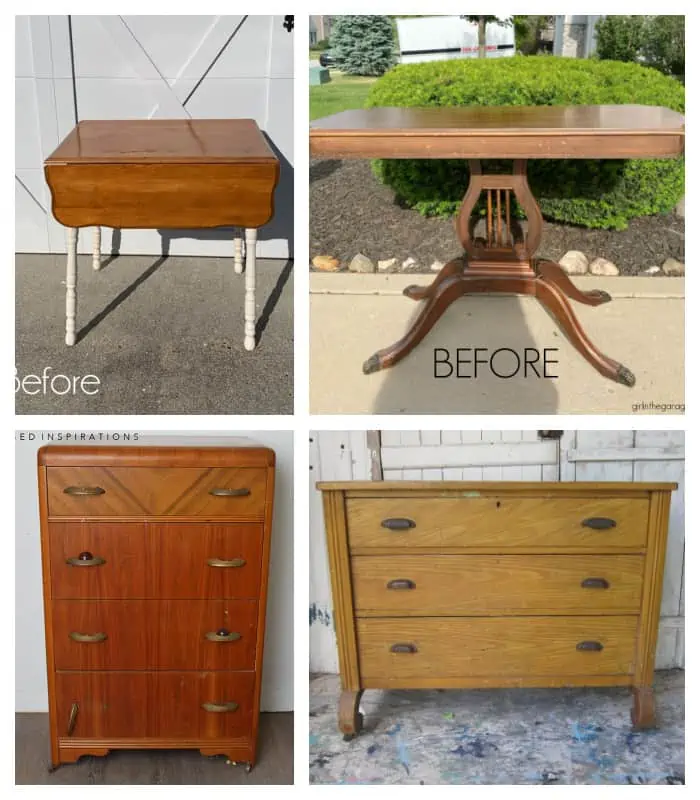
That’s it for my makeover. Leave a note if you have time before heading out on the Furniture Fixer Upper Tour. Just click the links below the “before” makeovers collage…….
Furniture Fixer Upper Tour
How To Paint A Drop Leaf Table – Confessions of a Serial DIY’er
Painted And Stained Waterfall Dresser – Salvaged Inspirations
Refinish An Antique Harp Table – Girl In The Garage
Paint An Antique Dresser – Petticoat Junktion (you are here)
As always thanks for being here, Kathy

