How To Paint Stripes On A Table
As an Amazon Associate, I earn from qualifying purchases.
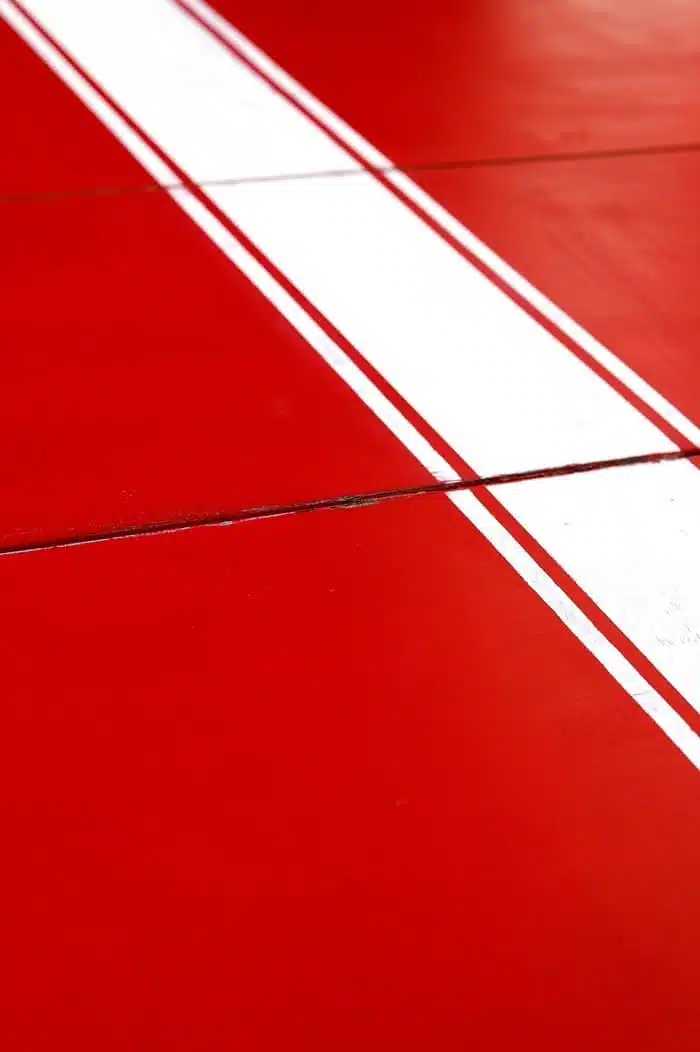
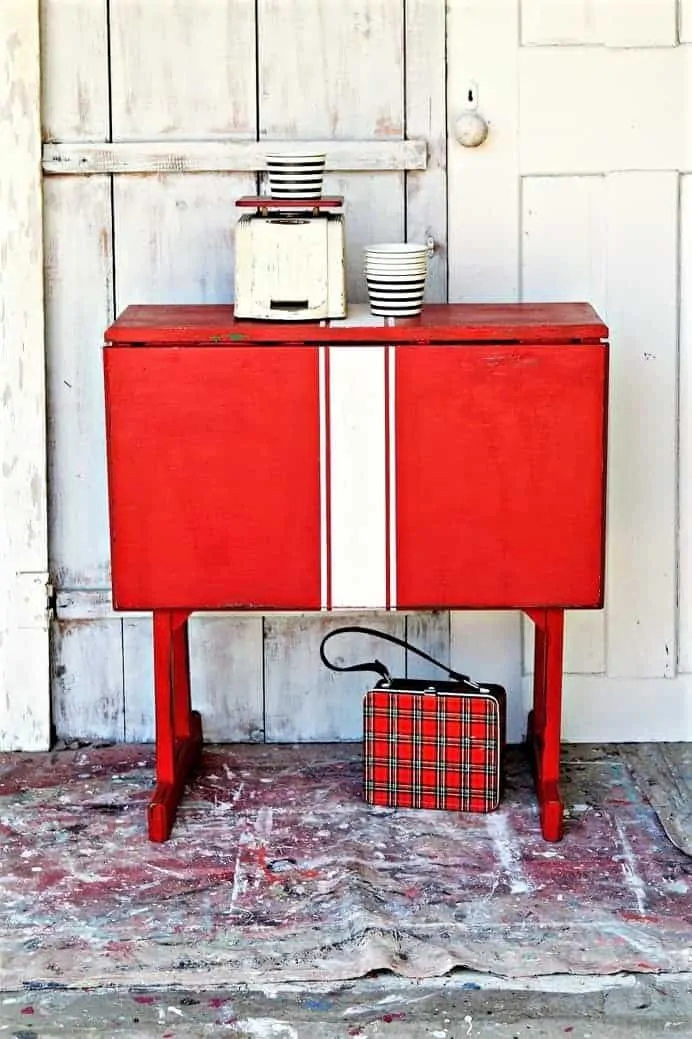
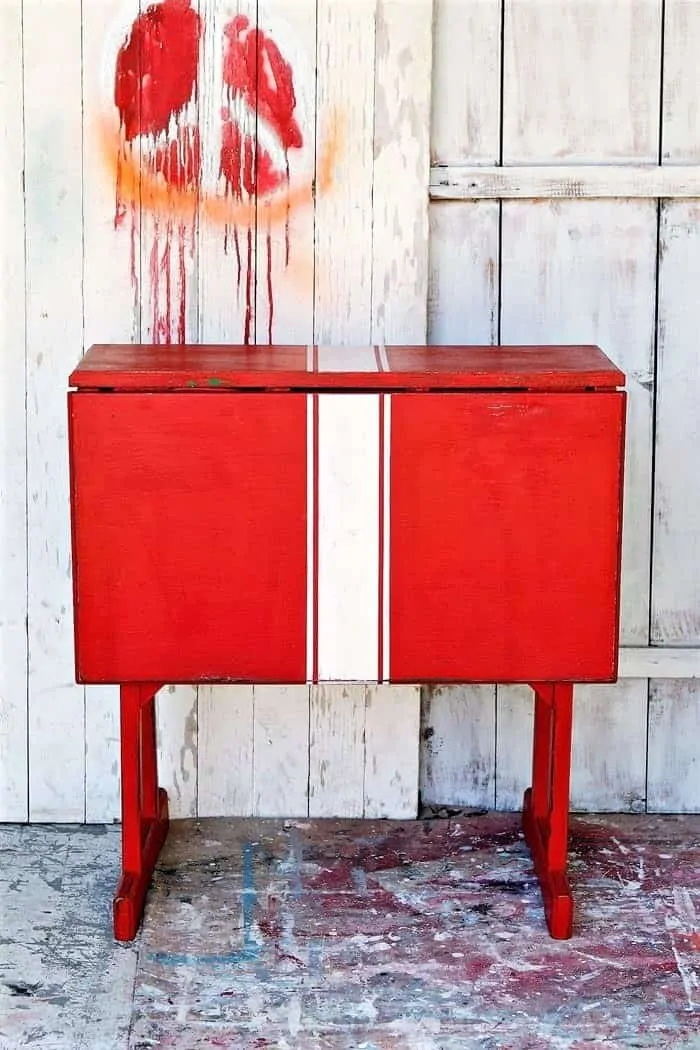
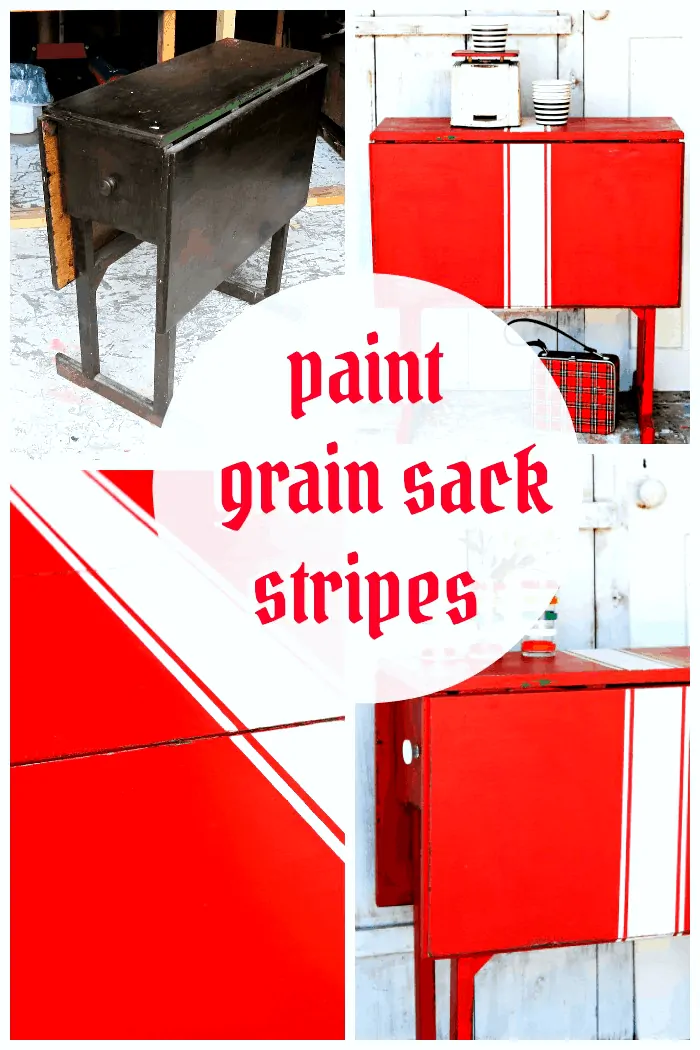
Learn how to paint stripes on a table. The stripes I painted on the red table top were easy as pie and I only measured the first stripe. The stripes will look nice and straight without precise measuring.
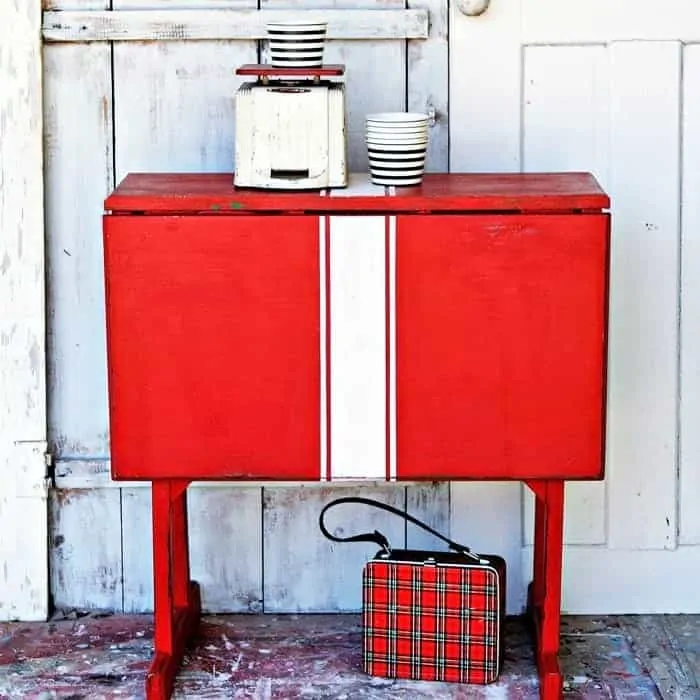
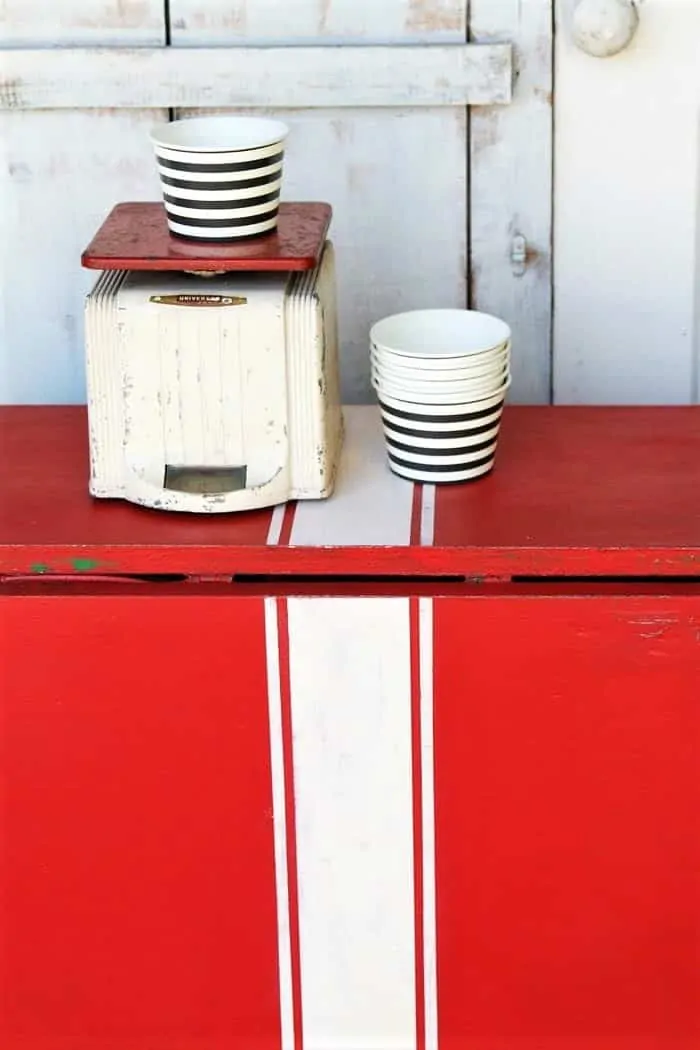
How pretty are the white stripes against the red paint?? I love red and white together….so clean looking. I’m sharing all the details of the drop leaf table makeover and there are a bunch of photos.
I had to do several repairs before I started painting and then there are all the details about painting the stripes.
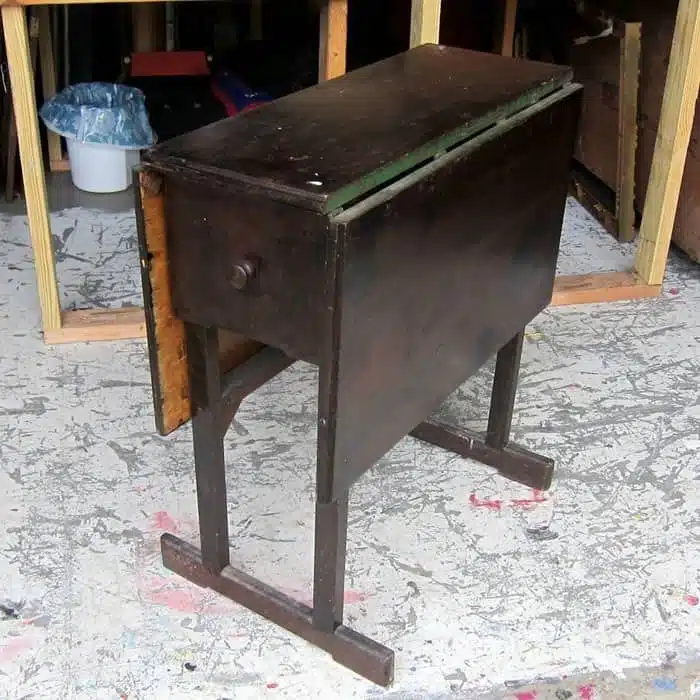
You might remember this table I bought at a local flea market shop. I paid $40 for it. Not a great deal but these tables are hard to find. It’s a nice piece to have if you don’t have a big space and need extra table seating at times. The two drawers are nice to have too.
How To Paint Stripes On A Table
Supplies for this Project:
3M 100 Grit Flexible Sandpaper
Zinsser Gray Primer
Howards Wax
FrogTape
FolkArt Coastal Texture Paint – Sea Salt
Ryobi Sander
Ryobi Brad Nailer
Behr Paint Color No More Drama at Home Depot
Make Furniture Repairs Before Painting Furniture
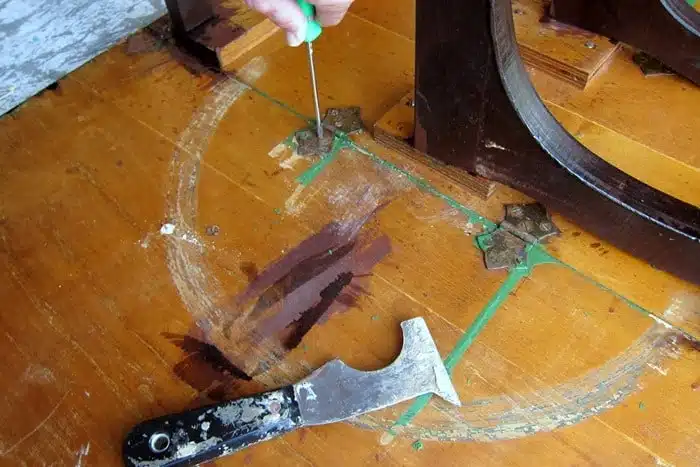
The table was a little wobbly and I tightened all the screws. Someone had put a bunch of thumb tacks in the table in odd places. I don’t know what the purpose for the tacks was. I pried them all out using a putty knife.
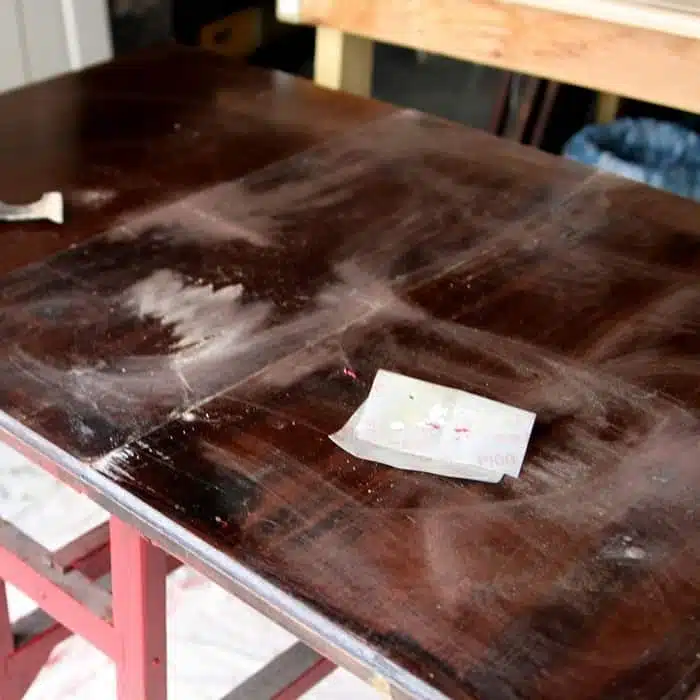
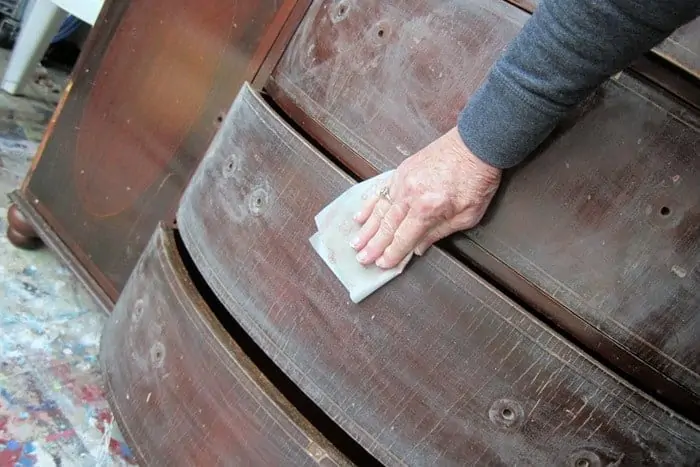
The top was a bit rough and I sanded those areas. There were a few areas with deep gouges and I just left those. I hate to fill places like that with wood putty. The rough places will get distressed after the paint job.
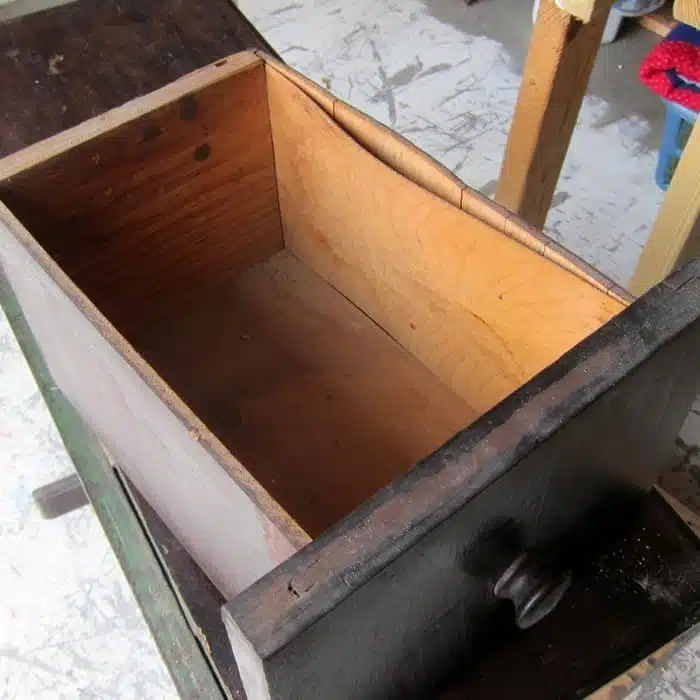
The veneer was pulling away on one of the drawers and I wanted to fix it instead of pulling it off.
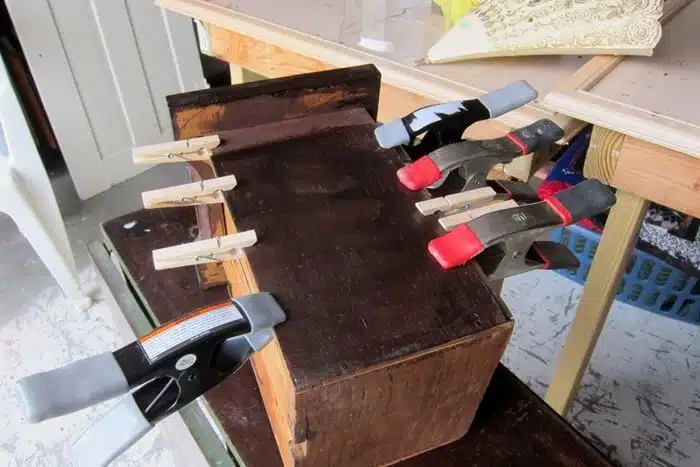
I used a lot of glue and even more clamps. That veneer is tight now.
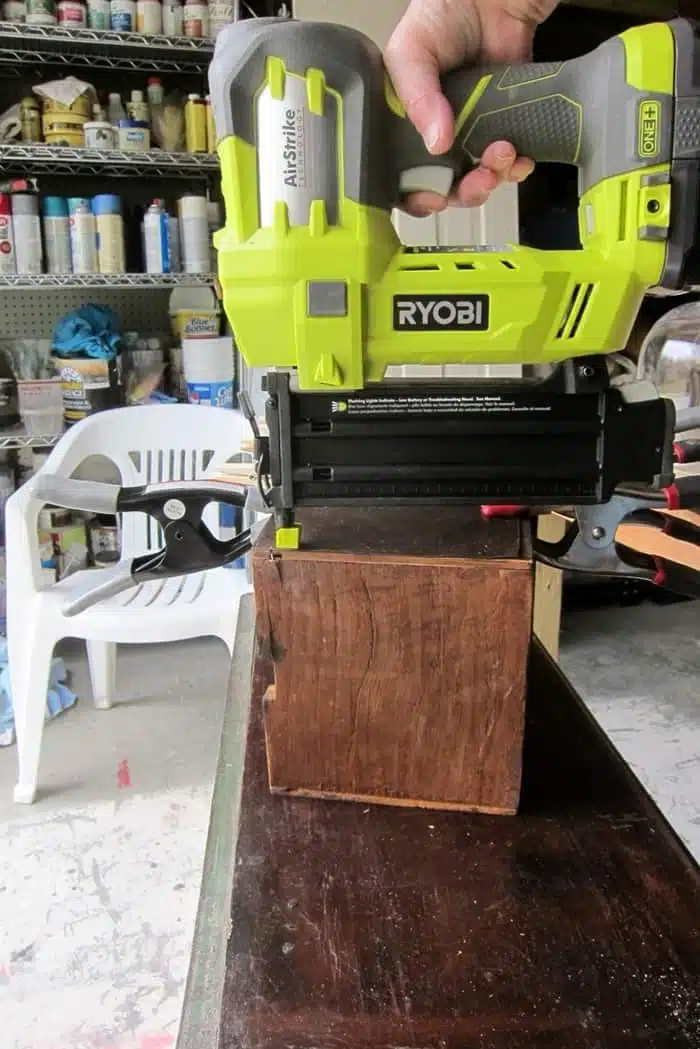
I used the my Ryobi brad nailer on the sides of the drawer where they were pulling away from the back panel.
Prime Furniture
I first painted the underside and base of the table with my Petticoat Junktion custom mix red color. After looking at the color for a couple of days I decided it was too dark.
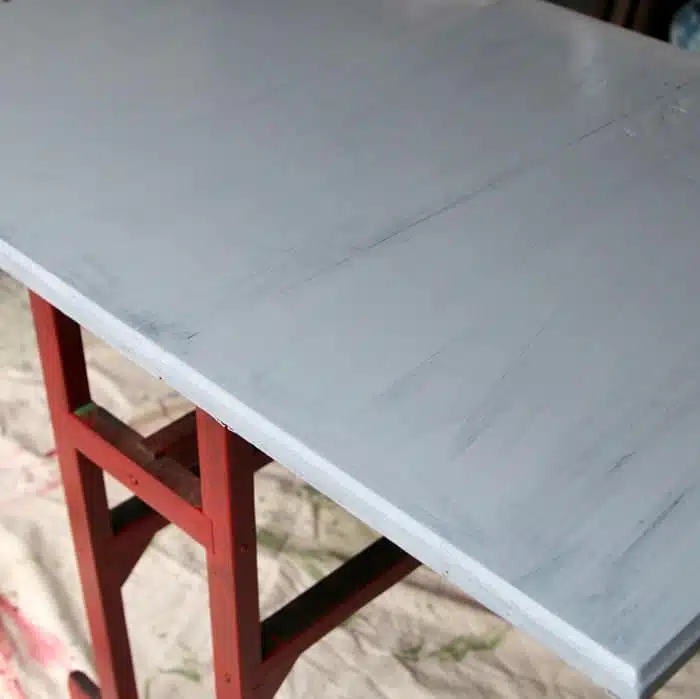
I used Glidden Gripper Primer tinted gray on the table top and painted the whole table “No More Drama” from Behr.
Paint Stripes On The Table
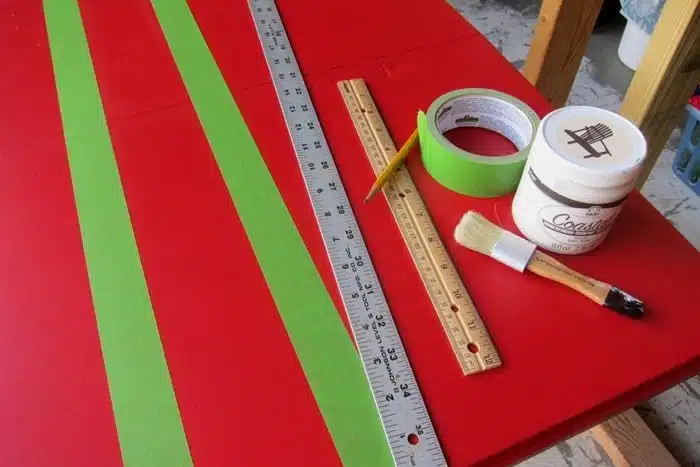
I didn’t go by any guidelines when painting the stripes. I looked at the table top and decided to make the large middle stripe 3 inches wide.
Mark Off Stripes
I made two pencil marks 3 inches apart in the center of one end of the table top, then made the same measurements in the middle of the table and on the opposite end of the table top.
Apply Painters Tape
I didn’t draw lines connecting the pencil marks I just laid the Frog Tape painter’s tape down lining it up with the pencil marks. I was really careful not to stretch or curve the tape.
If you don’t feel comfortable doing it this way then you should use a straight edge and draw the lines with a pencil then align the tape with the lines.
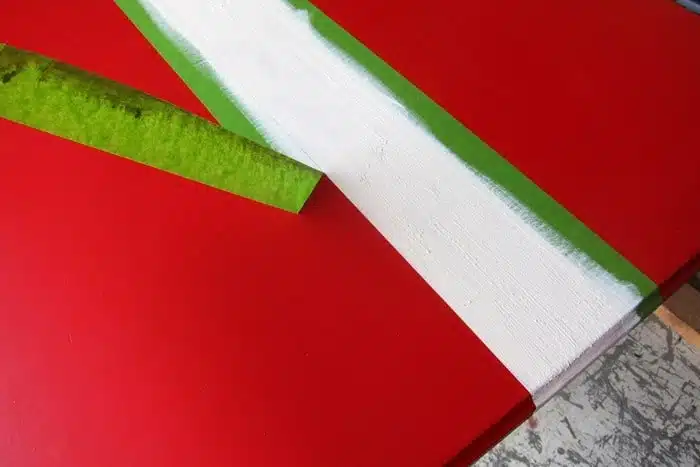
I used FolkArt Textured Paint, sea salt color, for the stripes. This paint sticks and doesn’t come off. One of my favorites.
Tips For Stripes
*Important: Pull the painter’s tape up just as soon as you finish painting the stripe. If the paint dries before you pull the tape off then some of the paint may come off with the tape. I know this from first hand experience.
Placing The Painters Tape For Individual Stripes
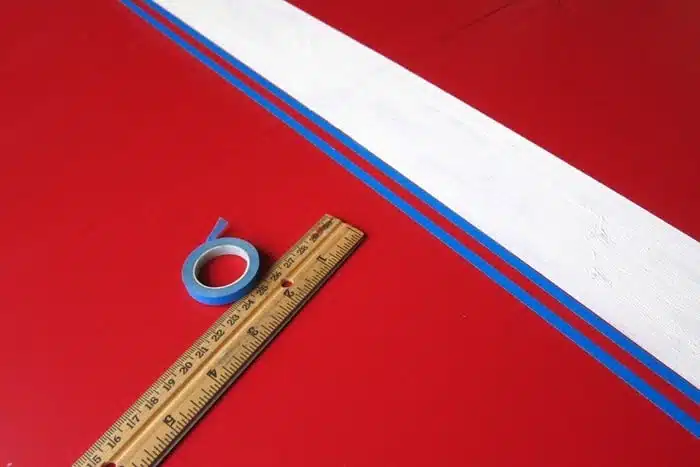
For the small stripes on either side of the large stripe I used a roll of thin blue tape I’ve had for years. I don’t know if it is artist tape or auto detailing tape but it sure comes in handy for these stripes.
I laid a line of the blue tape almost against the white stripe….there was just a hair or two’s width between the white stripe and the blue tape. The reason I left the little space is because the white paint wasn’t dry yet. You guys know how impatient I am.
For the other line of tape….to make the stripe I eyeballed about a 1/4 inch space and just ran the tape down the length of the table top. That’s how I roll.
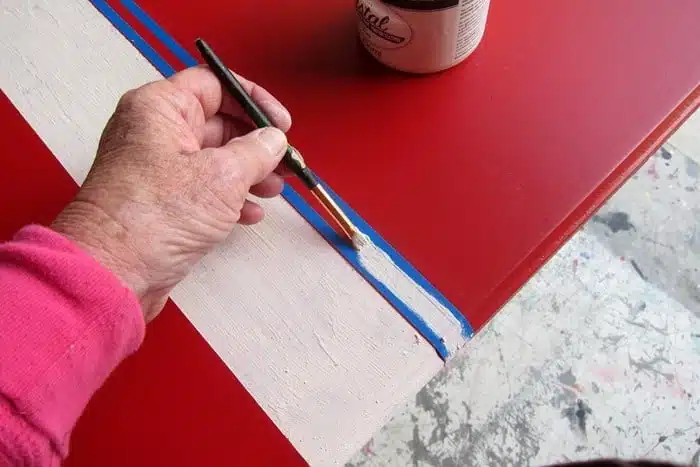
Paint The Stripe
I painted the thin line using a really small brush and repeated the process on the other side of the white stripe. Don’t forget to pull the tape up after painting the stripe.
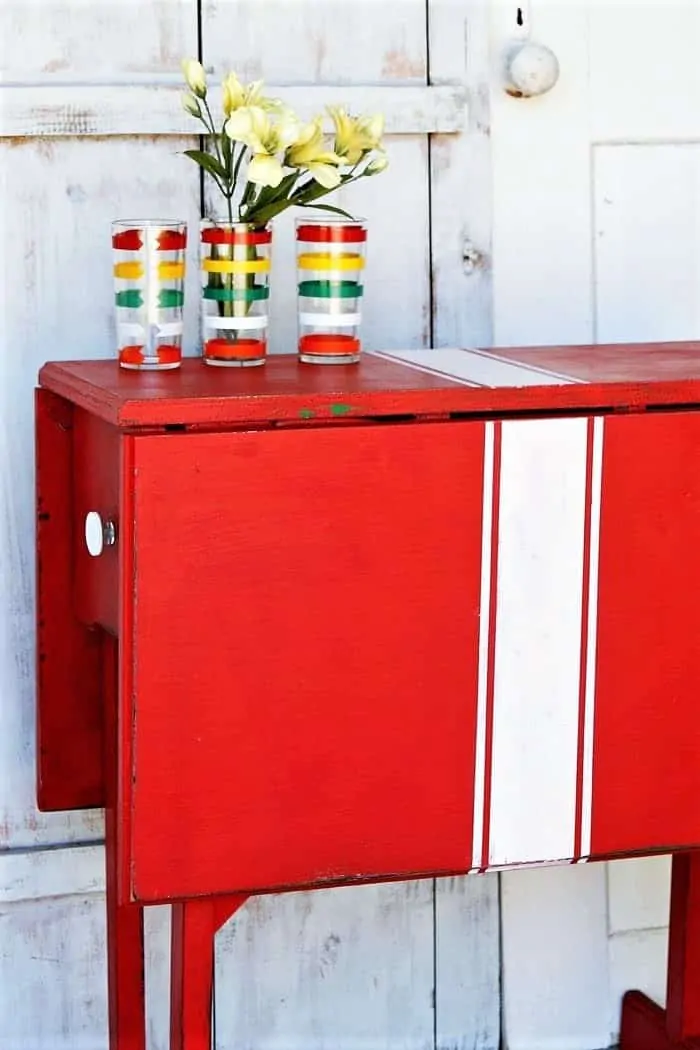
Looks like I did a good job of eyeballing. Those stripes were almost too pretty to distress but you know I did it anyway.
Distress The Painted Stripes
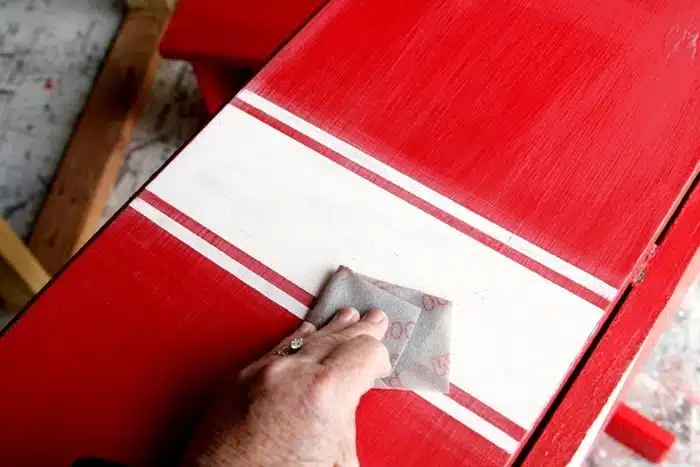
I distressed the white grain sack stripes by hand using flexible 100 grit sandpaper.
Distress The Red Paint
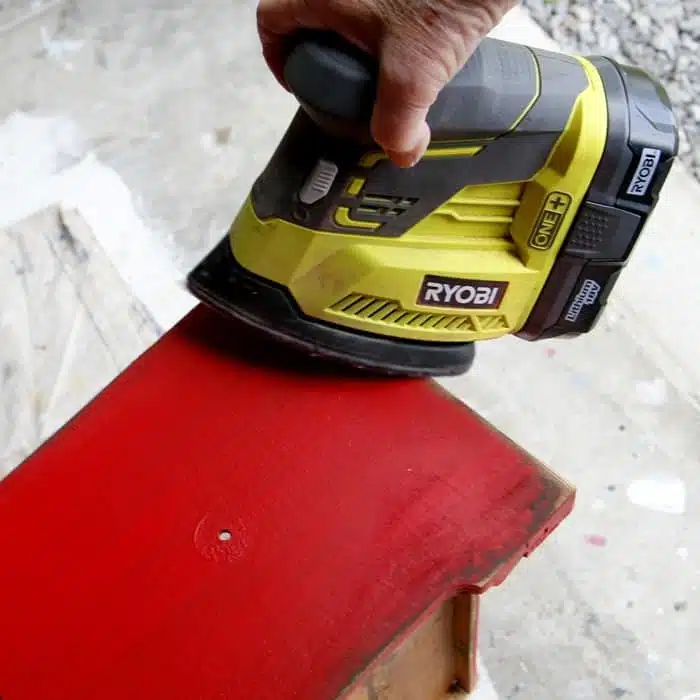
I used my Ryobi battery operated sander on the red paint. I tried distressing it by hand but that stuff was stuck. Had to go with more power. I sanded the legs, the underside of the table, the edges of the drawers, and the rough areas on the table top.
Wax The Table
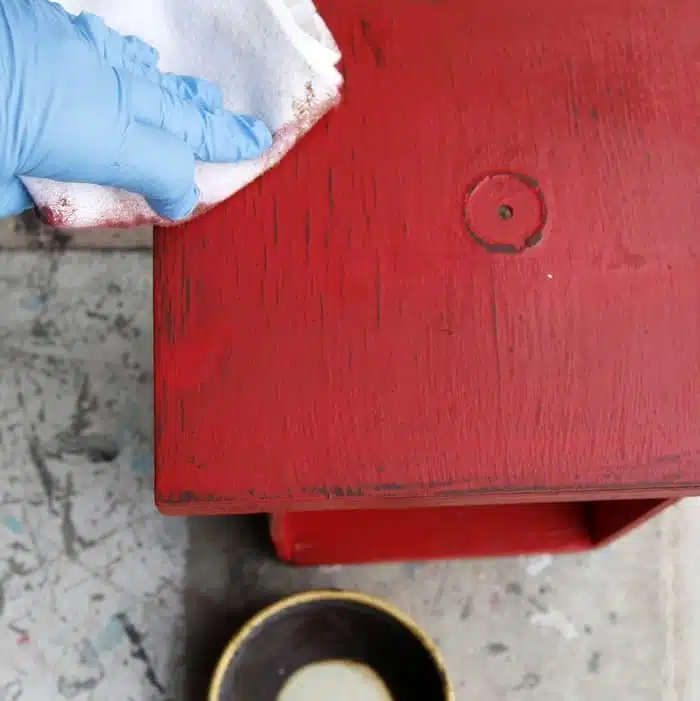
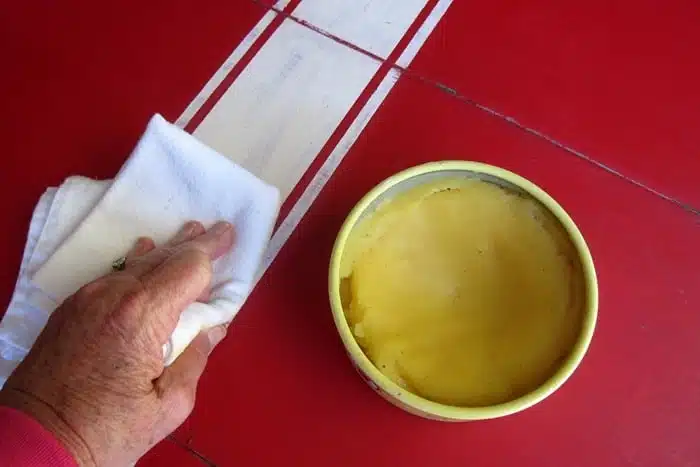
Next I applied a coat of Howard’s Wax in Walnut to the red paint. The wax gets rid of the pale marks caused by the sandpaper. It also gives the distressed wood and paint a nice aged look.
I didn’t want to darken the white stripe so I used Howards Wax in Neutral on the white. The wax also protects the paint and gives it a nice sheen.
I posted about the table when I purchased it and asked you guys for paint ideas. I got lots of advice and I paid attention.
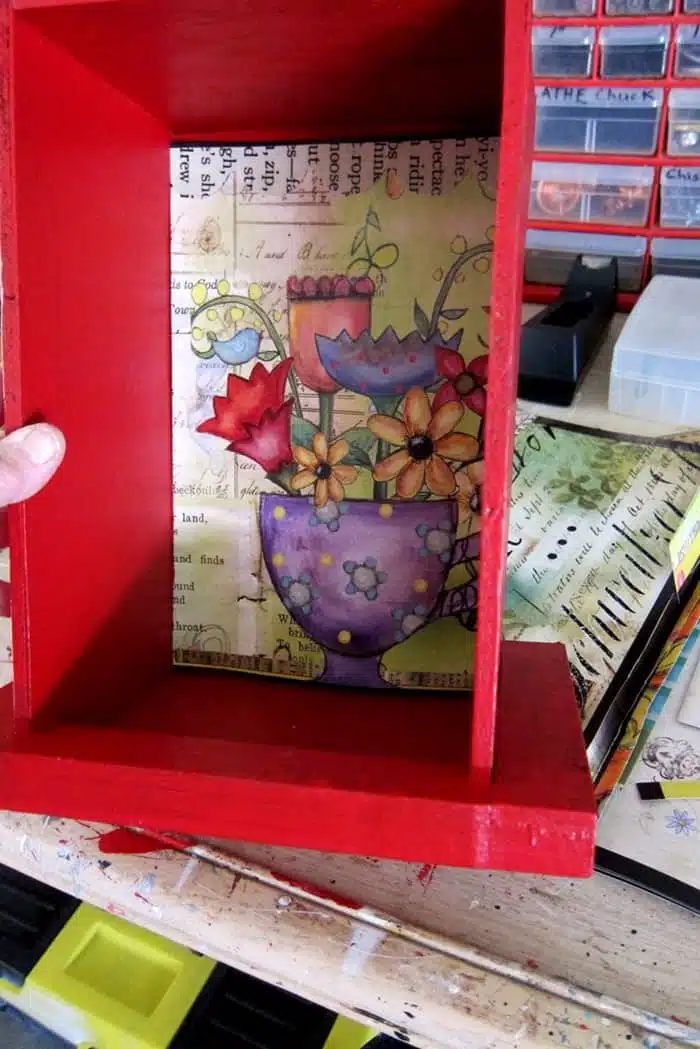
Someone requested I paint the inside of the drawers and someone else suggested I paint the underside of the table. Done. I also lined the drawers using part of an old calendar. I save everything.
The table turned out much better than I envisioned. I really do love red and white and I think the stripes look good on the drop leaf.
I bought two colorful knobs from Hobby Lobby for the table but I didn’t like them. Two white knobs I bought on an earlier trip to Hobby Lobby to use on another piece worked out perfectly.
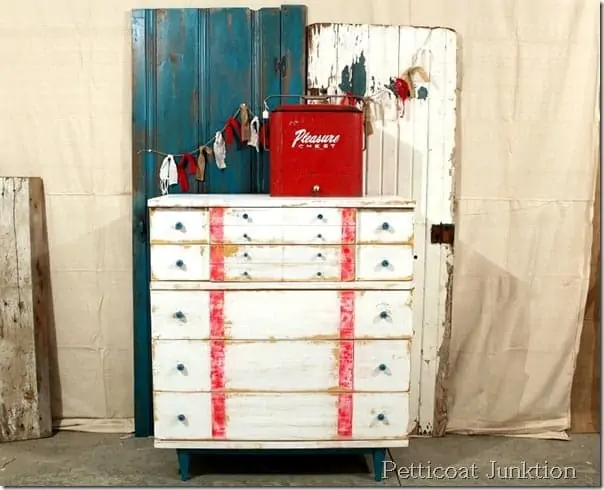
I couldn’t resist turning the white door around and getting a pic of the peace sign. It’s kind of creepy but kind of cool too.
I also like black and white stripes and vintage kitchen scales. What about you?
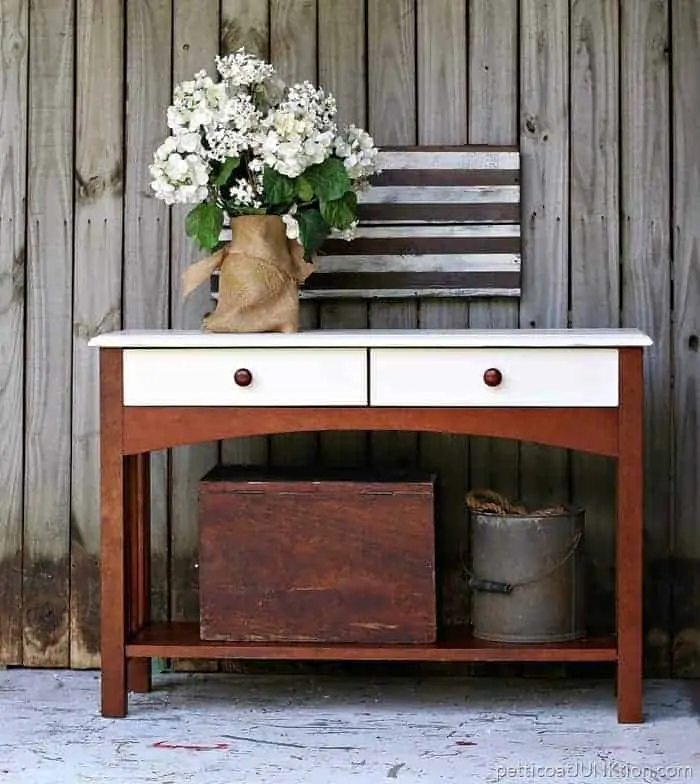
See how to paint black and white stripes on a wood box here.
What do you think of the table? I tried adding a white detail to the underside of the table but it didn’t look very good and I painted over it.
Thanks for being here and have a great day, Kathy

That looks like my red convertible that I pinstriped in white, using guide tape! I also pinstriped the dash. My favorite color combination.
One of my favorites from Funtastic Friday, pinned to the FF board! Thanks for sharing great such great content! Melynda@ScratchMadeFood!
That is a really cute table!
Looks wonderful. You have inspired me to paint an old table that I have hanging around.
That is just to darn cute. Love the strip and chose of colors
I love the style of table and the paint colors you chose look great!
Hi Kathy, Using clothes pegs as a clamping device? Genius!
All I can say is everything I view that you do is great. Yes red and white stripes are great. You are so colorful. That is what I like the most about what you do. And #2 your details of what to do are right to the point. Keep up the good work……
It’s terrific…are you gonna sell it in your shop?
I love this table. Great job.
The table looks great. I love the stripes. I’ve been looking for a drop leaf table for a while without any luck.