Furniture Painting Workshops With Furniture Makeovers In One Day
As an Amazon Associate, I earn from qualifying purchases.
At our furniture painting workshops, the students are always excited but also a little scared. Picking up the paintbrush and brushing on that first coat of paint have them rethinking the whole thing. But by the end of the day, they are pleased as punch when their project is finished. It’s not hard to paint furniture. Anyone and everyone can do it.
Do you know how it feels when you attempt something that comes out great and have that sense of accomplishment?? It feels good, doesn’t it? After you read this post, paint something….anything…..and let me know how you feel afterward.

I taught painting workshops at Artifacts in Clarksville many years ago. The students painted picture frames, small stools, etc., nothing big. One of my workshop attendees, Sara, later became the owner of an Antique/Thrift Store called You Never Know. That’s where I have my booth now.
Sara credits me with starting her on her painting journey but she has far exceeded what I taught her. She could teach me a few things now. Together we taught furniture painting workshops at her store for a couple of years.
Jamie, the new shop owner, now teaches furniture painting or sometimes she will have you bring your furniture to the shop and guide you while you paint it. No workshop fee. How cool is that?

We wanted to give our workshop attendees good basic painting techniques with some special techniques thrown in. We decided to do the one-day furniture painting experience where ou bring in a piece of furniture, and we provide the paint, supplies, tools, breakfast, lunch, entertainment (me and Sara), and our painting experience.
The workshop started at nine and was over by three. The furniture projects were completed and ready to take home at the end of the day. Yes, you can paint furniture in one day.
The things we taught in the workshops included: how to stencil, how to use metal leaf (gilding), how to distress paint, how to age or antique furniture, decoupage techniques, and anything else that came up in the class.

The students told us what they wanted the furniture to look like and we tried our best to help them get that result. I think we did pretty well. The cost of the workshop was $135.00. At the end of the day, you went home with a totally renewed piece of furniture.

I was looking back at some of the projects last week and decided to share a few with you. I thought you might need a bit of a kickstart for your personal paint project. Am I right? The furniture projects below are examples from several workshops. We usually have a limit of 4 people to a workshop, but we have had as many as 5.

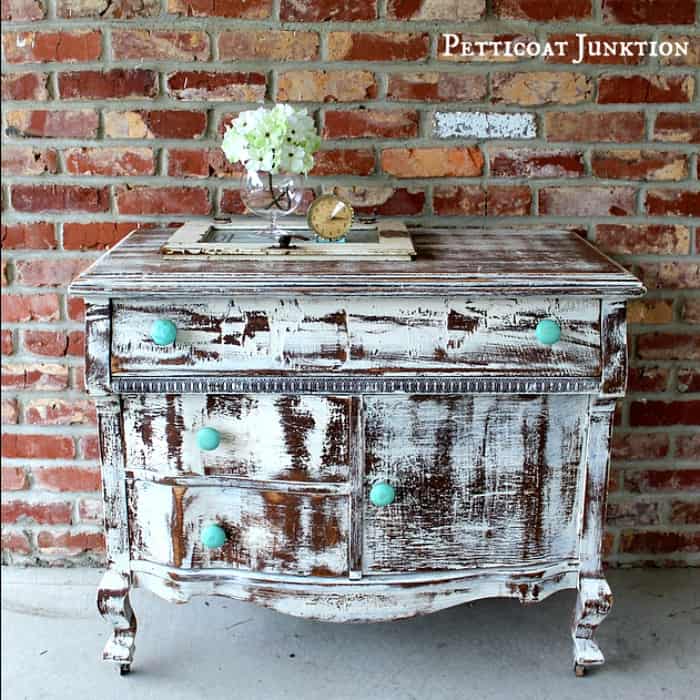
The before photo of this piece is shown earlier in the post. Paula painted the bottom of the cabinet in Caromal Colours Candy Apple Red and dry brushed the corners and raised panels with Caromal Colours Peppercorn (black).
The top was finished in Caromal Colours Peppercorn, and she distressed the whole piece with an electric sander. Paula loved that sander. I think she was going to stop and buy one on the way home. Some of our students are scared of the power sander, and some love it. You never know.
Liberon dark wax was used to age the piece and give it a soft patina. I love how the washstand turned out. The red and black color combo is eye-catching

Paula’s son Alan joined us with a furniture project of his own. It’s always fun to have families come to the furniture painting workshops, especially a Mom and son.

Alan painted the entire table green then brushed a chipping creme over the top of the table before brushing on the layer of green paint. When the green paint was distressed the areas with chipping creme came off easily for a layered paint finish.

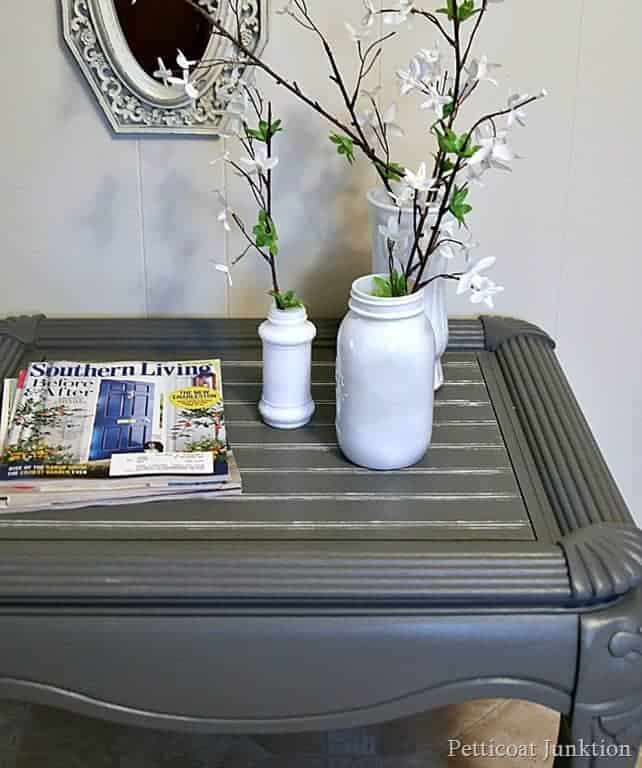
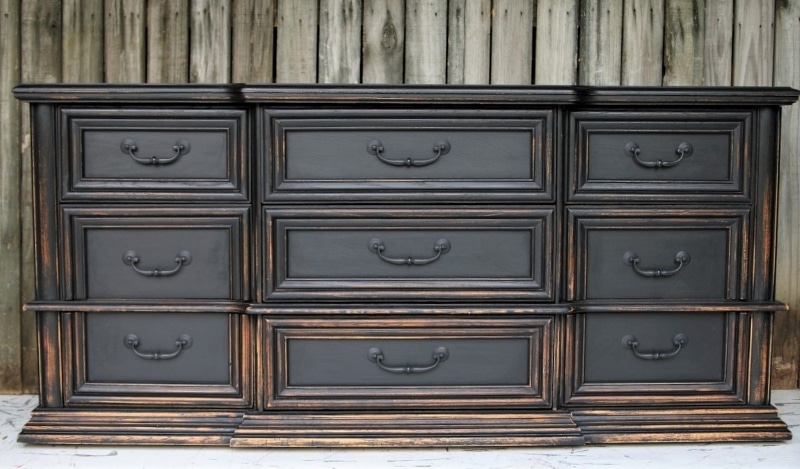
Raquel brought in a French Provincial dresser she wanted to jazz up with metallic paint.

She painted the dresser with Martha Stewart Silver Metallic latex paint. She used Gripper Gray Primer as a base coat. We made a light glaze by mixing Caromal Colours toner and black paint.
We brushed on the glaze and partially wiped it off to achieve an antiqued look. The top is painted black. She purchased new drawer pulls for the dresser at Target. All of the hardware eventually ended up on the drawers.
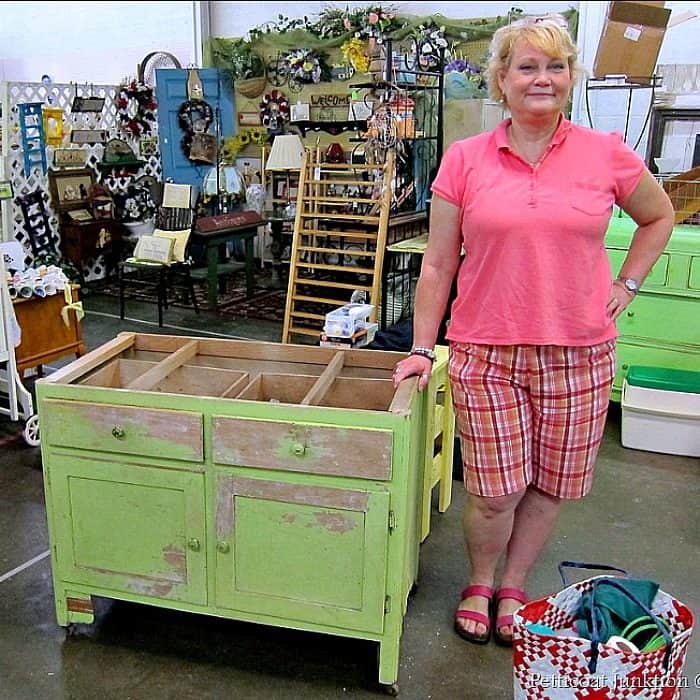
I love the cabinet Liz brought in just like it was but she wanted to perk up the green.
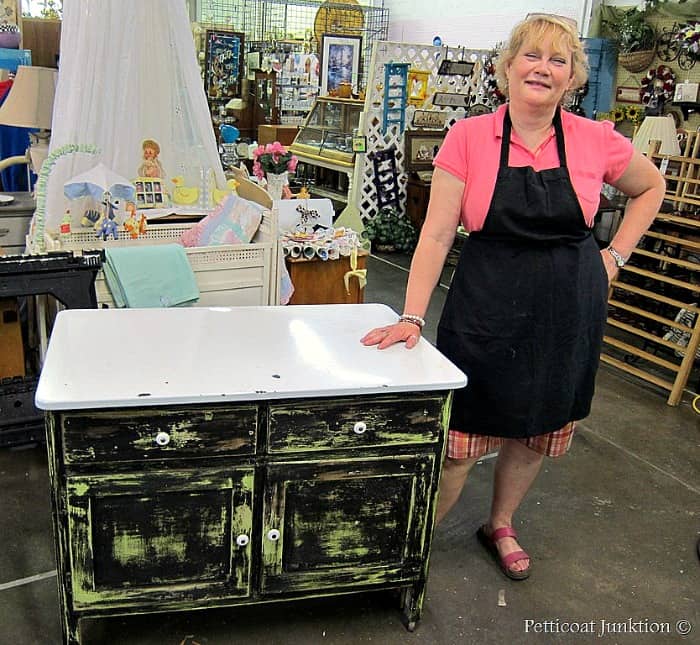
She brushed chipping creme over the green paint and once it was dry, she brushed on a coat of black paint. Much of the green paint was revealed when Liz distressed the cabinet using a sander. She used the neutral Liberon Wax to give the piece a soft patina. I have to say I love the layered look. Beats the plain old green.

I like these big old oak tables……once they are painted.

Dawn painted the table with Beyond Paint, a Licorice color, then lightly distressed the edges. Black paint is so classy.
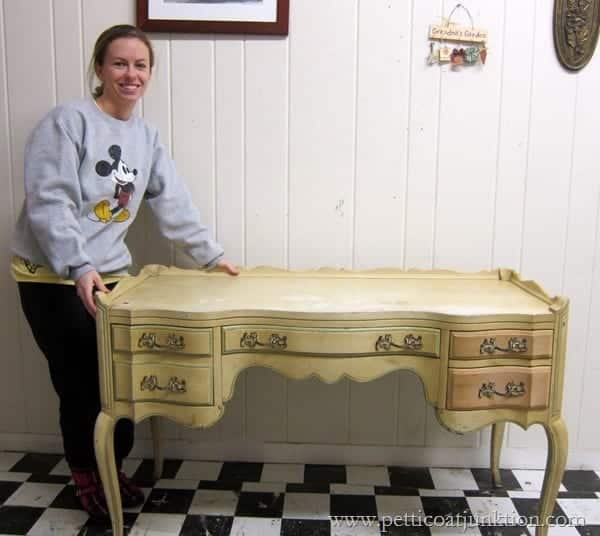
How pretty is this French Provincial desk Shannon brought in?? I wanted it for myself.
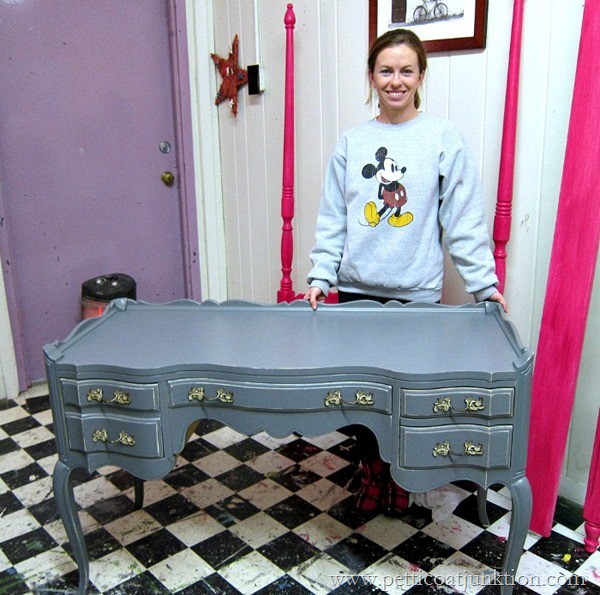
She painted the desk in Pewter from Beyond Paint.
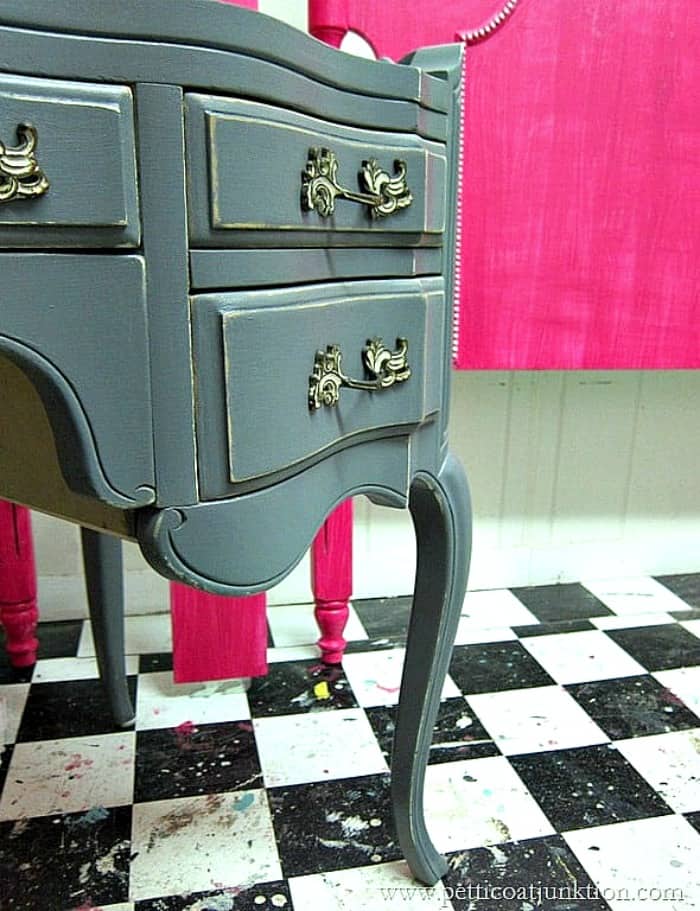
A bit of light distressing, drawer pulls screwed back on , and done.
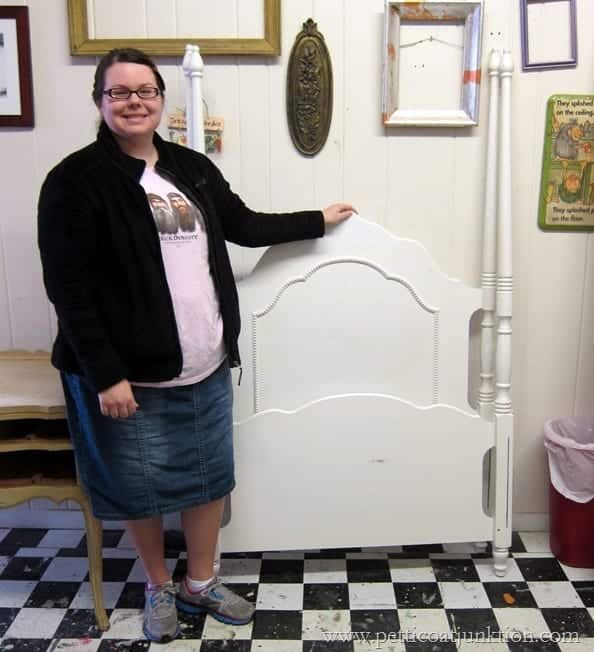
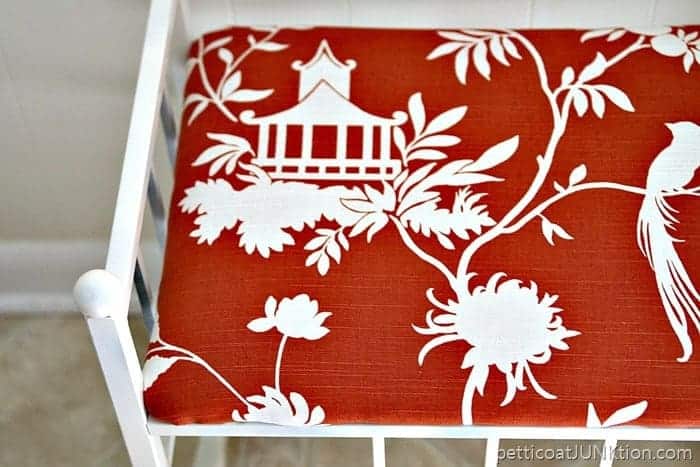
Sarah brought in her daughter’s bed for a quick update.
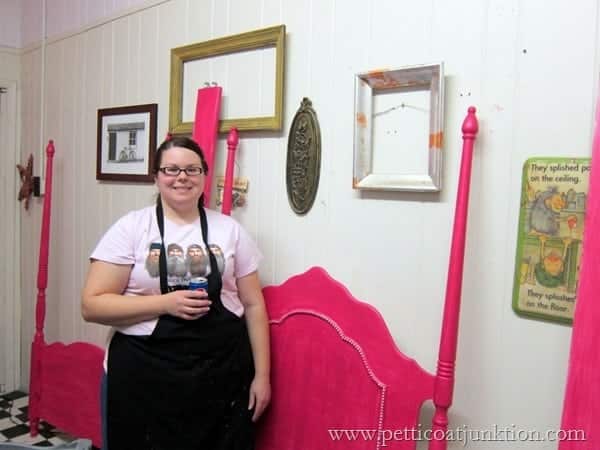
We mixed a custom Fuchsia color. After the paint was dry Sarah lightly distressed the beaded detail on the headboard.
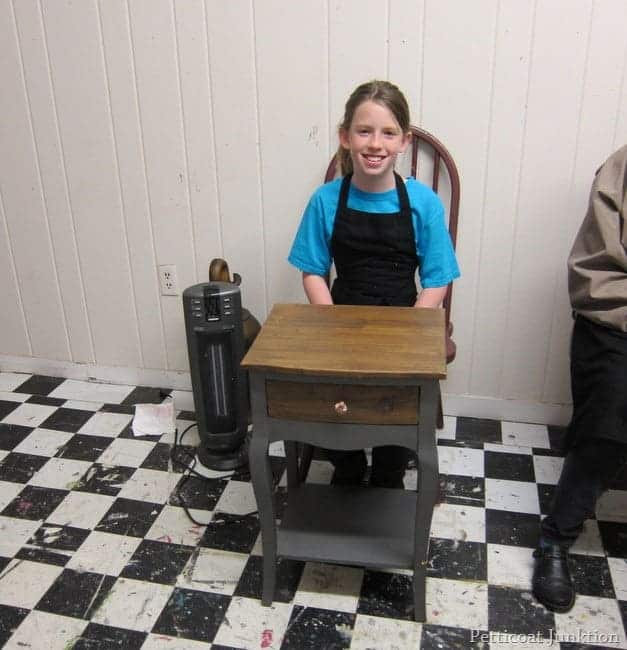
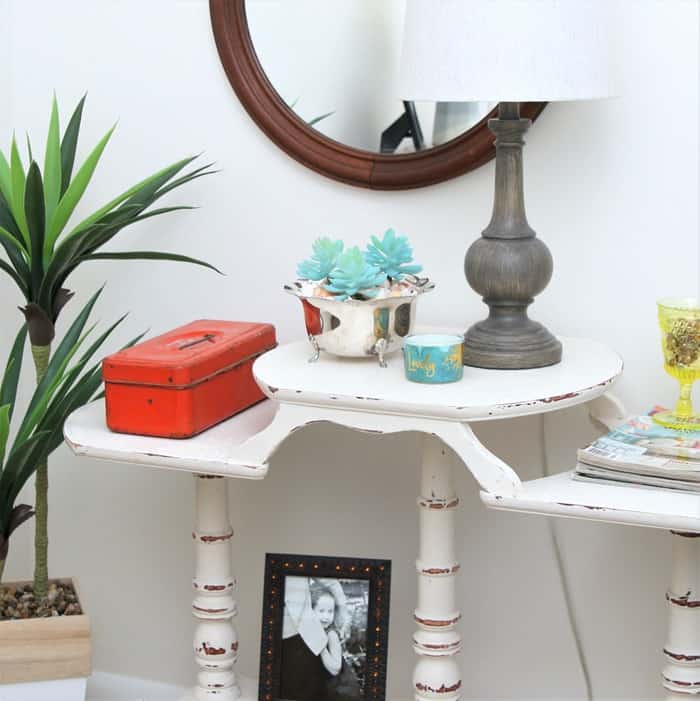
This beautiful young lady is Carson. Her grandmother brought in a piece to paint and Carson wanted to paint her nightstand.
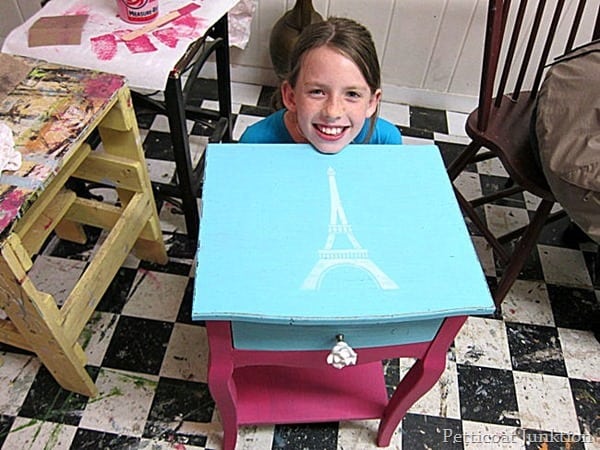
It turned out fabulous. Two paint colors, a new knob from Hobby Lobby and an Eiffel Tower stencil…….perfect for a young lady.

The details on the dresser were begging for paint and a shabby chic distressed finish.

That’s just what it got—shabby chic cool. The next photos are random shots taken during the makeover process.

While projects were drying the paint, students enjoyed talking and visiting. We made a lot of new friends that day—another plus for the furniture painting workshops.

A look at how the Caromal Colours Toner is used. You rub it on and rub it off.

A group class is nice because we can all toss around ideas on furniture projects. The space is sometimes a little tight, but we make it work.

This is Lindsey with her chest of drawers before starting the project. She removed the drawer hardware at home. I always recommend removing the hardware before painting.

Lindsey chose to paint the chest in Mocha using Reclaim paint. She applied two coats of paint then distressed the edges of the drawers and the chest with a sanding block. She applied Miss Mustard Seed’s Furniture Wax to darken the edges of the distressed wood.
For most furniture makeovers, you can use various paints and products available at your local hardware store. You don’t necessarily need special furniture paint. Latex paint and Vaseline can be used for layered paint makeovers. Glaze works for aging, although I like the Caromal Colours Toner a lot better because it will not wash off over time like some glazes will.

before ….This is Sue with her $21 Salvation Army find.

after……Hard to believe it’s the same piece, isn’t it. Sue used CeCe Caldwells Chalk/Clay Paint in Vermont Gray for the casing and Carolina Sun for the drawers. She took a short break, ran to Hobby Lobby, and picked up the cute knobs. She fell in love with our electric sander so she also got one of those while she was out! The workshop started at 9 a.m. We finished before 3 p.m. with the happy painters loading their projects for the home.