How To Make A Plastic Flower Pot Look Like Granite
As an Amazon Associate, I earn from qualifying purchases.
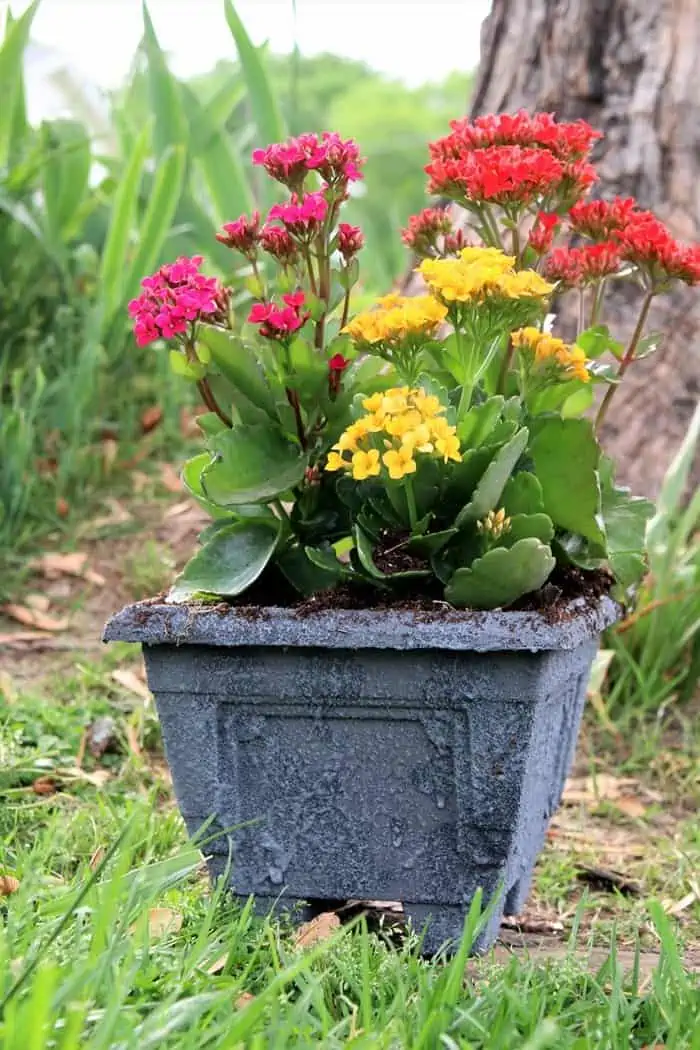
Make a plastic flower pot look like granite with a paint and sand mixture.
I had a bag of sand in my stash of stuff so thought I would experiment a little bit. You guys know I do that all the time. I mixed the sand with some paint to see if it would look like granite or rough cement. It worked. The plastic pot I painted looks like weathered gray granite.
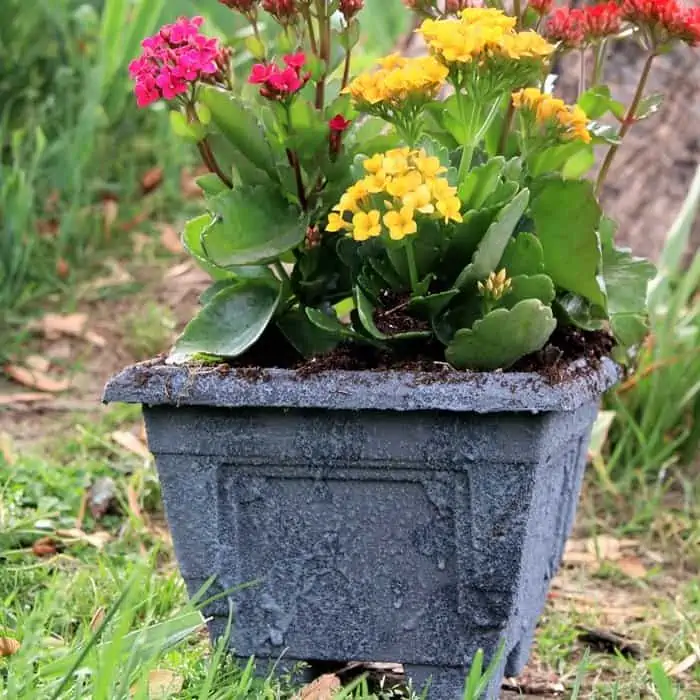
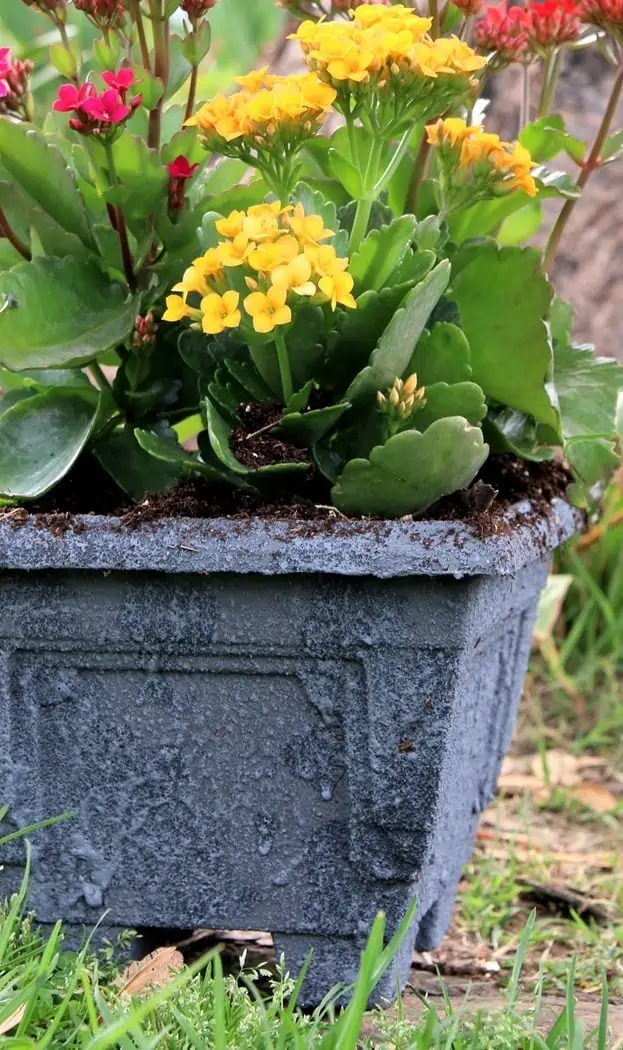
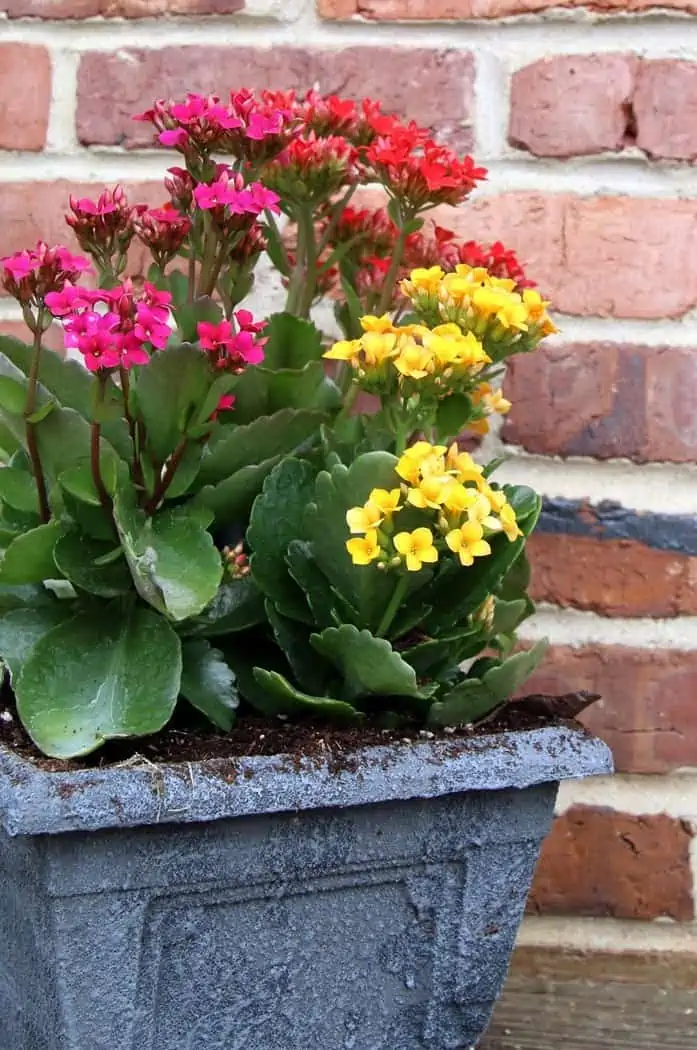
The flower pot has depth and character now and it looks anything but plastic. Plastic pieces are great for experimenting with new paint techniques!
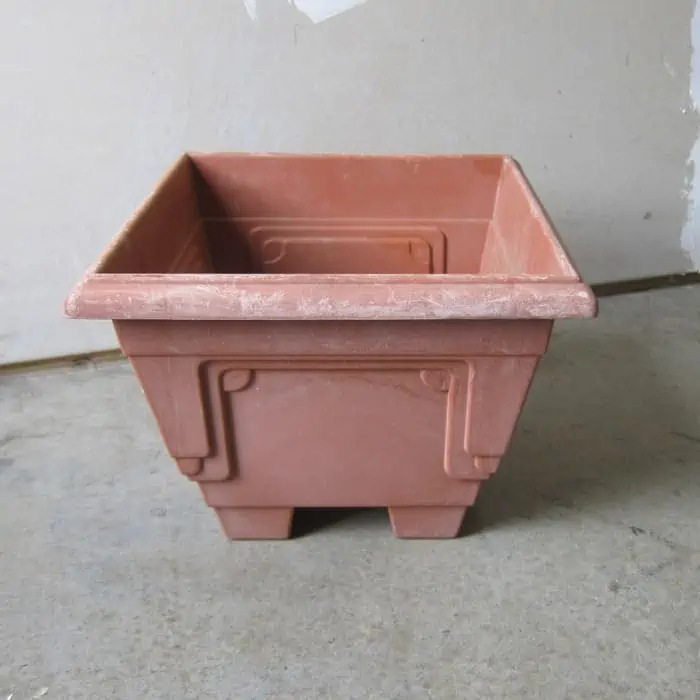
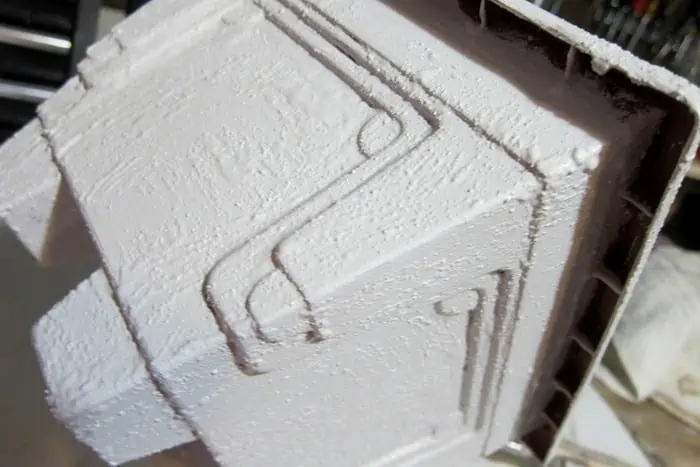
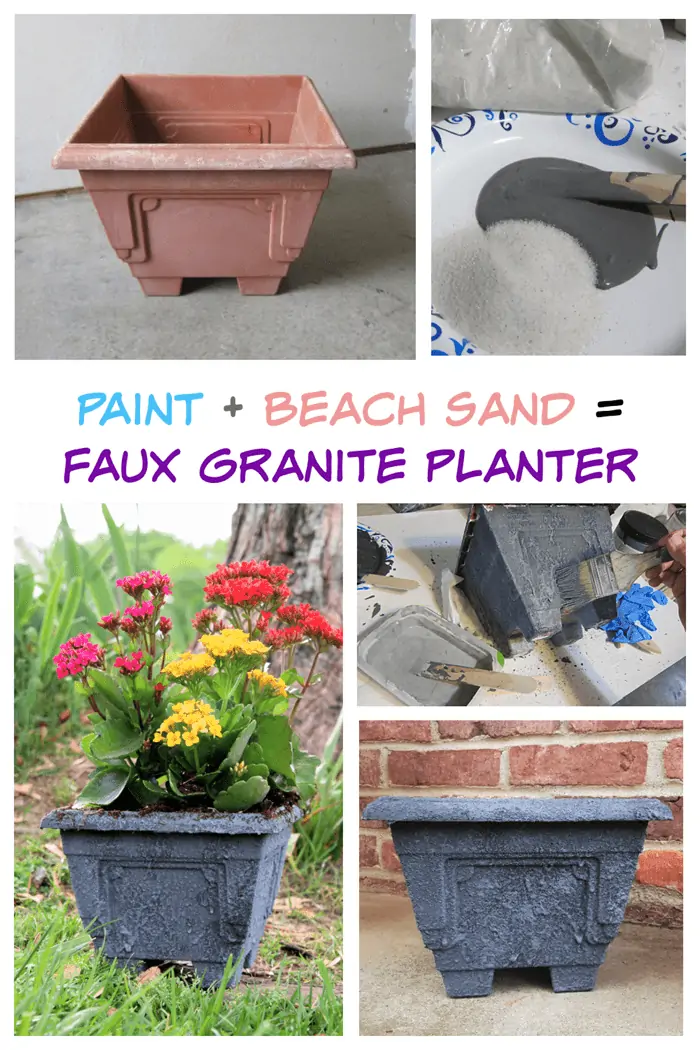
This is how the pot started out. I think I picked it up at my favorite junk shop but not sure. If that’s where it came from the price was probably a dollar. I liked the lines on the pot. Kind of art deco-looking.
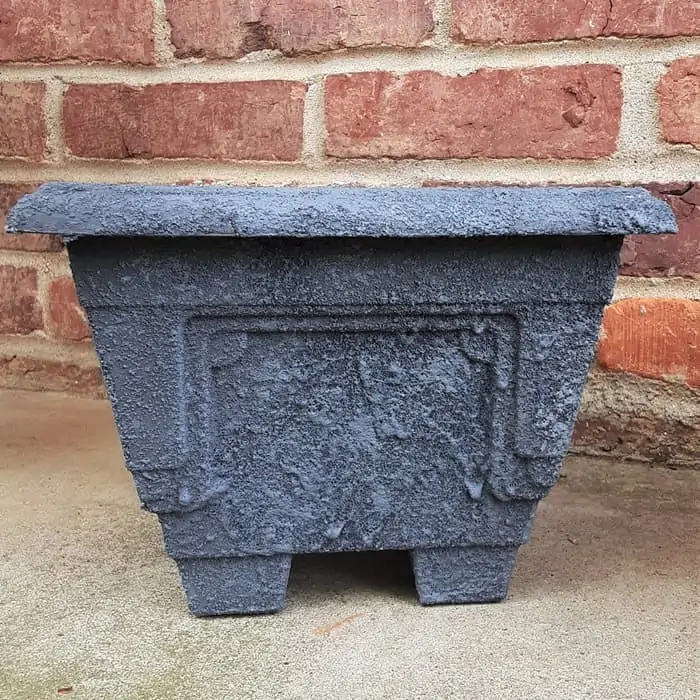
This is how the pot looked after I worked my magic. This was definitely a trial-and-error project. But that’s the way I work most of the time.
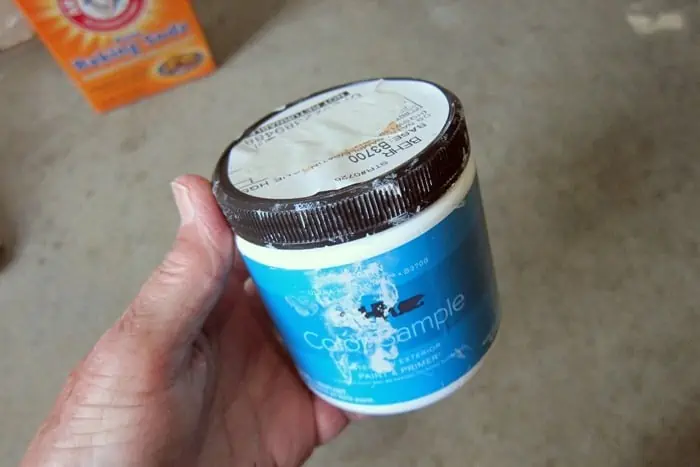
I started the project with this small sample of Behr paint in off-white. The sample was on the oops paint shelf for 50 cents. I can’t pass up those deals.
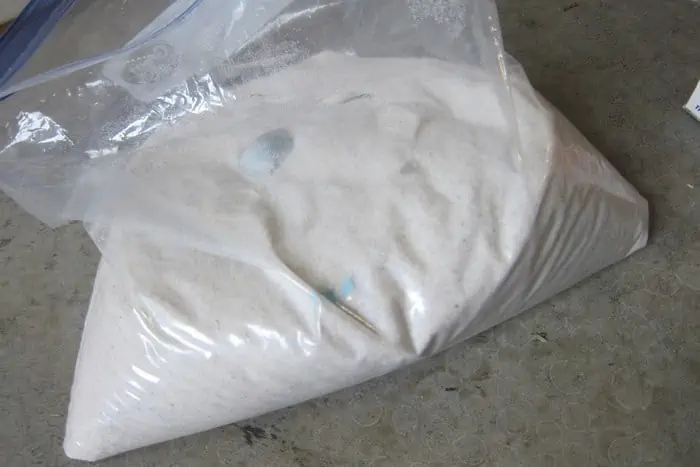
I have this bag of sand in my DIY supplies. I would tell you where my sand came from but it could be that I did something illegal (not meaning to of course). You can buy bags of sand at the craft store or dollar store and from now on that’s where I will get my sand. You can do what you like but just laying the info out here for you.
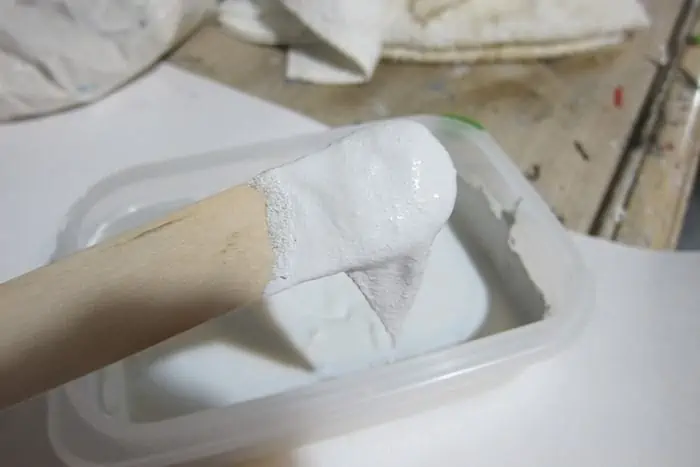
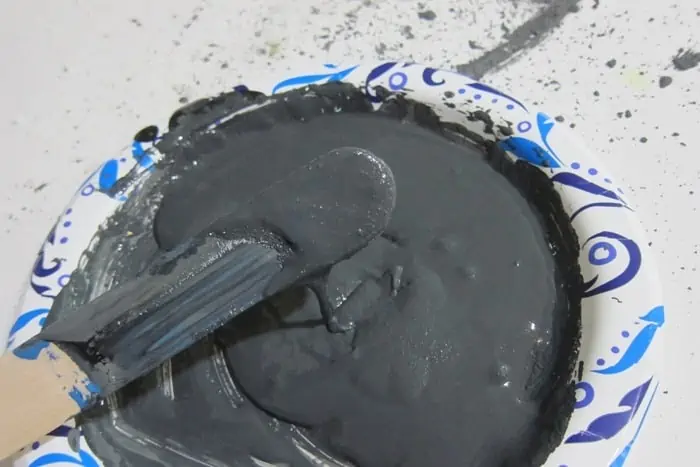
I mixed the sand and paint together without measuring anything because that’s how I roll. Probably the mix is equal amounts of sand and paint. This is something you can play with. More sand means a rougher finish. I did learn you can add too much sand and the paint will just crumble off the brush when you try to paint it on your project. If you make this mistake as I did just add more paint to the mix.
This is how the paint looked when it was wet. Right after painting the plastic pot, I decided the color was too white.
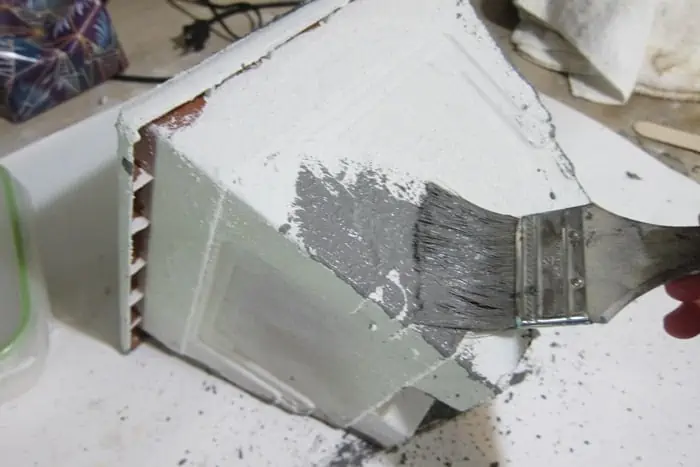
I found a gray color in my stash and mixed up more sand and paint. The sand and paint mixture goes a long way. Next, I brushed that mixture over the white paint.
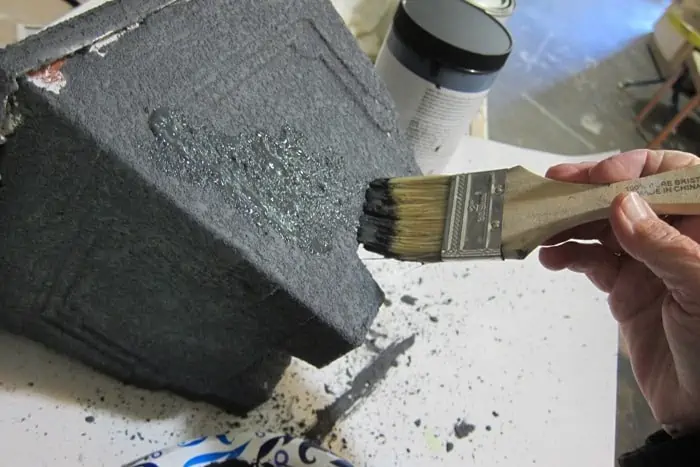
It was still too light for me. I found dark gray paint and added black to the paint to make it darker. Then I added the sand to the paint.
I brushed the dark gray mix on and let it dry. Then I mixed more of the black paint with the dark gray mixture and just brushed it over a few areas on the pot.
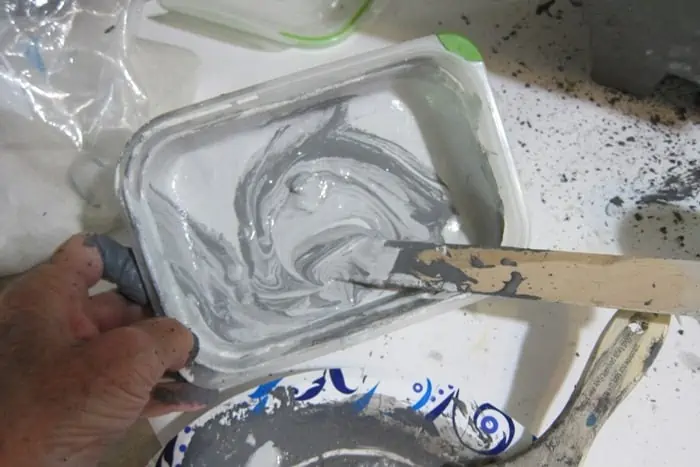
This is the last step I promise. I went back to my original too-light paint and sand mixture and added gray paint to it until it was light to medium gray.
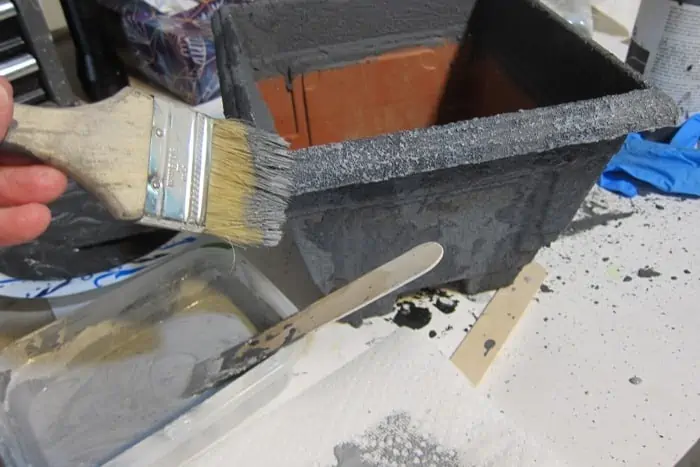
Then I dry brushed that mix over the dark gray pot. If I would have used the white mixture I started with to dry brush the planter it would have been too much of a contrast. The white would have stood out way too much.
I love how the pot turned out and now that I know how to do it there will not be as many steps. There is nothing wrong with trying a new technique or making up your own. It’s okay if you don’t get the look or effect you’re going for the first time around. Keep working on it. That’s what I do…….all of the time.
The flowers I bought for the pot are Kalanchoe. I know the name because I saved the tag. They sure are pretty. Three of my favorite colors.
The plastic flower pot now looks aged and weathered and like granite or rough concrete. My next sand and paint project will be off-white with various shades of white. We’ll see how many steps I have for that project. It all comes down to getting the right combination of colors for the different layers. Three layers of color should be all you need.
Sand gives a lot more texture to the paint versus the baking soda technique I tried a couple of weeks ago. What do you think of the planter and my painting technique? Leave a note if you have time and thanks for being here, Kathy
More Projects from Petticoat Junktion here…. All DIY

What a great idea! Thanks!
Oh my gosh, I love this! I have a pretty large pot I painted a few years ago and really never like it so this technique is something I am going to try!! Thanks so much for sharing this cool idea!!
I loved the pot, I will be doing several, as I enjoy container gardening, You did a great job teaching us how you roll, are you sure you aren’t my daughter. I loved it all.Thank you so much.
I’m waiting to see, lol. It is sitting on a covered porch. I’ll do an update on it later after it’s been weathered for a while.
I don’t know. It is sitting on a covered porch. I didn’t seal it because I wanted to see what would happen. It can always be sealed with clear outdoor polyurethane in either a flat or glossy finish.
Thanks Tammy! What a nice comment.
Hello from Jacksonville, Fl! Love your methods and style, Kathy. Nothing wrong with flying by the seat of your pants. That’s exactly what attracted me to your blog. Your flower pot turned out awesome.
That looks amazing.
How will it hold up with watering or rain?
Blessings
Barb
Love the planter, thanks for the information! I love watching your paint techniques on furniture too!
Great Job! Can you tell me how this would hold up with rain, etc.?
How would you protect it from water damage?
love the texture & the color! and also your realness on sharing ALL the steps!!
I have some sand……so 😉
Would you seal it to make it more durable? Do you think it needs it because of moisture outdoors, etc?
Great idea, I buy those 50 cent oops paints too! Great way to experiment!
Thank you for sharing!
Awesome idea. Thanks for sharing. I have a pot like that could definitely use this. Have a blessed day.