4 Farmhouse Style Chicken Decor Projects | Something To Cluck About
As an Amazon Associate, I earn from qualifying purchases.
Got a thing for chickens? I do. I love Rooster and chicken decorations and making farmhouse style chick decor using inexpensive finds.
4 Farmhouse Style Chicken Decor Projects
My nephew and his wife have a whole flock of real chickens of various types, colors, sizes, etc. and I have a photos of those for you after the project tutorials. Cluck!
1. Rooster Lamp Spray Paint Makeover
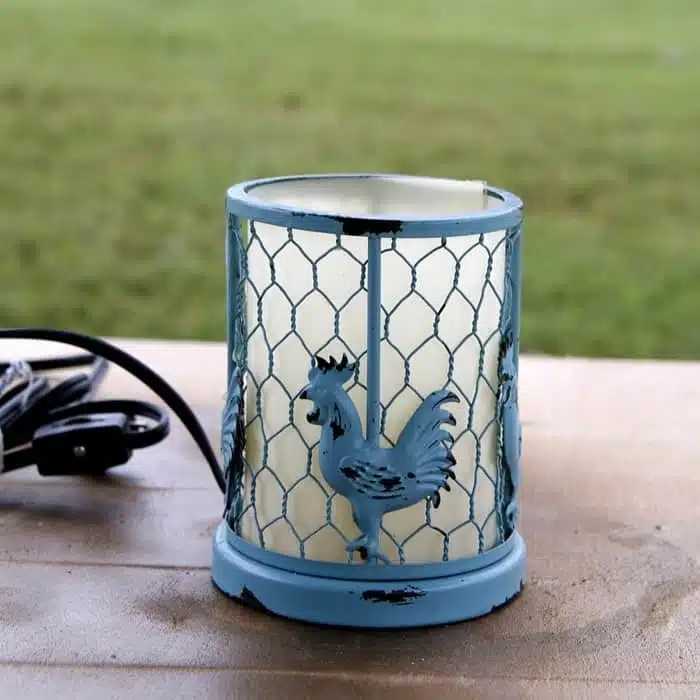
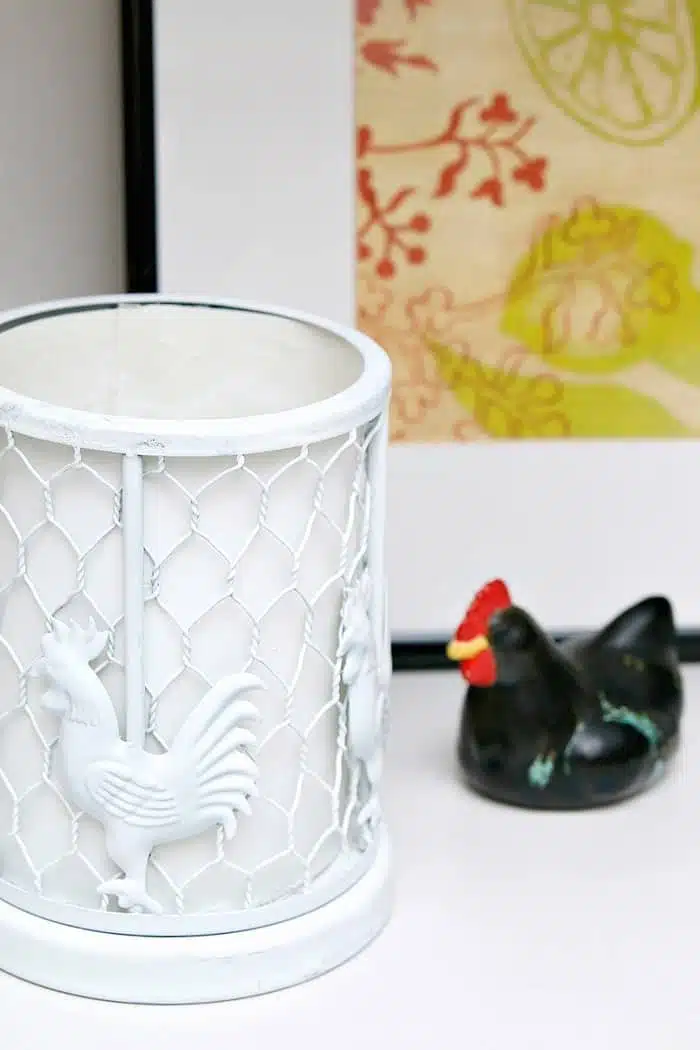
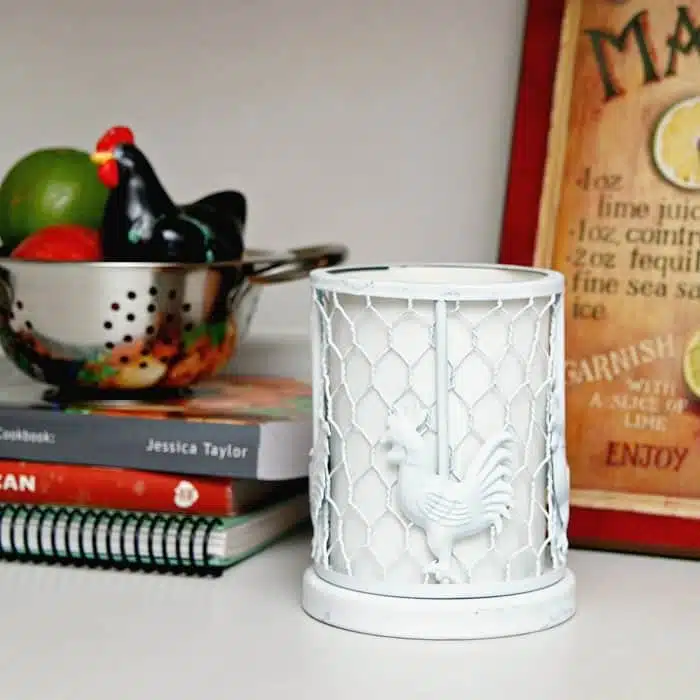
I couldn’t decide on the proper term or description for the rooster lamp. To me it’s kind of a night light because it has a tiny light bulb and doesn’t put out much light at all and I plan to use it as a night light. When you have overnight guests it’s nice to have a bit of light in the kitchen in case your guests need something during the night.
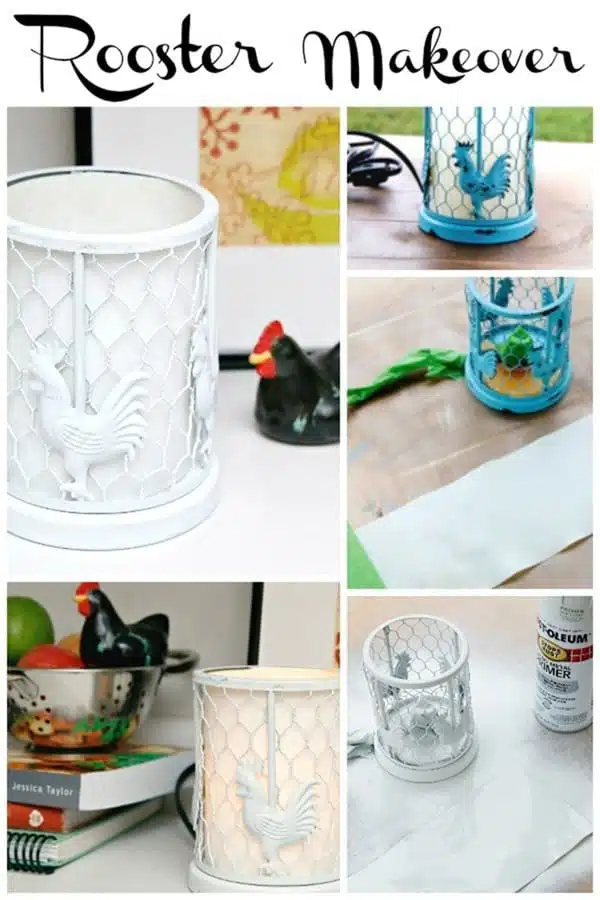
The color of the lamp wasn’t bad. I kind-of liked the blue but the black paint combined with the blue looked outdated to me.
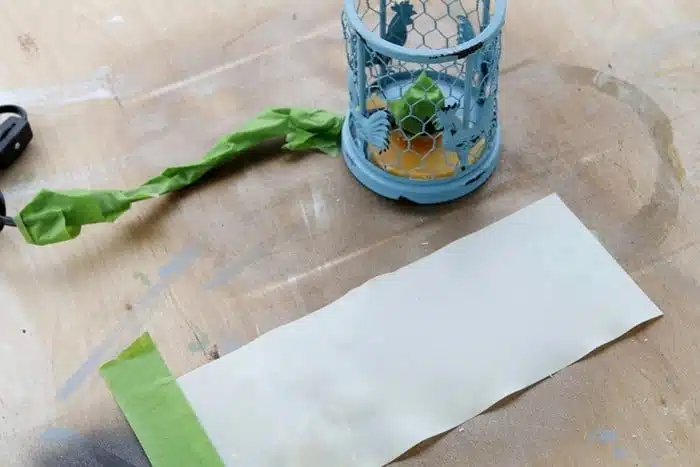
To prep for the spray paint I used painter’s tape to wrap the lamp cord. I also coved the light bulb socket. Don’t want to paint that. The inside plastic shade thingy was all yellowed so I decided to try to paint it too and I removed it for the paint job.
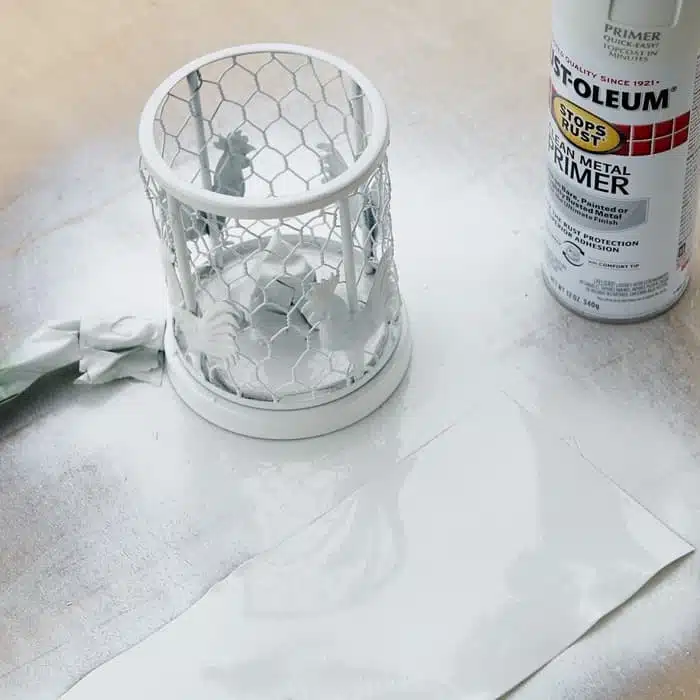
I used Rustoleum spray paint primer in white as the basecoat. Then I pulled out a can of gloss white spray paint, Walmart brand. I was out of my favorite white paint which is not white and not off-white, Rustoleum Heirloom Satin.
Once the paint was dry I put the lamp back together and realized the inside or backside of the plastic shade needed to be painted too. It was too yellow looking. I spray painted the whole lamp again including the inside. I put painter’s tape over the light bulb socket again.
Farmhouse Style Chicken Decor Lamp
What do you guys think? Does the lamp look better with the new color? How do you like my little black rooster? I found it last year in a flea market/thrift shop I pass by when visiting my parents in Arkansas. Sometimes it’s the littlest things that bring a smile to my face.
2. Framed Dollar Tree Rooster Placemat
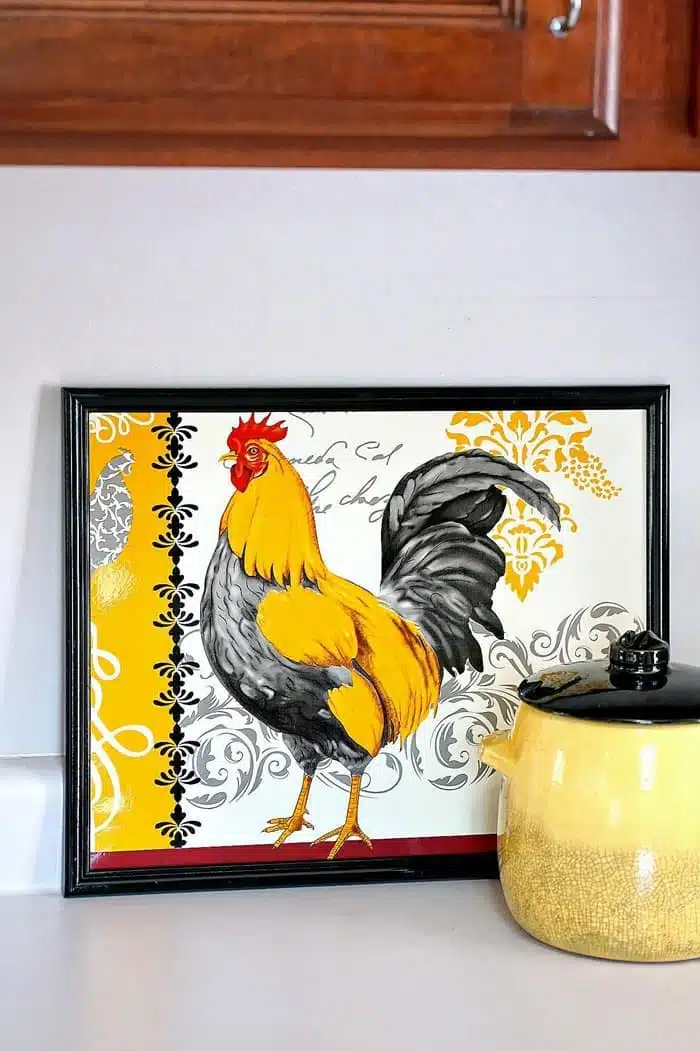
This rooster wall decor DIY only cost me two bucks but looks like a million. I love putting things together from my treasured junk finds but I also like finding inexpensive dollar store items I can make fun stuff with.
I bought the items for my project from the Dollar Tree. That means you can make this same project if you want …..or something very similar.
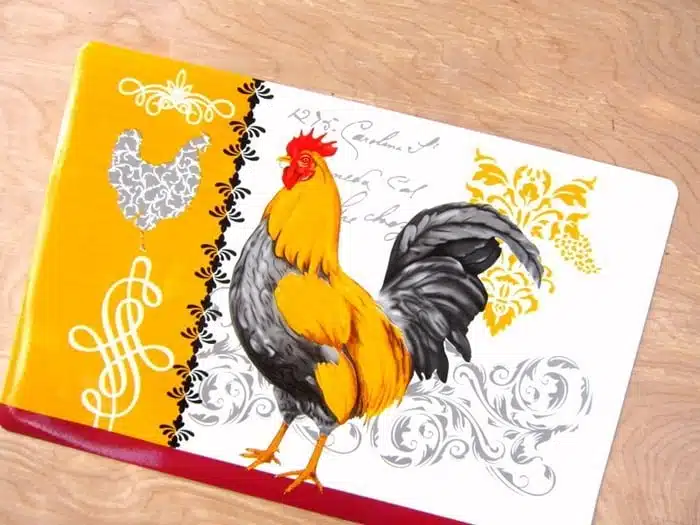
The pretty rooster placemat cost $1. There was a variety of placemats with cool designs but the rooster was calling my name.
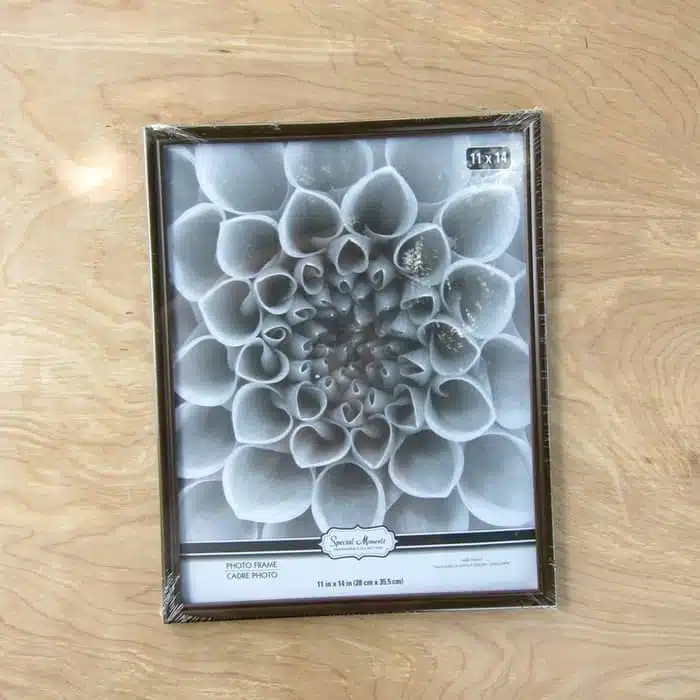
The brown frame with glass was $1. I wanted a black frame but the glass was broken on the only black frame in the store.
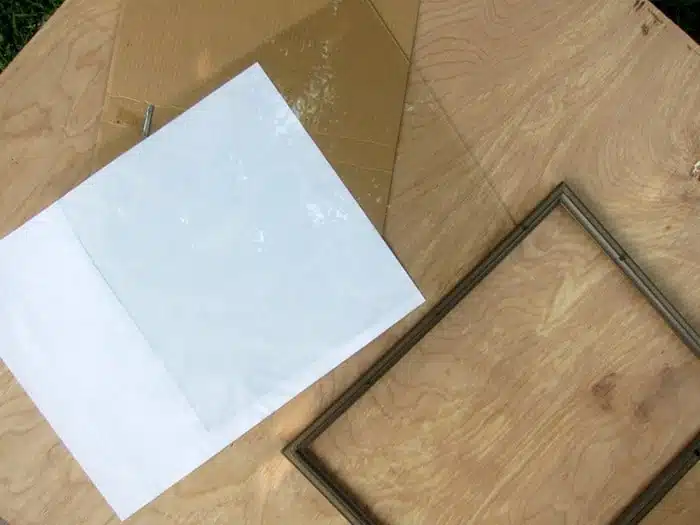
So I bought the brown frame and painted it. First thing I did was take the glass and cardboard backing out of the frame.
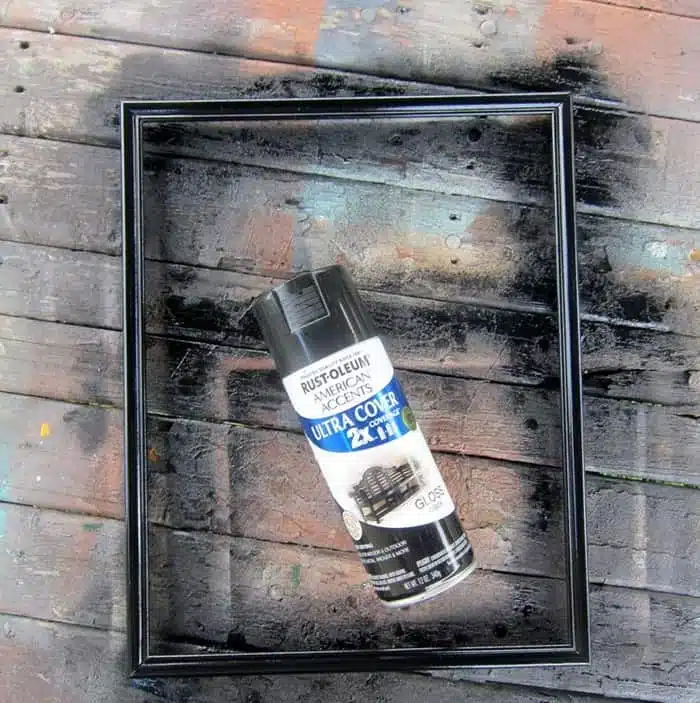
I pulled out some black spray paint and had that frame painted in a couple of minutes.
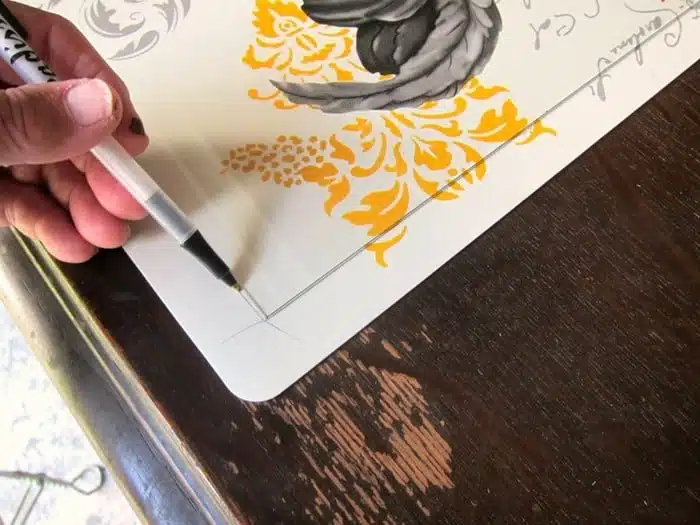
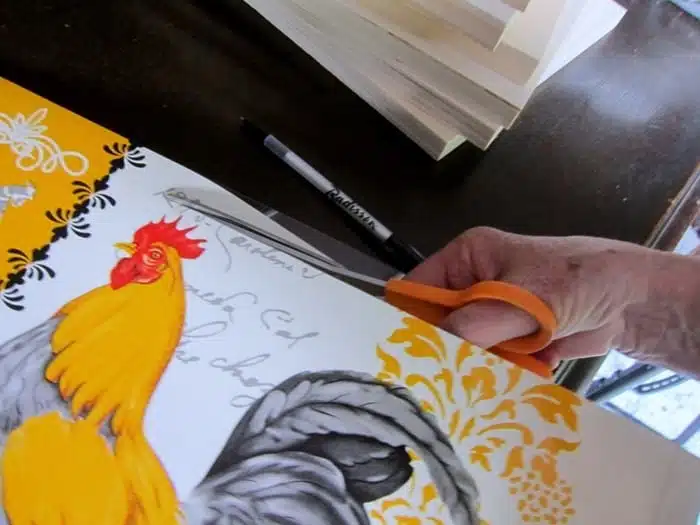
To cut the placemat to the size of the frame I laid the glass on top of the mat and marked around it with a pen. The only question was what area of the design I wanted to use. I opted to cut the design on the left side in half. Half a rooster and little curlicue designs.
Next I trimmed the placemat to fit the frame by cutting on the marked lines. Sounds like we’re in grade school doesn’t it. I know you guys know how to do this but I have to write something so you believe I took a lot of time and expended a lot of energy on this project
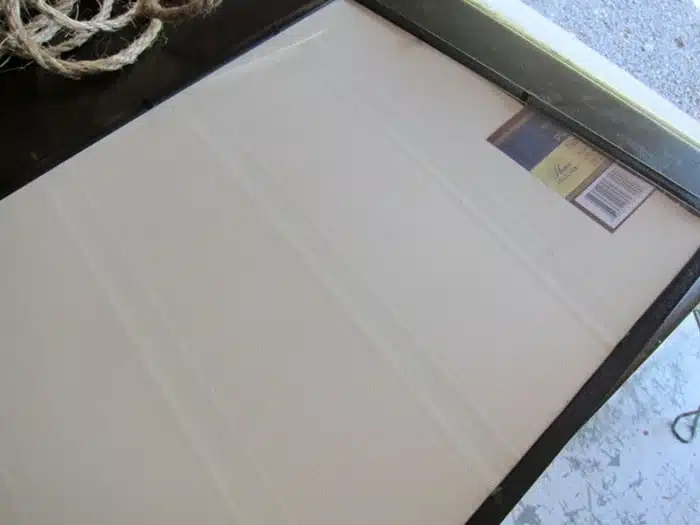
I put the rooster placemat face down in the back side of the frame and put the glass on the back side of the placemat. The glass overlay would have taken away from the Rooster. Too much glare and the placemat already has a nice shiny finish.
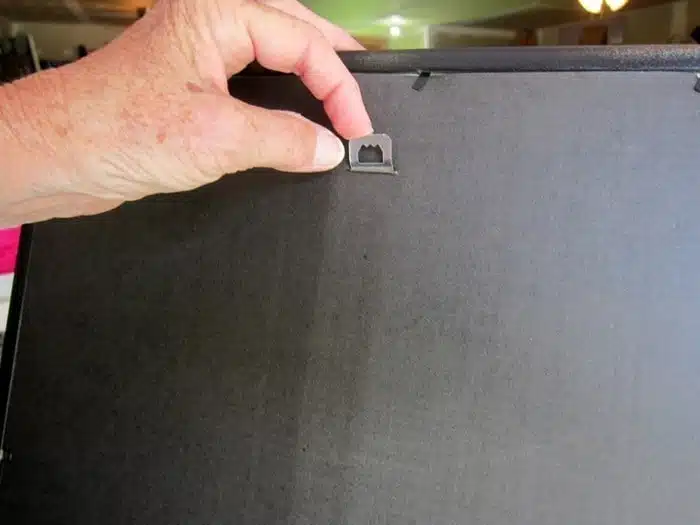
Next I put the back on and flipped the hanger out…… ready for hanging.
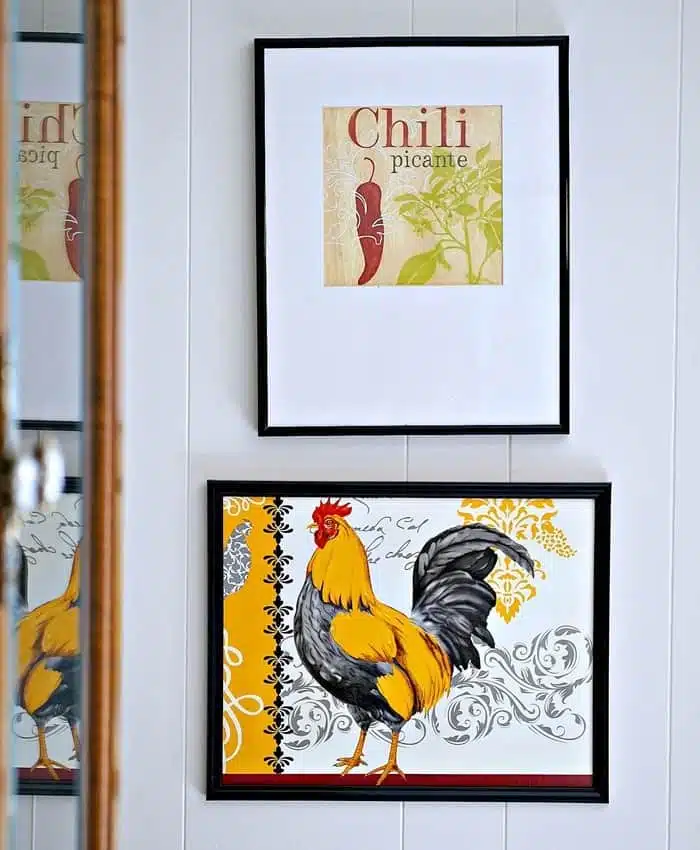
How easy was that. Sometimes the simplest projects make a big statement. The thing I loved about the placemat was the bold colors.
The framed rooster looks nice sitting on the counter with my vintage McCoy cookie jar. Well, do you think my new farmhouse style chicken decor project looks like a $2 find or expensive designer decor?
3. Farmhouse Rooster Wreath
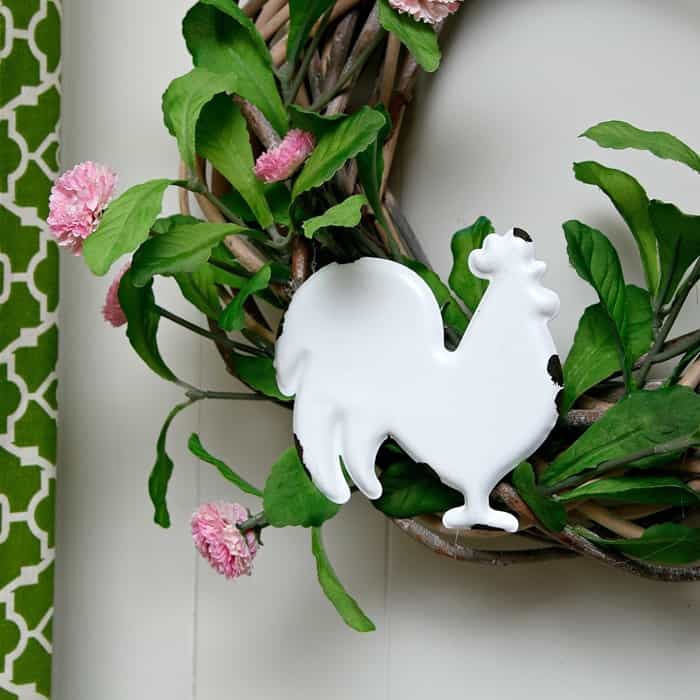
This DIY rooster wreath idea is all about going with your gut and making things you love. Don’t worry about following designer “decorating rules”. I make the decorating rules at my house and you should do the same. This rooster wreath is an example of that. The rooster was a last minute addition to the wreath and I have to say…..it’s the best part.
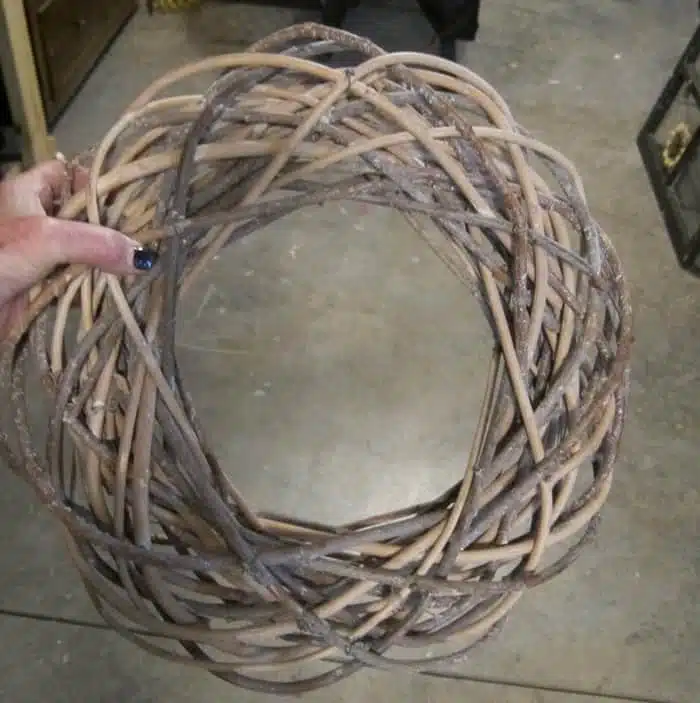
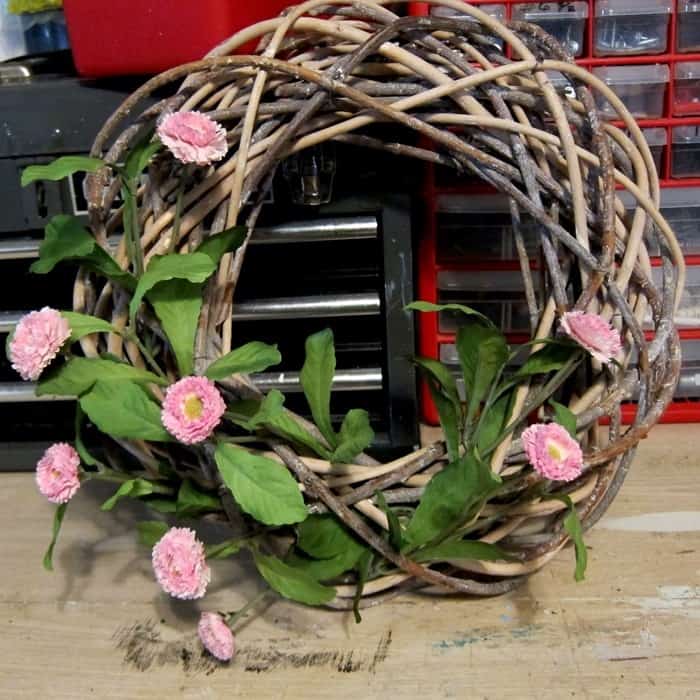
This is the wood/vine wreath I started with. Not sure what you call it but I found one online at Hobby Lobby that is similar and they call it a White Twisted Wreath. It was $14.99 and I know I paid less than $3 for this one at the thrift store.
Back in the fall I hot glued three orange flowers to the wreath. I guess I wasn’t a fan, although orange is a favorite color of mine, because the wreath never made it out of the workshop. Fast forward to now and cleaning out the workshop. Time to redo that wreath.
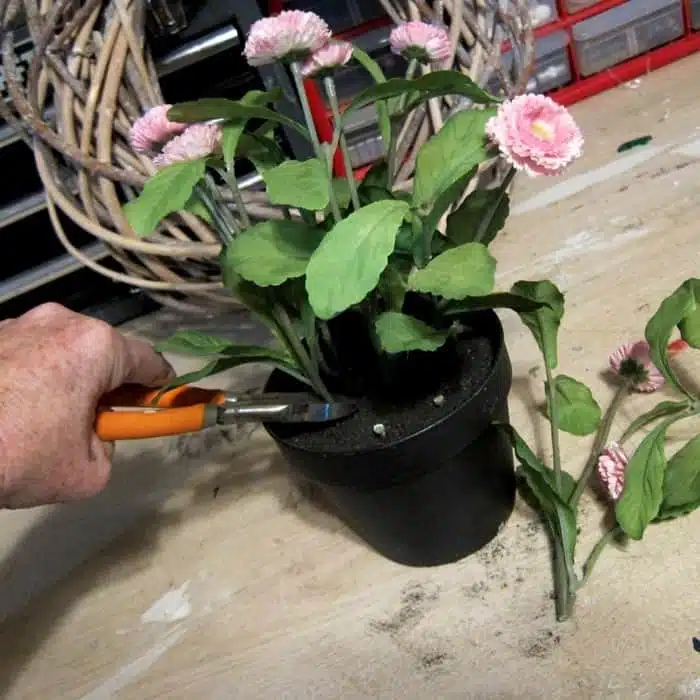
I bought this pot of flowers at IKEA. It was in Mom’s nursing home room for a while and now it’s been in the workshop for awhile.
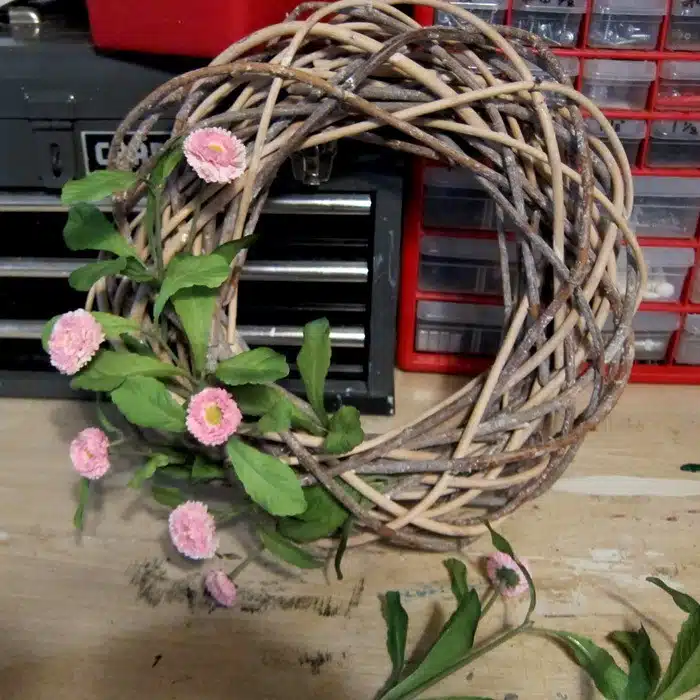
I haven’t had any wreath making lessons so I’ll tell you how I decorate a wreath. You guys know I’m not into symmetrical stuff. That means my wreath is usually decorated on the side or side and bottom or something not the norm.
I started this wreath process by pushing the flower stems down into the wreath on the lower left side with the stems pointing to the right or pointing straight down.
Then I added two flower stems on the opposite side pointing the stems toward the left. I don’t hot glue the flowers or other wreath decor in place until I like the arrangement. Once they are arranged they get glued. I may pull some of the stems out of the wreath to get the glue where it needs to be then poke them back in and hold in place while the glue dries.
Always try to hide the glue deep in the wood wreath or behind leaves. I find that leaves are a great place to place the hot glue and attach the flower stems.
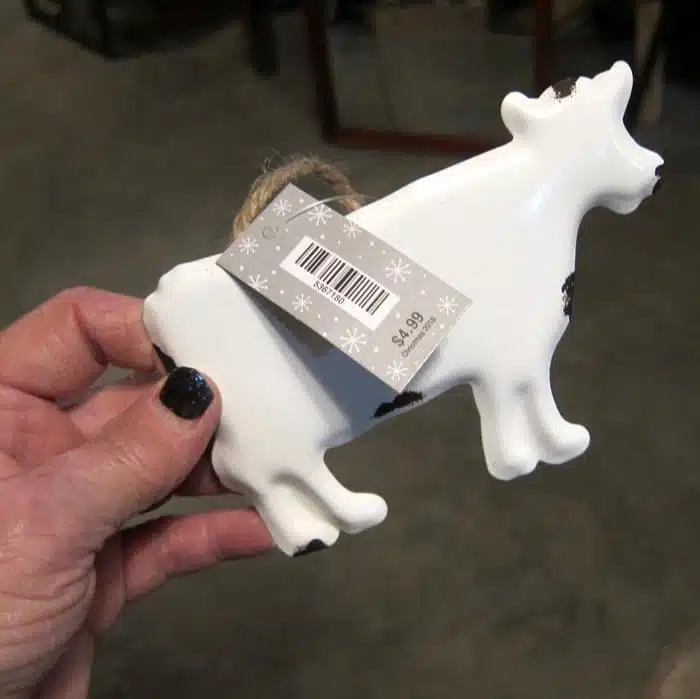
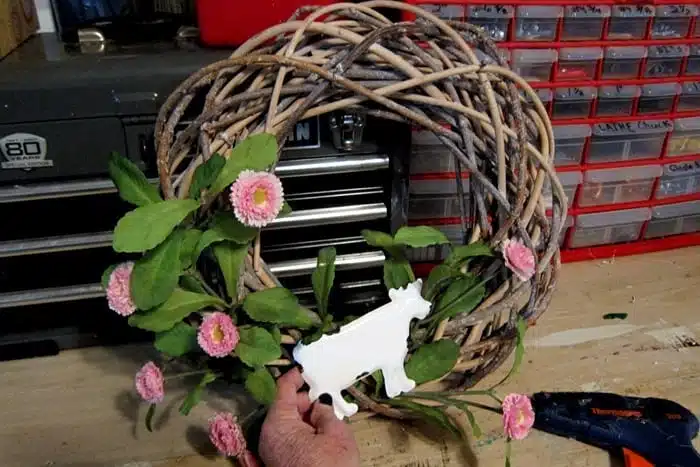
Next thing to do was find something for the empty spot between the flowers. Searching through stuff on the workshop shelves I found this cow and thought it would work.
I bought the enamel cow at Hobby Lobby before Christmas thinking I would use it for a craft project one of these days. Today is the day. I also bought an enamel rooster and pig. They were $2.50 each on sale. Only problem was I couldn’t find the rooster or the pig anywhere.
I placed the cow in the empty spot and thought it would work. Then I decided differently. The shape was all wrong. I went in search of the rooster and after about 45 minutes I found it under some junk (good junk).
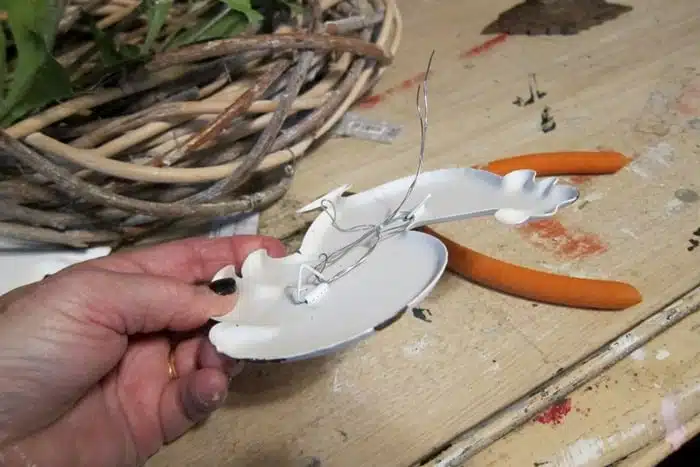
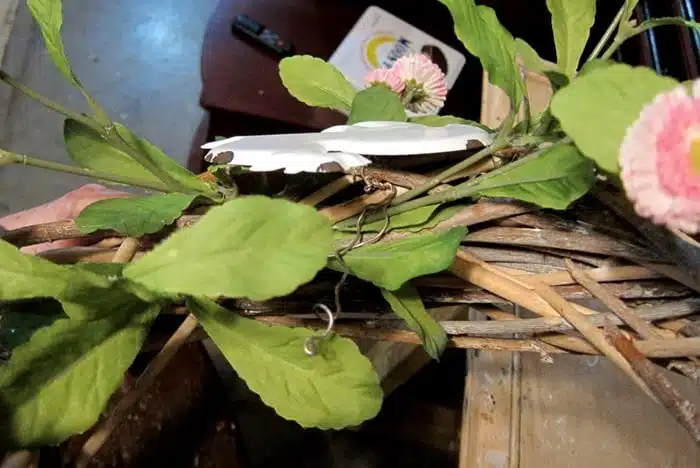
The only problem with the metal rooster was…..no give, no bend. Hot glue wouldn’t work. I grabbed some wire and threaded it through the hooks on the back of the rooster.
When trying to add the rooster to the wreath I figured out I went about this wreath project the wrong way. I should have wired the rooster to the wreath then added the flowers. Too late now, I’m not starting over at this point.
It took some thicker wire, a pair of needle nose pliers, and some careful maneuvering on my part to get the rooster wired to the wreath. But I did and it was worth it.
The reason the rooster was a better choice than the pig is because the rooster had some height to it and …….well, it just looked better. That’s my wreath story.
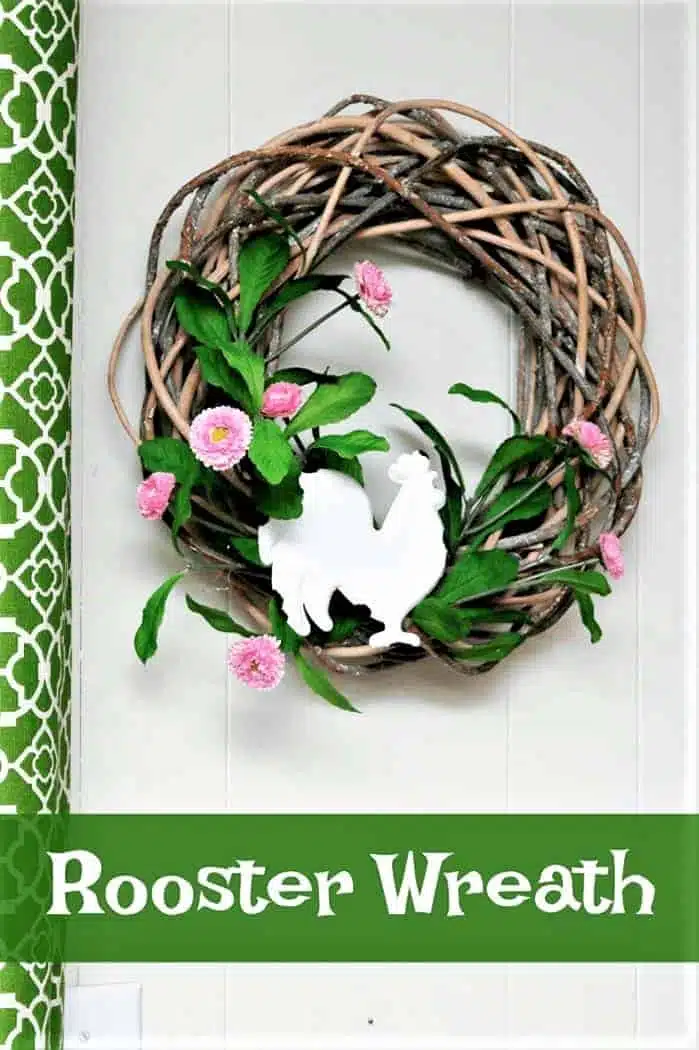
The rooster wreath is darn cute. Yellow, blue, or some other color flowers would probably have worked better for a kitchen or dining room wreath but I didn’t know a rooster was going to end up being the wreath focal point.
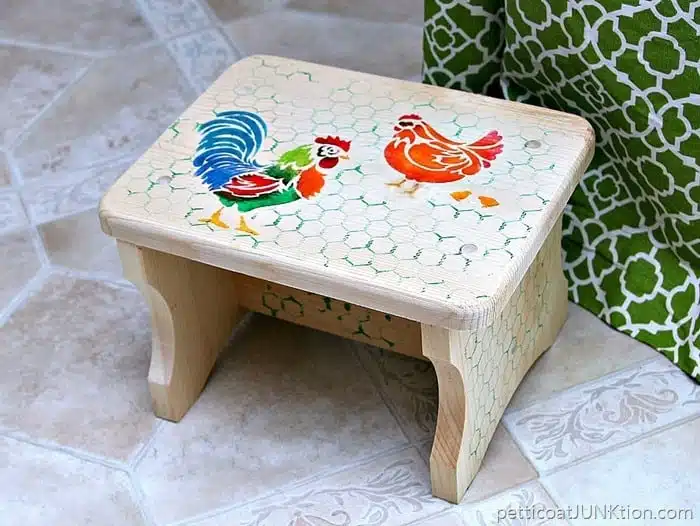
4. Stenciled Rooster and Chicken Farmhouse Style Stool
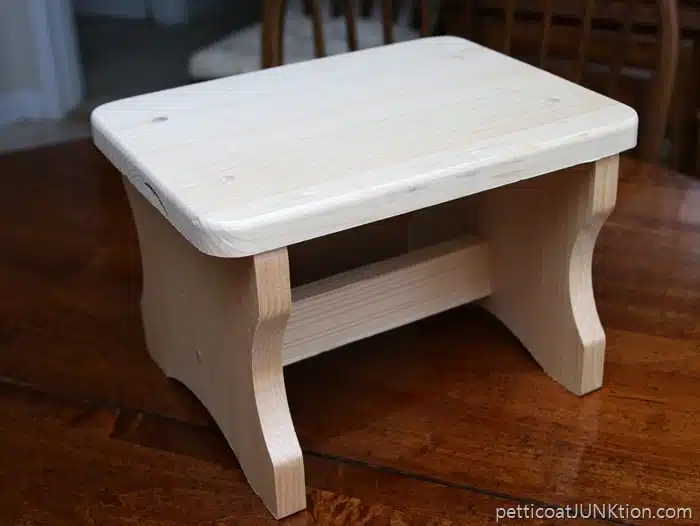
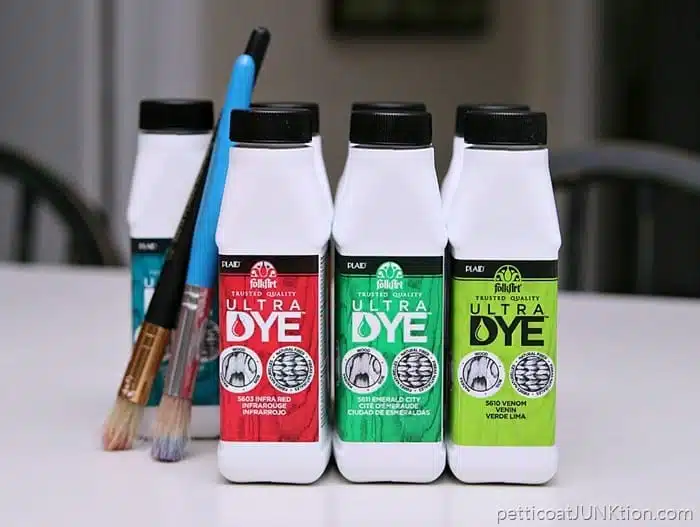
I bought the unfinished step stool at my local craft supply store and decided to stencil a design on it using the dye. The dye is brush-on (similar to paint) and is perfect for porous surfaces like unfinished wood, burlap, fabric, baskets, and natural fibers.
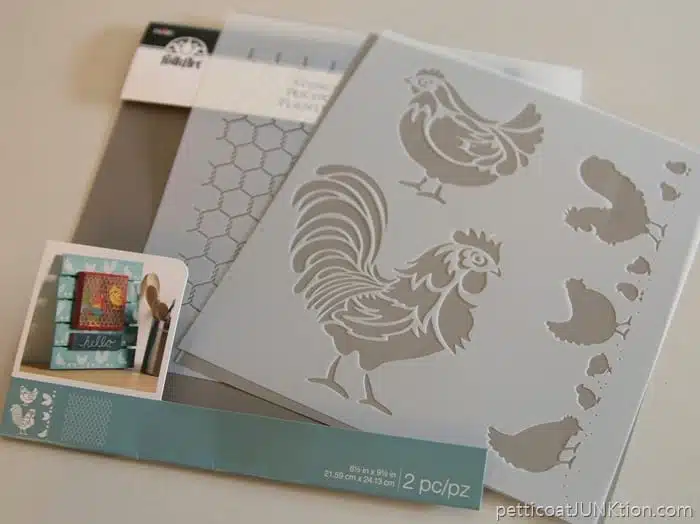
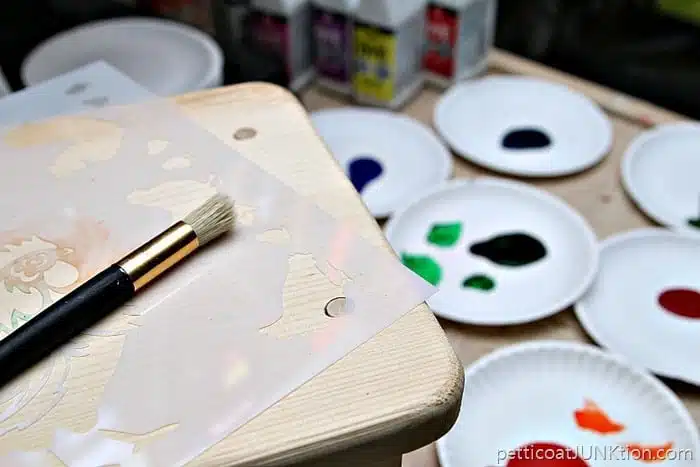
I got this cute stencil for the project. Who doesn’t love roosters and chickens. The step stool will be doing double duty in the kitchen so the chicken theme is perfect.
FolkArt ® Ultra DYE
I selected seven dye colors for stenciling the rooster and chickens. I poured just a dab of each color on small paper plates.
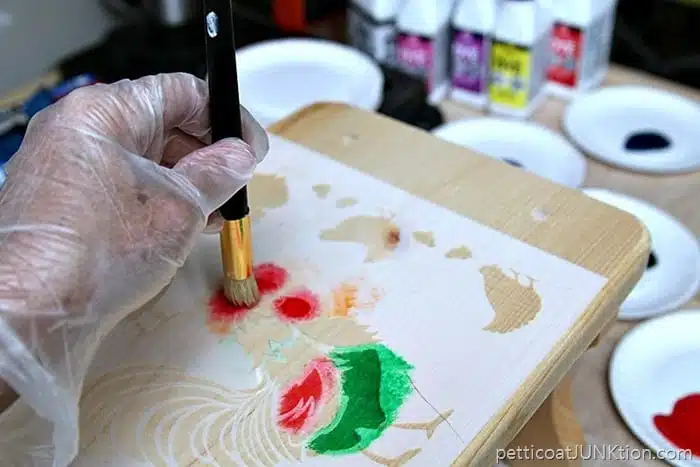
The dye is thin and works best when stenciling with a dry brush. I dipped the stencil brush into the dye then wiped most of it off on a paper towel…..really….wipe off the brush until you think there isn’t any dye left on it. That’s what I mean by a “dry brush”. To stencil I held the brush straight up and down and moved the brush in small circles.
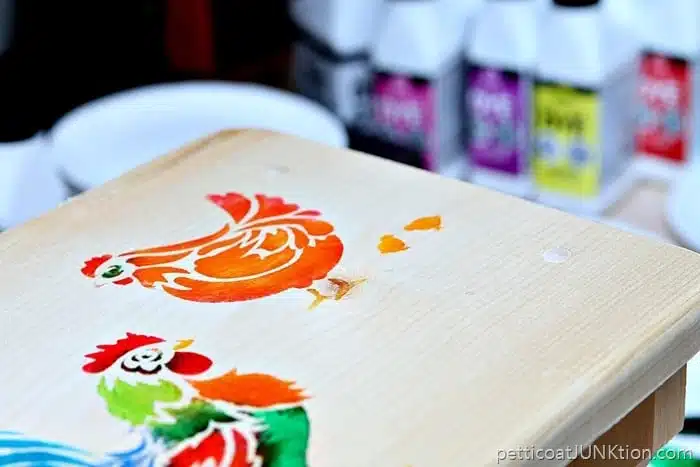
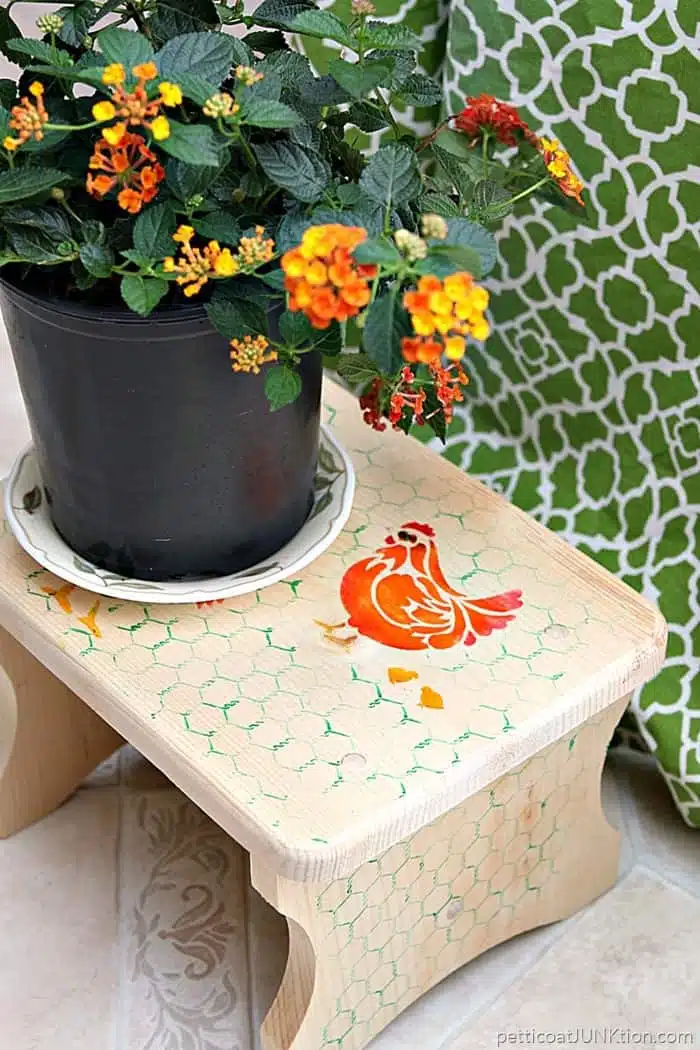
I was going to stop with the rooster and chicken but couldn’t resist adding a couple of baby chicks. So cute.
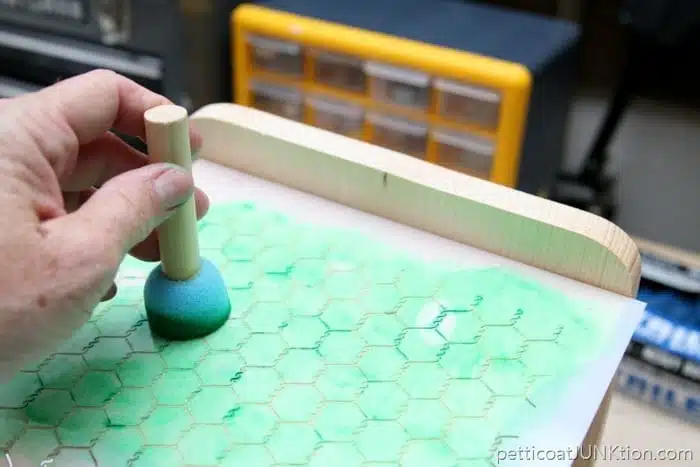
The “chicken wire” stencil added the perfect finishing touch to the top and sides of the footstool. I used a spouncer and ran the spouncer across from side to side to stencil the “chicken wire”.
Patting myself on the back! I did good on the color combination for the rooster and the chickens. I do confess to looking at the project photo on the stencil package for color ideas.
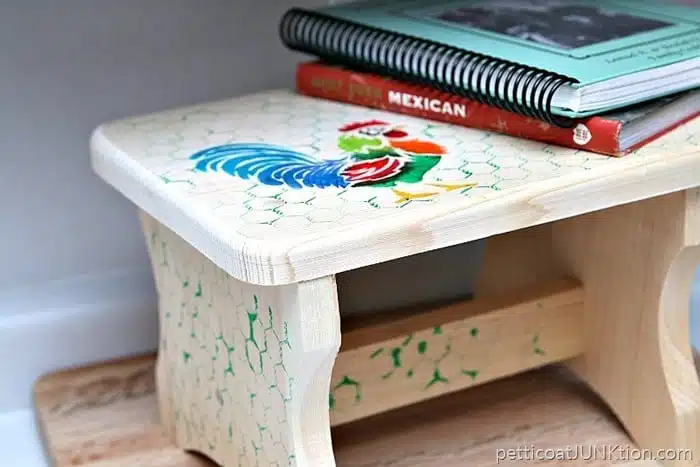
As I mentioned earlier the step stool will be doing double (or triple) duty in the kitchen, dining area, and who knows where else. The stool might be the perfect place for a couple of my favorite cookbooks.
That’s it for farmhouse chicken or rooster day. Which was your favorite project? Leave a note if you have time please. Kathy

I really like the stool. It is perfect for us short people to use, but looks good all the time!!!
I’m pretty sure the stool is my fave! So, so cute!
These are all adorable Kathy… especially that wreath! x
Very cute ideas you have a good eye!
I love all of your projects. I really like the rooster placemat picture.
Love them all! Esp the stool!
Love it all but especially the rooster print. Mother in law has a kitchen of those roosters that I just love with her light maple cabinets. So pretty!
I really like the little stool with it’s poultry family. I kept chickens for many years but never wanted chicken themed items in my kitchen. Now when I see anything chicken related I want it in my house. I guess I miss them. Thanks for a great post.
The place mat picture is my fave! I’m like you in favoring BIG pops of color. Bright makes me happy. I love the little stool also and think it makes a great spot for a plant or a plate of cookies on your counter! You have wonderful, COLORFUL ideas!
I really liked the rooster placemat! Great idea!
I loved the rooster stool! Great colors!
My Mom always had roosters in her kitchen. Thanks for sharing your lovely projects. They gave me a smile and brought back some happy memories.
I absolutely love roosters. My favorite piece you made was the stool. The colors are bright. Stencil is cute. Adding the chicken wire was the perfect ending. Thanks for putting a smile on my face.
Love the Roosters! They look great!