How To Paint An Oak Table And Re-Cover Chair Seats With A Drop Cloth
As an Amazon Associate, I earn from qualifying purchases.
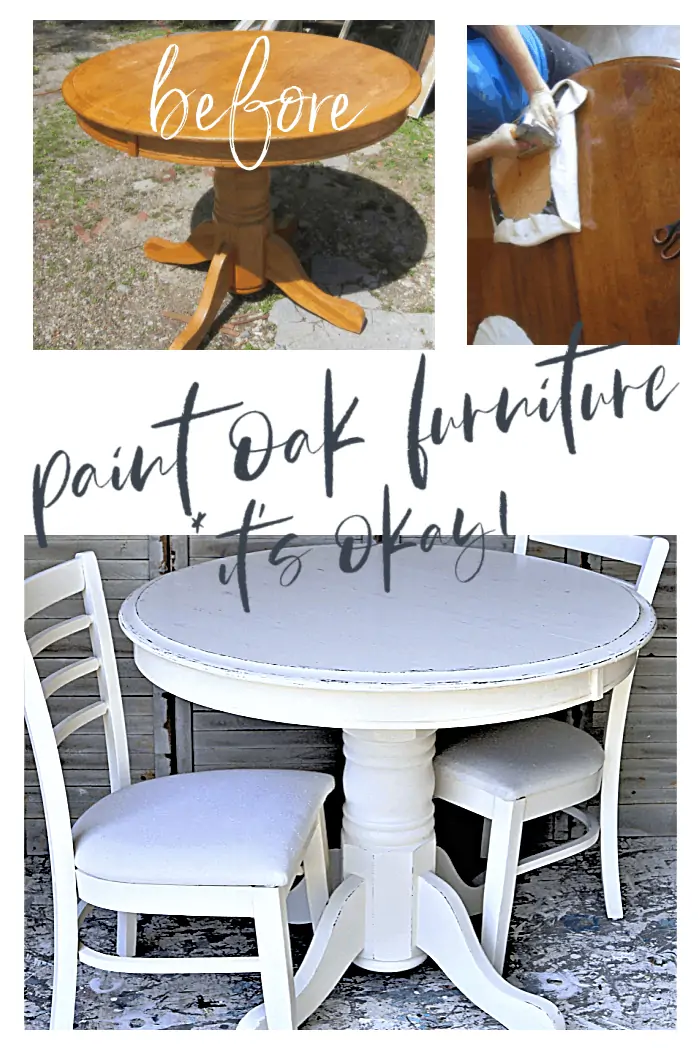
Yes, you can paint an oak table. I’ve done it. Who wants to look at that outdated golden oak? And…..you can re-cover chair seats with drop cloths. My go-to fabric for DIY projects. Drop cloths work well for this type of project because of the neutral color and because they’re cheap!
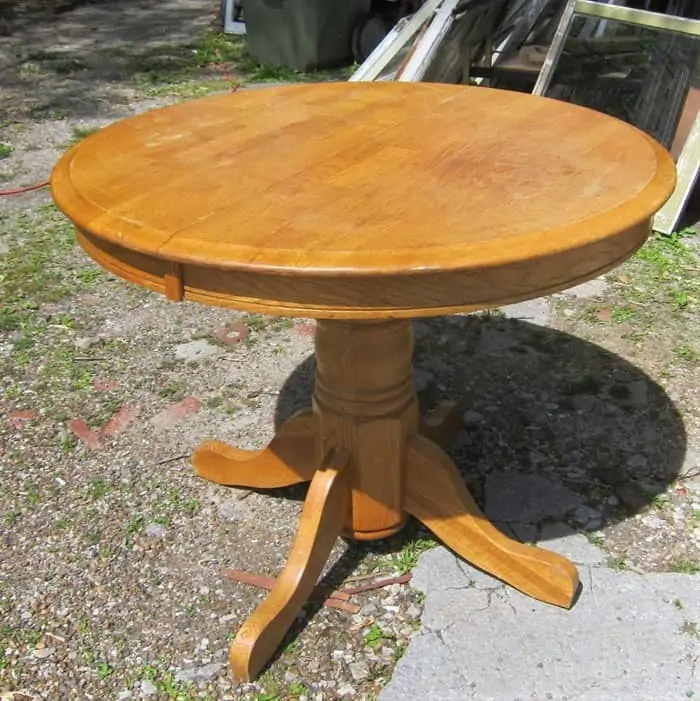
I run across the round golden oak tables with heavy bases at thrift stores quite frequently. If the previous owners only knew what they could do with these oldies. Paint works wonders, and the process is easy.
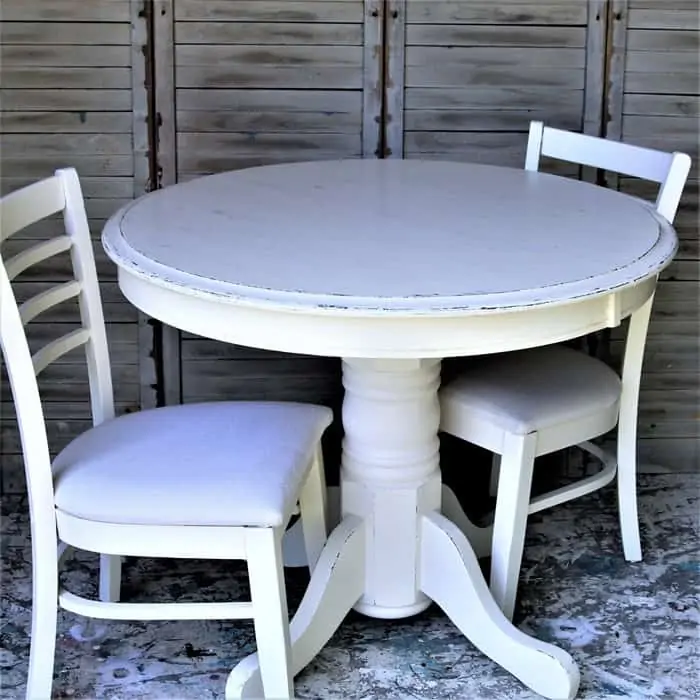
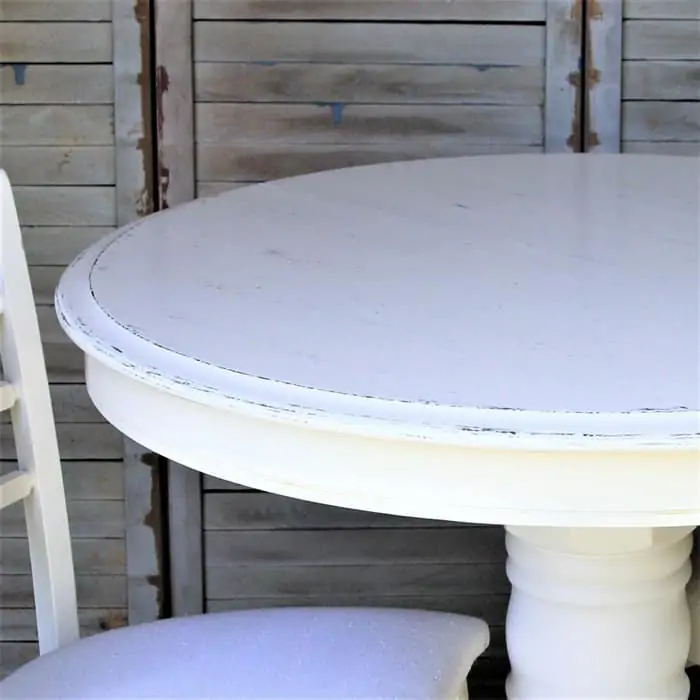
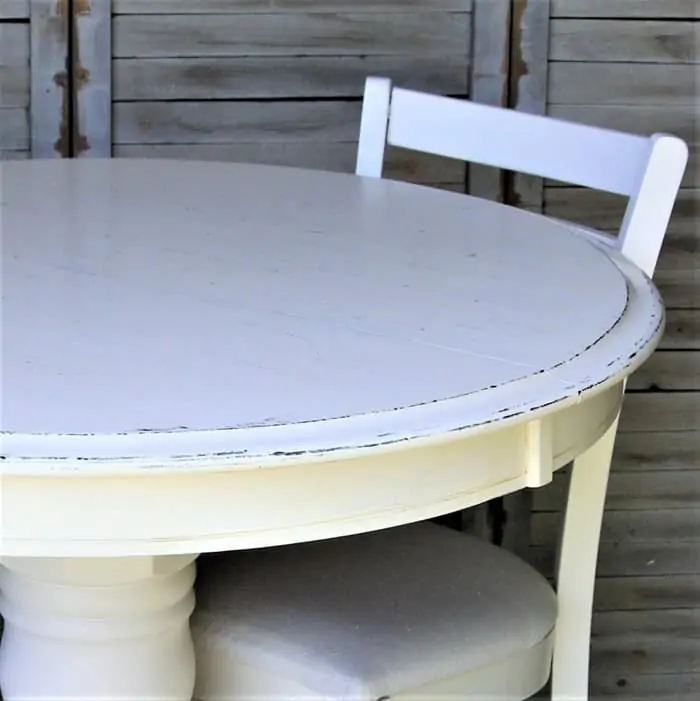
I painted this table and chairs white then I gave the table a faux distressed look using a layering block. The technique is soooo simple. I made a short video of the process so you can do it too. I also made a video showing how to recover the chair seats with a drop cloth. So there are two videos in this post.
I found the round golden oak table at my favorite junk shop. The price was $25. A deal. The table is on the small side and perfect for an apartment. And perfect for me because that is where this piece is destined. I’ve been looking for a table just this size for a custom order.
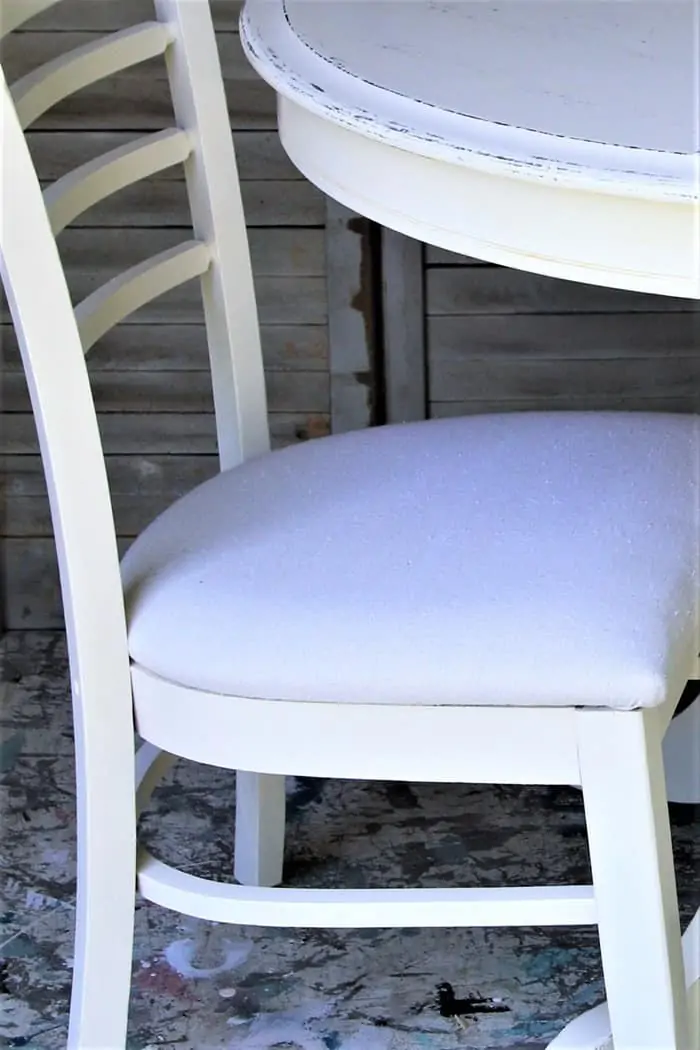
I found chairs that were perfect for the table. They were very modern looking and the new paint and fabric seat cover really jazzed them up.
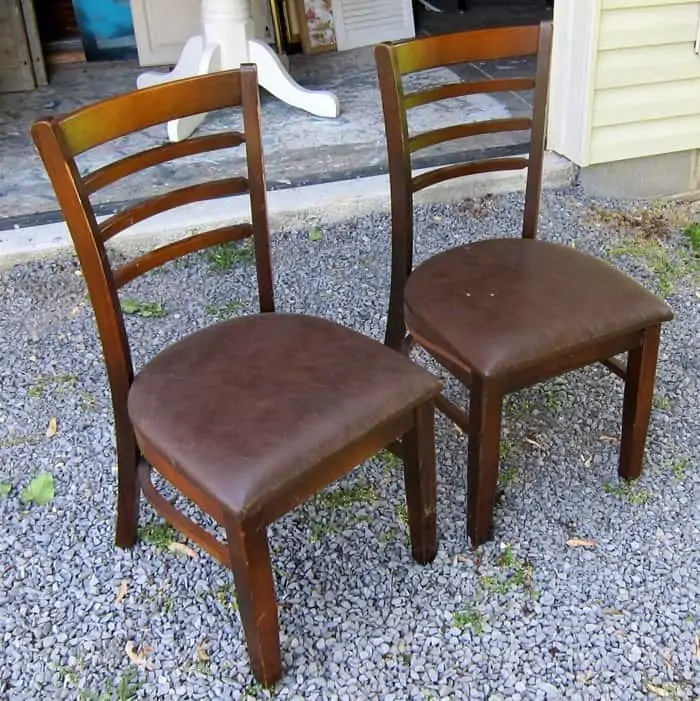
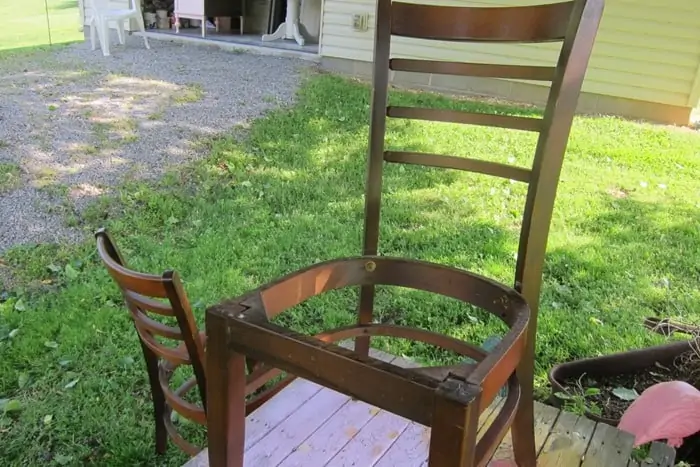
I bought the two chairs at the Southern Kentucky Flea Market in Guthrie, Kentucky. They were $10 each. As you can tell the chairs are newish and probably made by the hundreds of thousands in a factory somewhere. No matter. We can make them one-of-a-kind…or two-of-a-kind!
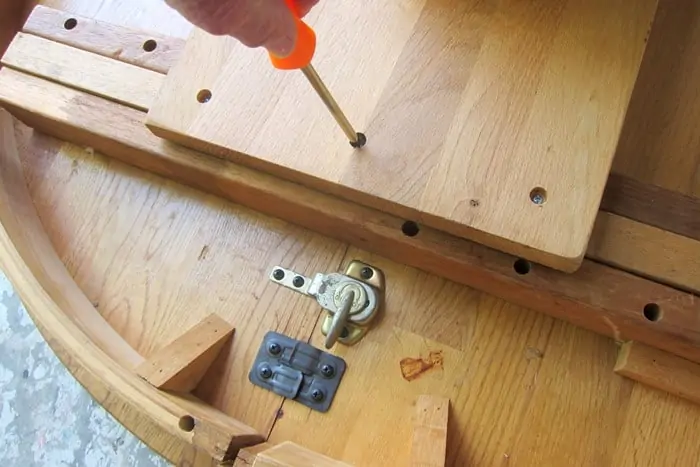
The table had a few bad spots on the top but not enough to need sanding so I just cleaned the table all over with Simple Green. Before cleaning, I tightened all the screws on the table.
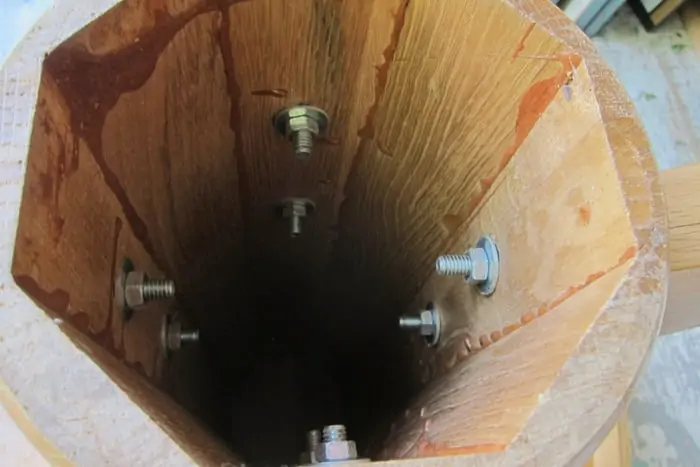
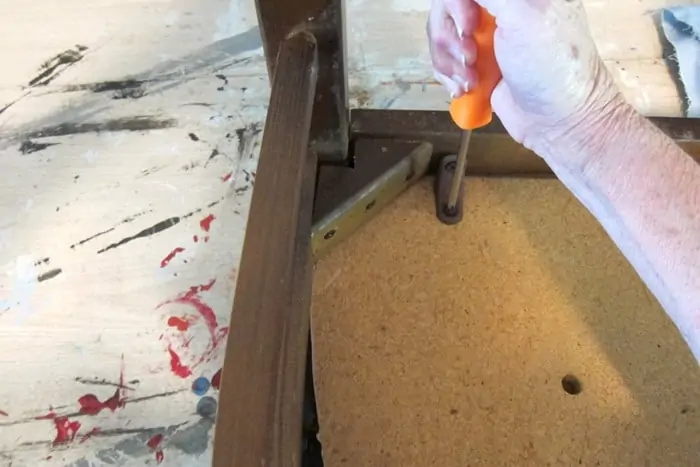
You might be surprised how many screws are used to put furniture pieces together. Look your furniture piece up and down, bottom to top for screws. The screws in the photo above were on the inside base column of the table. They held the legs nice and straight, and some of them were loose.
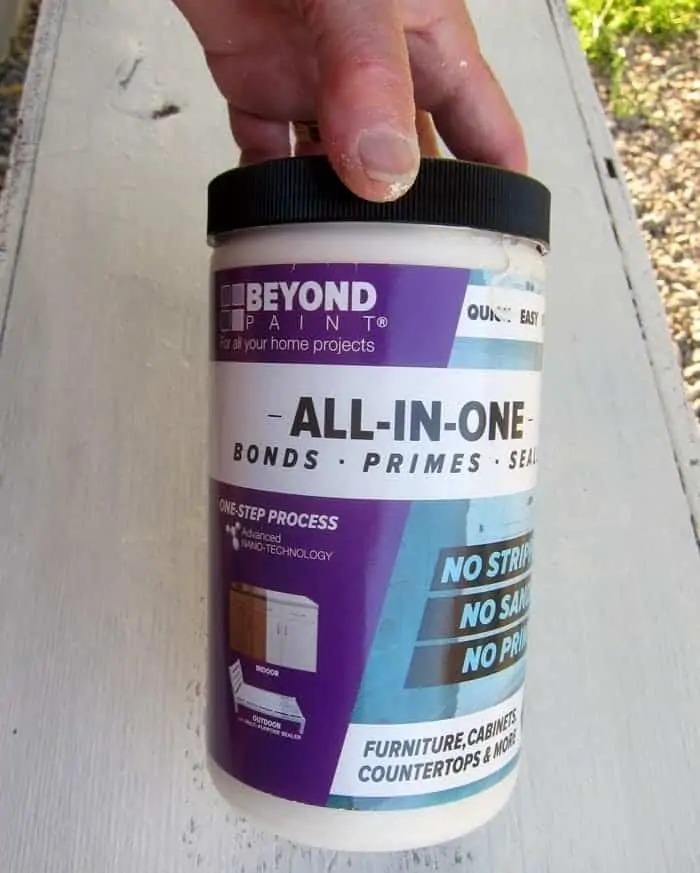
The paint for the project is Beyond Paint in Off-White. I use this paint a lot. I didn’t prime the table. On the last few projects using Beyond Paint, I primed the piece before painting because the stained finish was damaged or uneven in color. Not the case here. The table was in pretty good shape. Also, Beyond Paint has a built-in primer and sealer. I did seal the table top since it will be a high-use area.
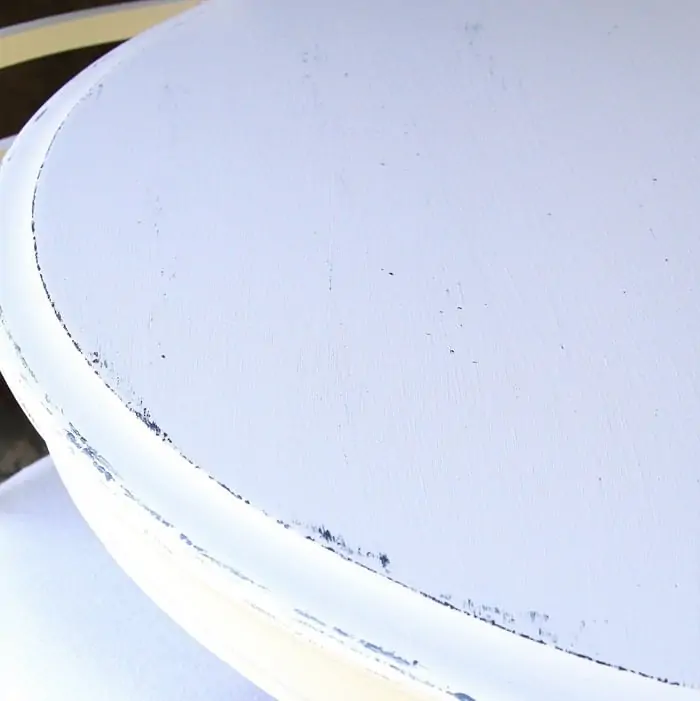
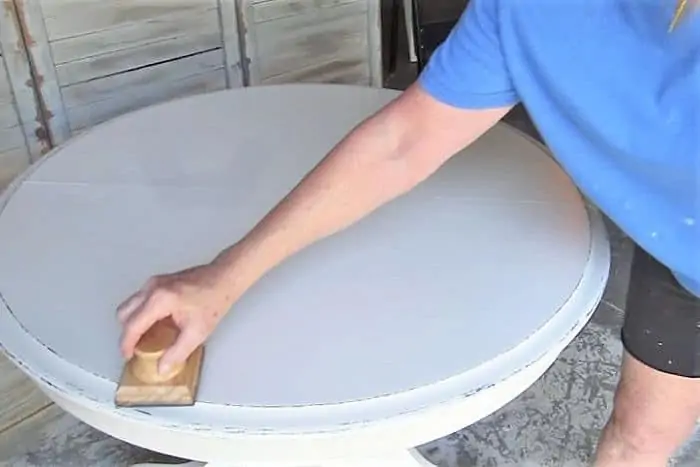
I didn’t take photos of me painting the table because you guys know how to do that. The photo above shows the faux distressing or layering I did on the tabletop. I used dark navy paint which I thought was gray for the layering look.
I grabbed a can of Benjamin Moore paint because I knew I had a dark gray in that brand. When I was layering the paint, I kept thinking it sure did look blue. But you know how some gray paint tends to have a bluish tint. Turns out I was using navy blue paint Benjamin Moore brand. But…..the navy paint is a deep color with a grayish tint. So it worked out okay. The color is Hale Navy.
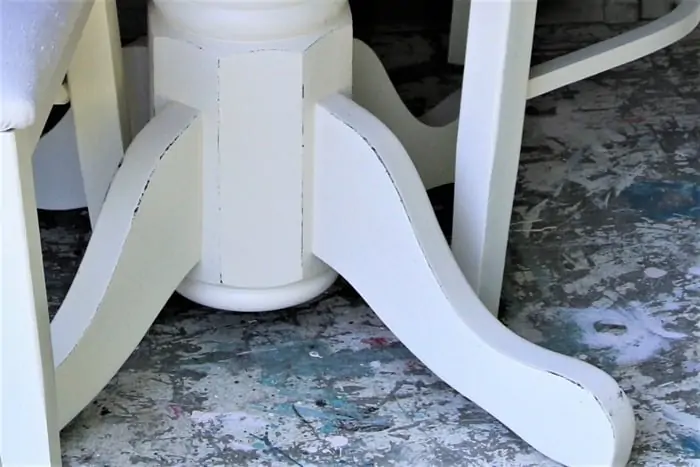
I used the layering block on the top of the table and the legs. This is a great way to get the look of distressed furniture without the mess. And sometimes you can’t distress painted furniture because it’s made of MDF or fake wood. A layering block is a good tool for those types of projects.
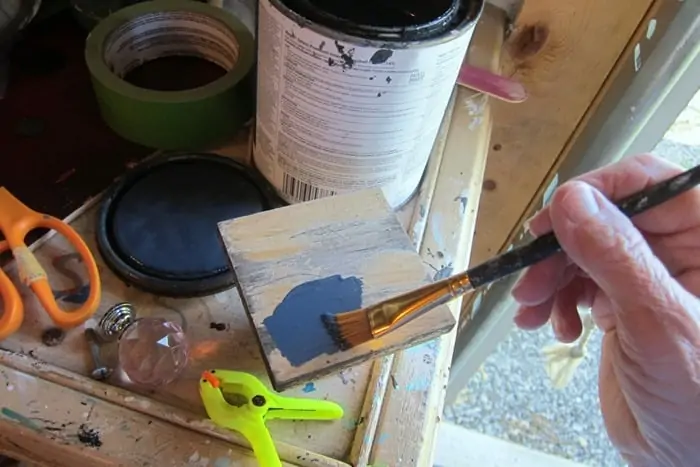
The first step in the process is brushing the layering paint color onto the layering block. Watch the video below to see me using the layering block on the table (if you can’t open the video or see it then you may need to turn off an ad blocker in your browser just temporarily)…..
[adthrive-in-post-video-player video-id=”ASKz2mn6″ upload-date=”2021-05-05T22:42:26.000Z” name=”How To Faux Distress Painted Furniture” description=”Distress or layer paint on furniture” player-type=”default” override-embed=”default”]
How To Faux Distress Painted Furniture
Now that we know how to paint the table, let’s work on painting and re-covering the chair seats.
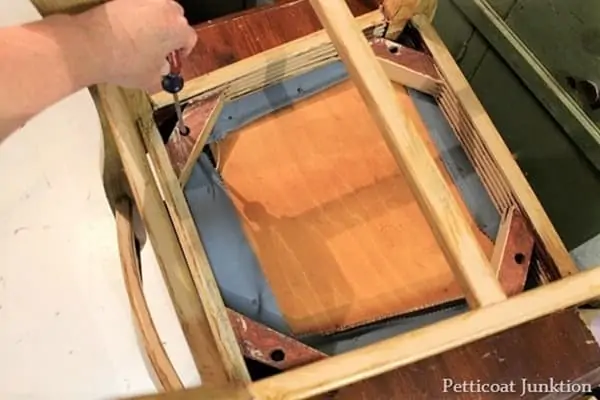
Before painting dining room chairs with fabric seats, you need to remove the seats. This is usually a simple process. The seats are screwed to the base of the chair seat. This pair of chairs is a little different because of the rounded seat fronts. There are only three screws and three metal attachments vs. the four most seats have.
The photo above shows how the seats on most vintage dining room chairs are attached. The screws are inset into wood blocks on each corner of the chair frame. Just remove the screws to detach the seat.
Time to paint the chairs, and I didn’t take photos of that. I will tell you my process for painting dining room chairs because it’s a little different from the usual. I spray paint them before brush painting. The reason is because of all the corners and curves. I might not do a solid coat of spray paint, but I just hit the important parts. Then once the spray paint is dry I brush on a coat or two of regular paint.
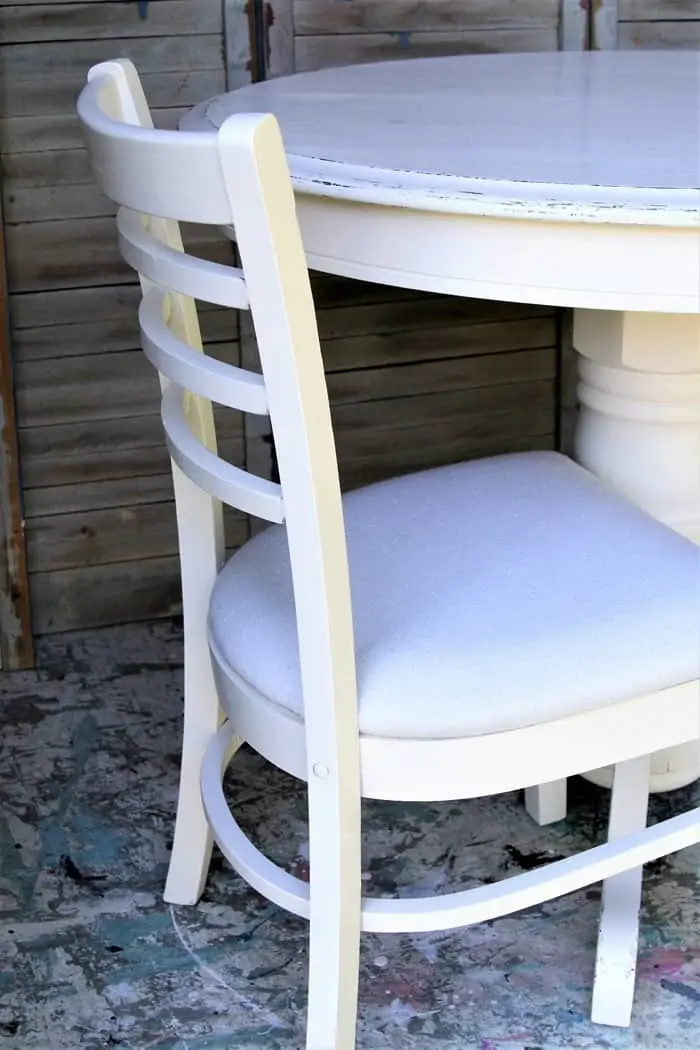
For these chairs, I spray painted them white, then applied two coats of Beyond Paint in Off-White with a brush. Now it’s time to recover the chair seats with a drop cloth.
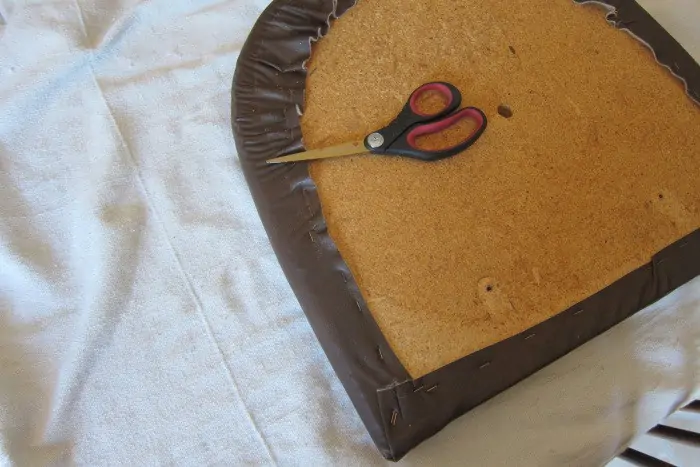
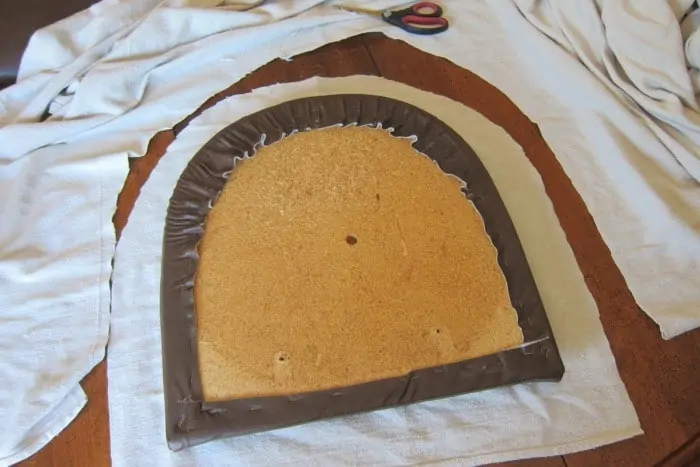
Drop cloths usually have a chemical smell when they come out of the bag. I always wash them before using the cloths in a project. Also, you should watch for flaws in the drop cloths when using them for to re-cover seats, etc. The photo above shows a pull or bad area running across the fabric. I moved the seat before cutting to avoid the bad spot.
Drop cloths seem to come in various shades of white/gray/brown. The one I used is a whiter tint than some of the ones I had. I have a bunch of drop cloths because I buy them for projects. I buy the cloths at Harbor Freight, but you can find them on Amazon.
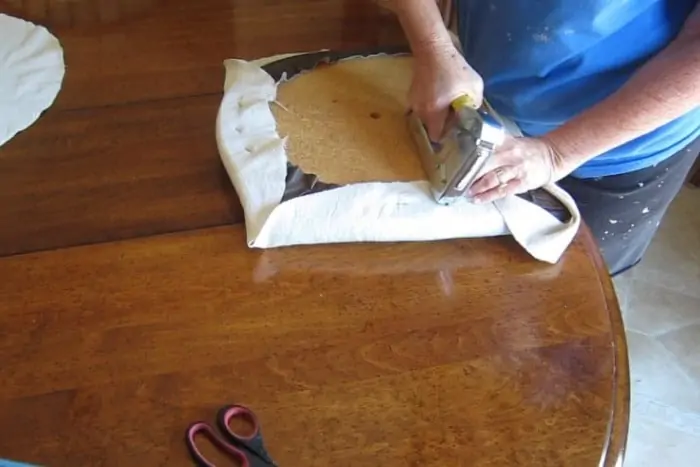
Lay the seat to be covered upside down on the fabric and cut the piece of fabric, so it is big enough to wrap around the bottom of the seat and staple in place. Another thing to watch for when working with fabric that has a design is to place the design on how you want it to look on the top of the seat before cutting the fabric.
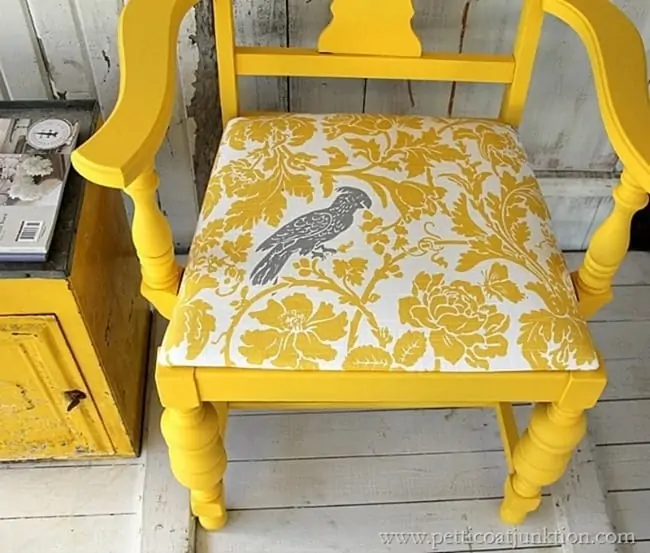
You can see how I re-covered the chair seat and the tons of staples I used in the video below….
[adthrive-in-post-video-player video-id=”6WD9uToA” upload-date=”2021-05-05T23:08:14.000Z” name=”How To Re-Cover Chair Seats With Drop Cloths” description=”Use A Drop Cloth To Re-cover Chair Seats” player-type=”default” override-embed=”default”]
How To Re-Cover Chair Seats With A Drop Cloth
And that was it for the tables and chairs. It sounds like a lot of work, but it went fast. Re-covering the chair seat was the easiest part. Putting multiple coats of paint on the table and chairs and waiting for them to dry was the most time-consuming.
But the table looks great. So much better than the golden oak. I applied several thin coats of General Finishes High-Performance Topcoat Flat Sealer on the tabletop only.
You can see how I used the layering block on the legs of the table and part of the base. I didn’t layer paint on the chairs.
The table needs two more chairs so I’m on the hunt for the perfect pair. I bought those cane back chairs last week, but those will not do at all for this project.
As I mentioned, I have a bunch of drop cloths, and I can’t wait to try a project like this tablecloth here on This Old House.
That’s it guys. What do you think of all the doings? Do you like the drop cloth seats, and did you watch the video on how to use the layering block? Leave a note if you have time.
Find another pair of chairs I painted soft gray and re-covered with drop cloth here…..The Sweetest Soft Grey Paint Color For Dining Chairs Makeover
Thanks for being here, Kathy

