How To Update An Old Wood Desk
As an Amazon Associate, I earn from qualifying purchases.
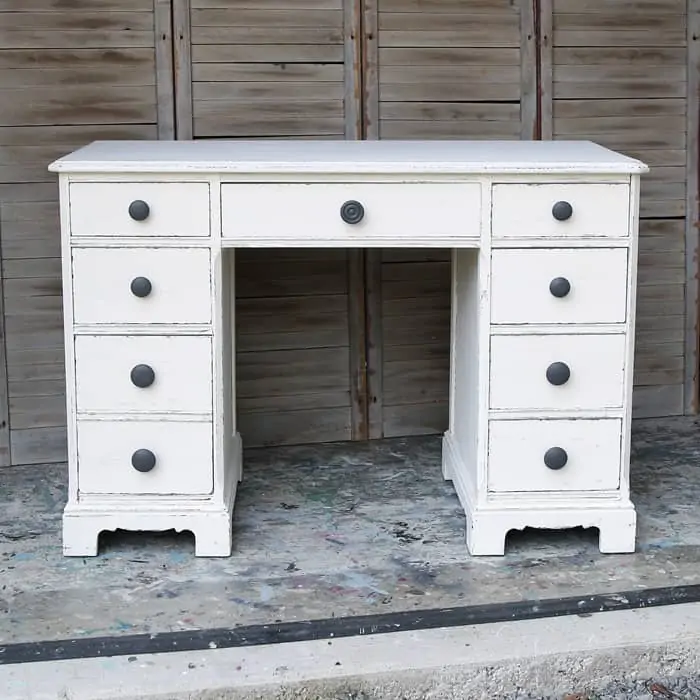
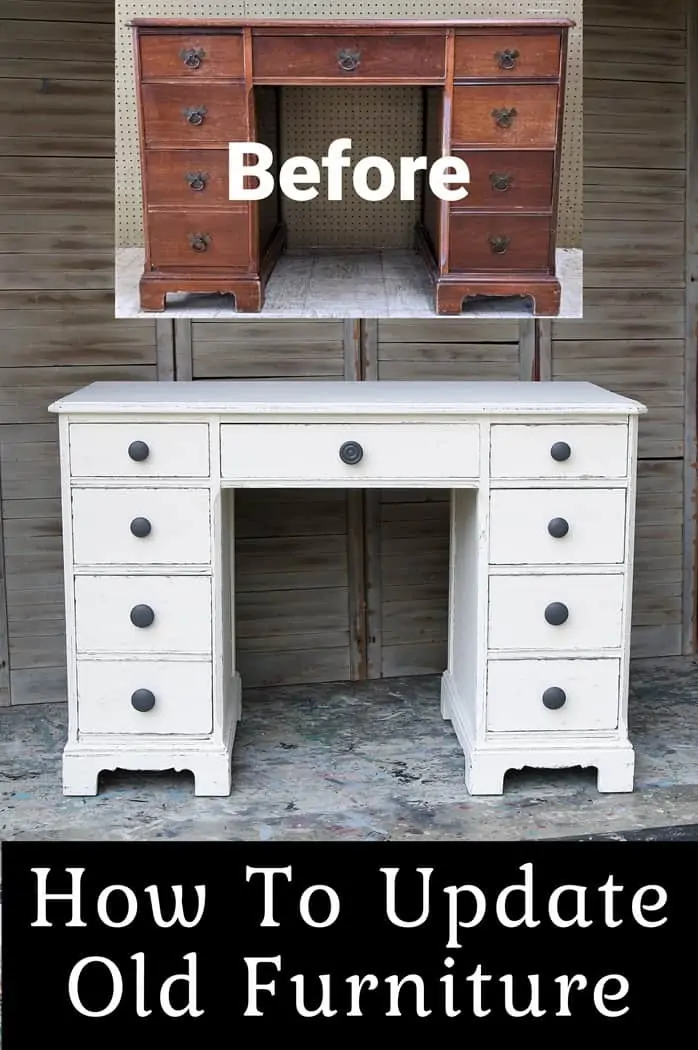
Learn how to update an old wood desk or any piece of furniture with paint and a change of furniture knobs. Totally transforming furniture is my favorite thing and this desk turned out great.
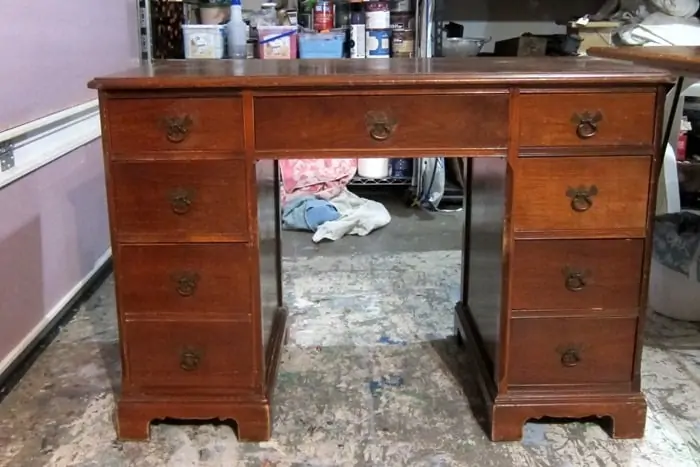
This is the desk with the original stained finish and drawer pulls. The price was $22.00. Sometimes I get a deal at the auction but most times prices are too high for me. You can see the desk needed help.
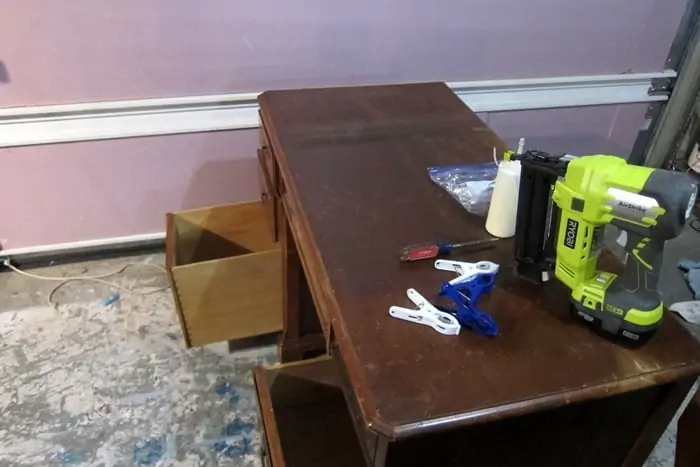
The first step in any furniture makeover is checking the piece over to see if there are any repairs to be made. Well, the desk had some drawer issues. The sides were coming apart where the drawer front meets the sides on a several of the drawers and the veneer on the drawer fronts on almost all of the drawers was coming loose.
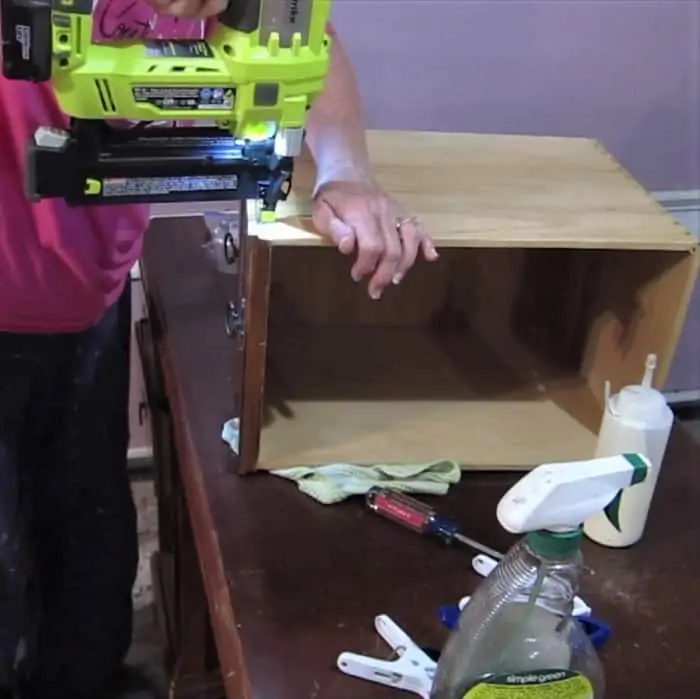
I made a video showing the repair process and I’m going to walk you through it too. I used my Ryobi brad nailer to nail the dove tailed sides of the drawers back together. Several of them had pulled out of place.
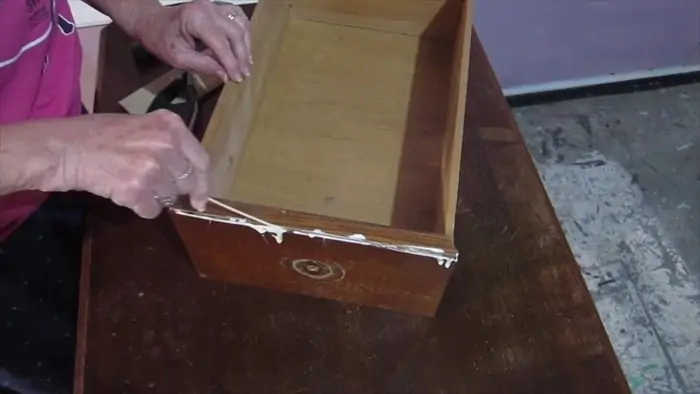
Next I worked on the drawers where the veneer was pulling away from the drawer fronts. I used wood glue to glue the veneer in place. It’s important to push the glue in between the veneer and the drawer front.
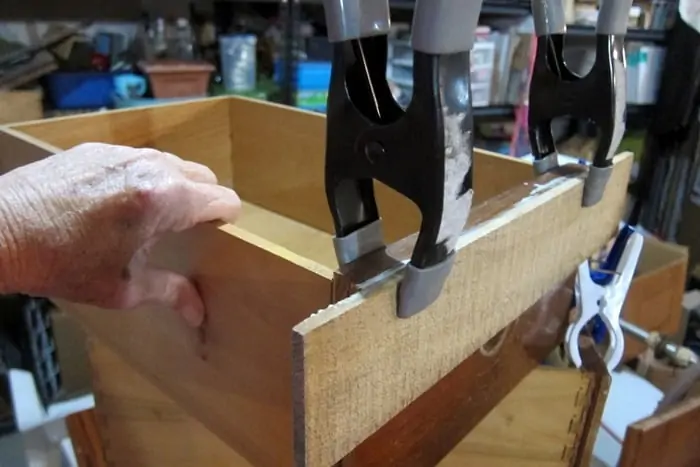
Then I used two clamps and a piece of wood to hold the glued veneer in place. Since the veneer was loose all the way across the top of the drawer the strip of wood works well to hold the veneer in place instead of using multiple clamps along the drawer. The JTS taught me this trick. You can watch the video below to see the whole drawer repair technique in action….
[adthrive-in-post-video-player video-id=”LA4iiry2″ upload-date=”2021-11-17T19:50:05.000Z” name=”How to repair furniture drawers.” description=”Repair furniture drawers using a nail gun and wood glue” player-type=”default” override-embed=”default”]
How to make furniture drawer repairs.
I used my favorite oops can of paint for the makeover. Sadly the can is empty now. You can see another of the white oops paint makeovers here….How to Paint And Distress Fake Wood Furniture
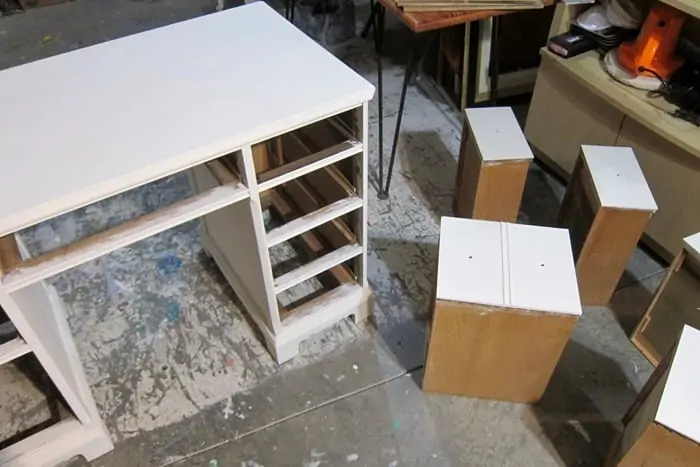
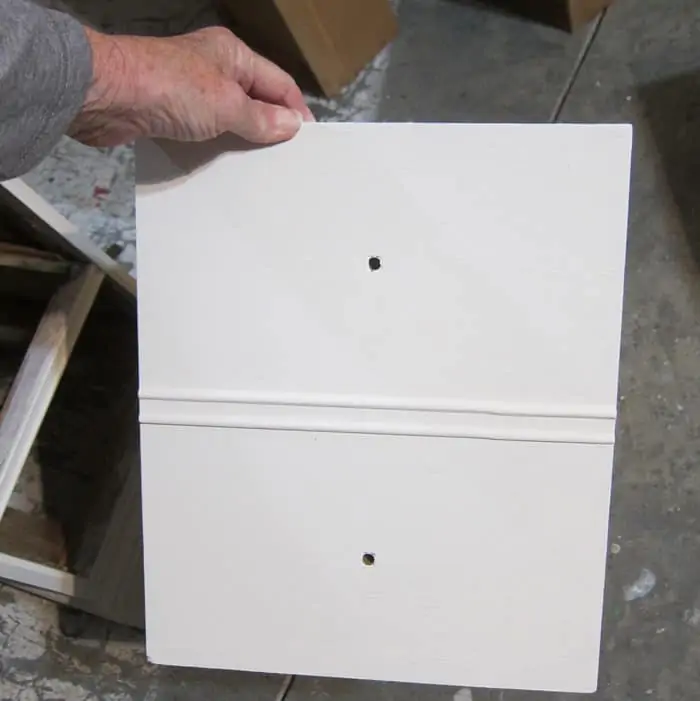
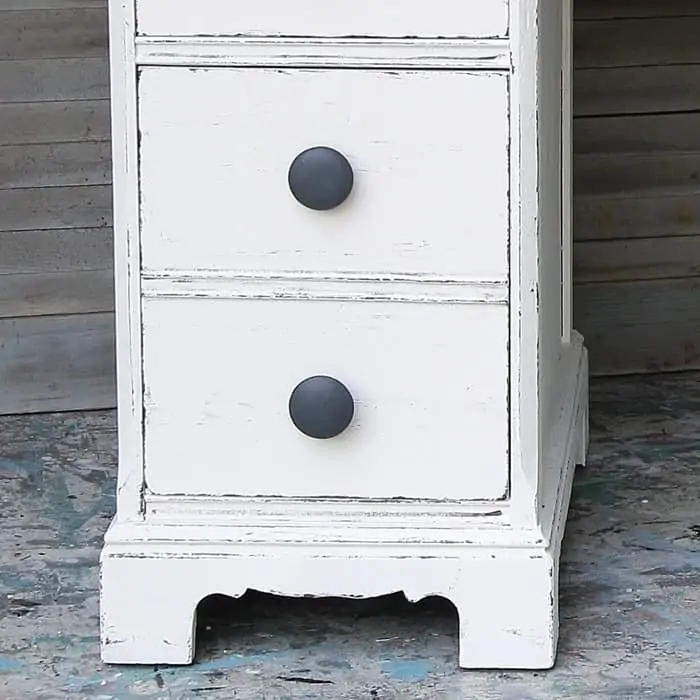
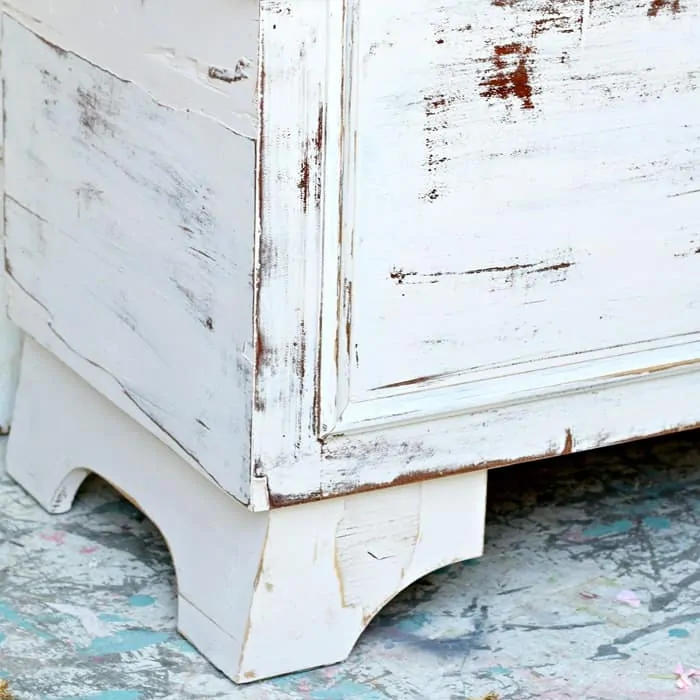
The photo of the drawer above shows the desk with two coats of paint. The look is kind of flat and blah so I amped it up with some faux distressing.
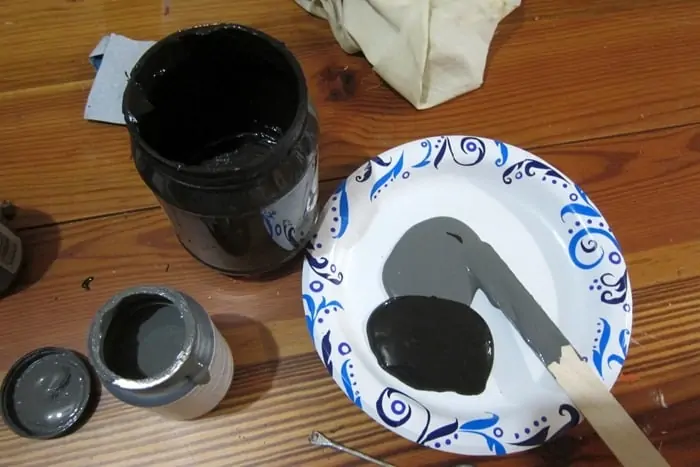
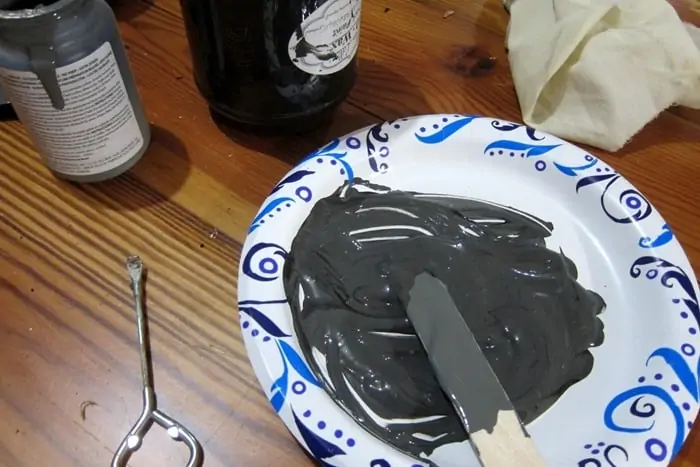
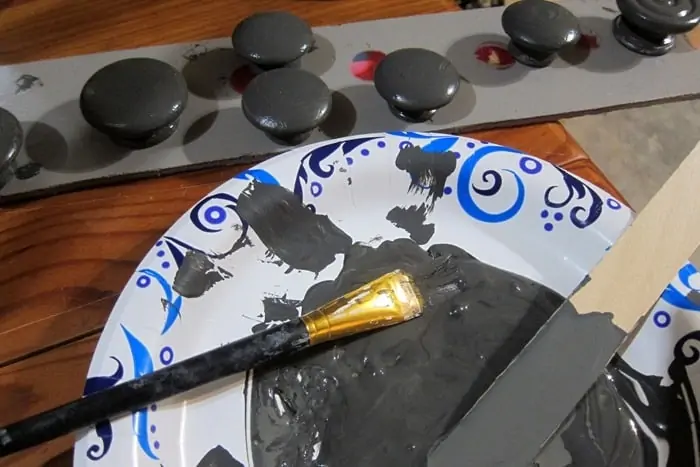
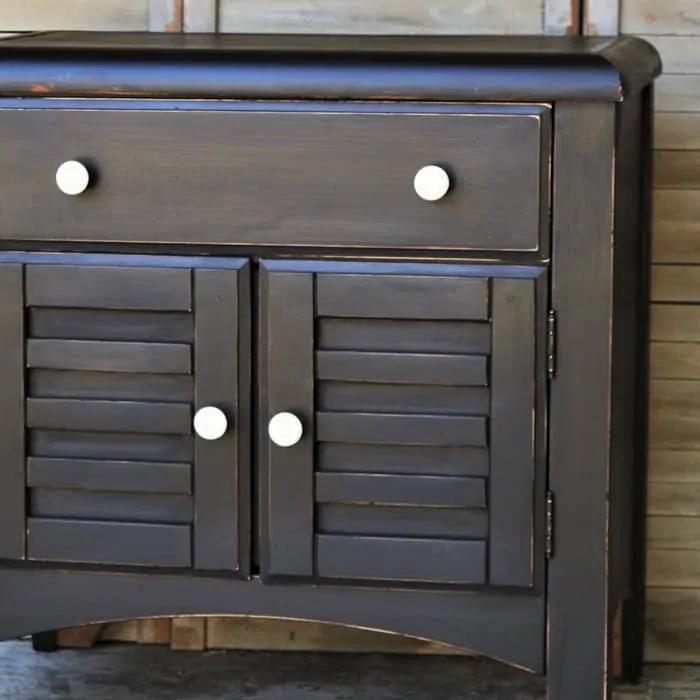
I didn’t have the perfect color so I mixed one up. I added really dark, almost black paint and dark gray paint together.
This is the color I came up with, kind-of dark gray.
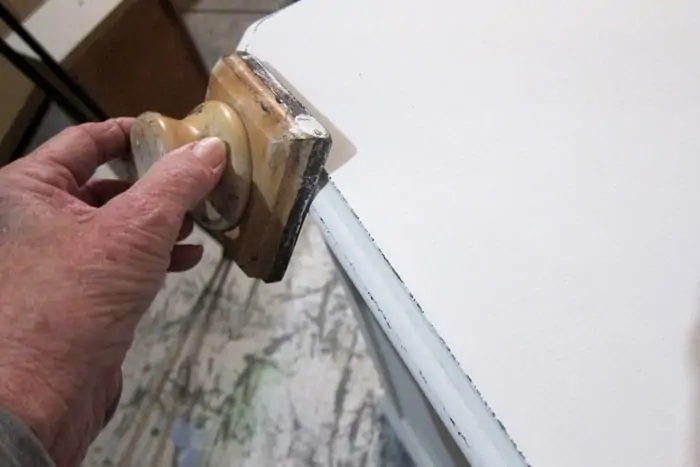
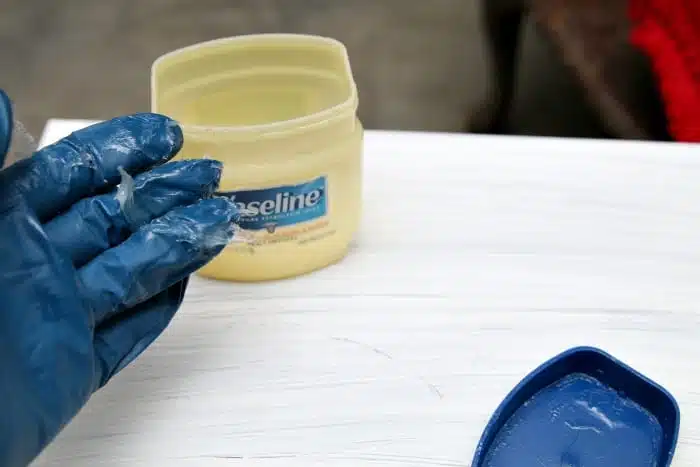
Then I used my layering block to faux distress the edges of the desk and drawers and touch just a little to the surfaces. You can see my tutorial on the layering block here…Layering Block Distressing Technique Is Crazy Easy
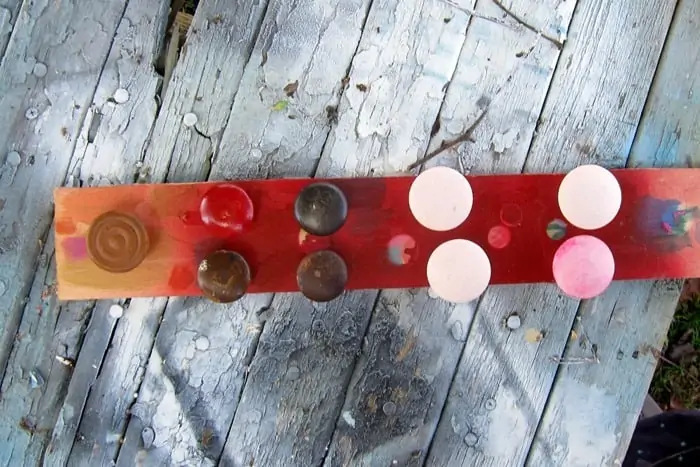
Now to replace those outdated drawer pulls. Hobby Lobby wasn’t having a drawer knob sale this week so I scrounged around in my knob stash and found 9 mix and match wood knobs.
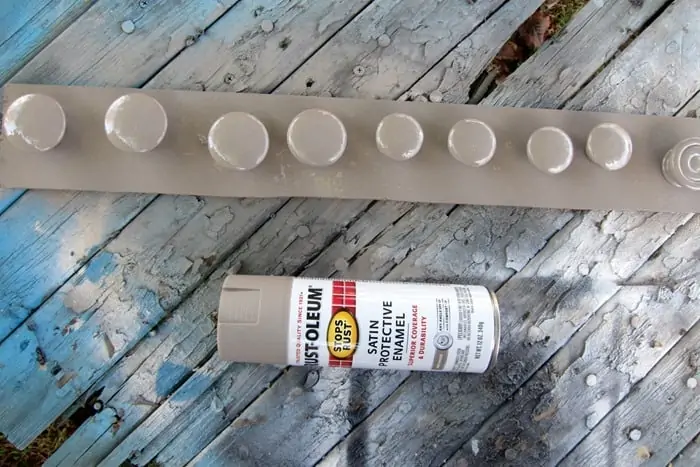
Still trying to keep the furniture makeover to neutral colors I found a can of Rustoleum Spray Paint, Driftwood color, on my paint shelf. I like this color a lot but it didn’t have the pow factor I was looking for against the white.
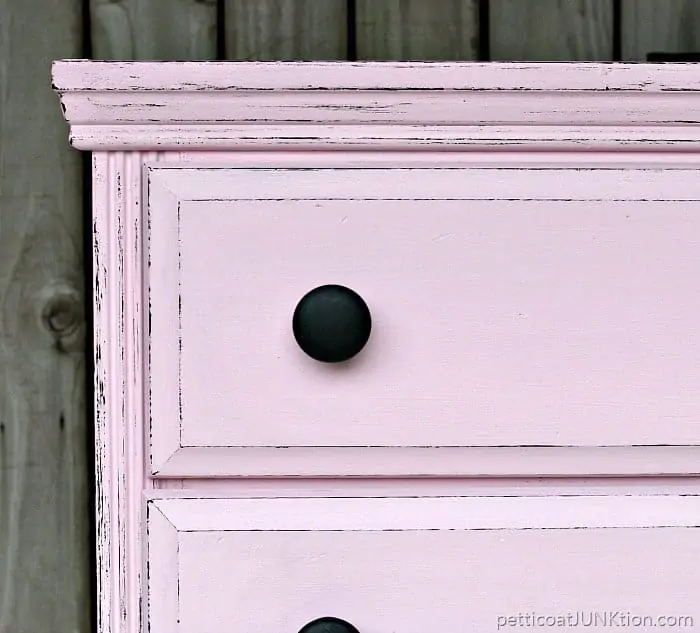
So, guess what. I painted the knobs with the paint I mixed up for the faux distressing.
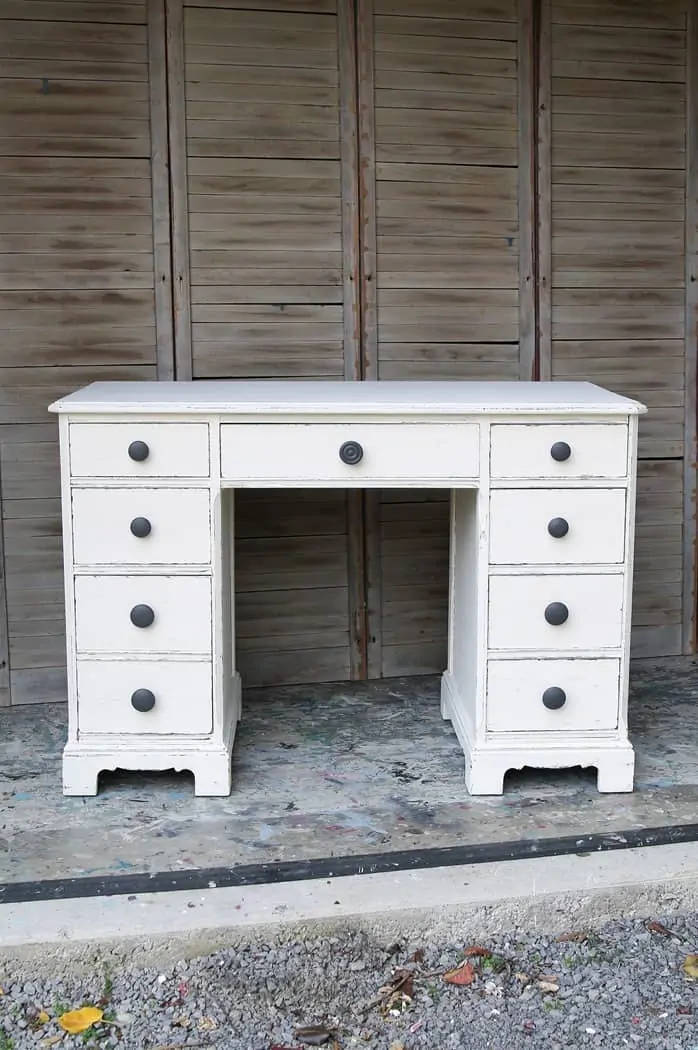
I love the way the desk looks now. The dark knobs really pop against the white paint and the desk doesn’t look out of style anymore. It’s really not hard to update old furniture.
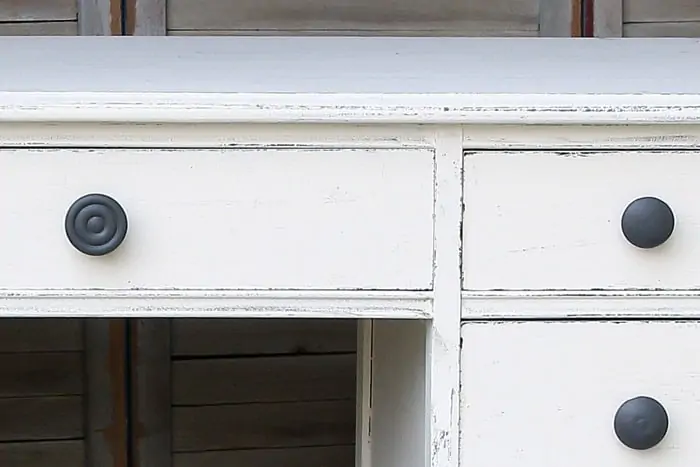
The knob on the middle drawer has more detail than the plain wood knobs and I like it too.
You can see the faux distressing in the photo above. The technique is so easy and fast too. It probably took about 15 minutes at most to run the layering block over the desk and drawers. There is no perfection to this look so don’t try. A lot of the new furniture has this faux distressed look. Find my latest desk makeover featuring a floral furniture transfer and bold paint here.
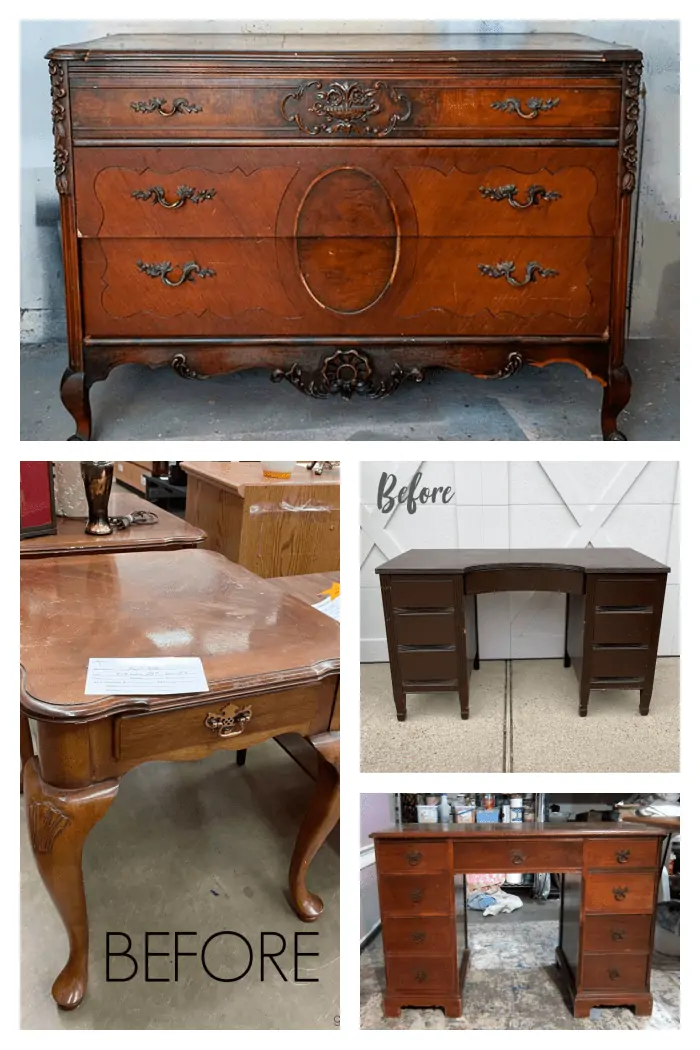
So tell me what you think and then take the Furniture Fixer Upper tour. Just click the links below the “before” makeovers photo collage…..
Furniture Fixer Upper Tour……
Stenciled Desk Makeover – Confessions of a Serial DIY’er
How to Paint Gold Accents on Furniture – Salvaged Inspirations
Red Painted Table – Girl In The Garage
Update and Old Wood Desk – Petticoat Junktion (you are here)
That’s it for me. You guys have a great day, Kathy

I agree with you about the natural or stained wood. I don’t really refinish pieces because it is very time consuming and painstaking and I can never recoup even a small part of my time when I sell the furniture. When I feel I can revive a beautiful finish then I do my best instead of painting it. Thanks for your comment.
Natural wood is so lovely & rare. Refinishing/treating wood then updating hardware would be my 1st choice
Kathy, it looks simple and beautiful. I’m sure someone will buy it quickly! Also- how lucky that the mismatched knobs look so good now! xo
This desk looks so much better now! It was a great price and the work was worth it for such a great outcome! XOXO
Sometimes……most of the time, less is more. I like the simplicity of this redo Kathy. It is fresh and would fit in with a lot of different decor styles. It would fit nicely in my bedroom! I wish you and your family a very Happy Thanksgiving!! ??
I would love to see some stenciling on the drawer fronts. It seems to lack something.
Great idea to make those odd knobs all cohesive with paint. The dark knobs against the white look great! Pinned XOXO