How To Layer Paint Using Vaseline | Furniture Makeover
As an Amazon Associate, I earn from qualifying purchases.
Learn how to layer paint using Vaseline. There are several steps in layering the paint and this tutorial contains a lot of photos and details. I made a video tutorial to walk you through the process. The video is just over a minute long and shows just how to apply Vaseline for the perfect paint finish.

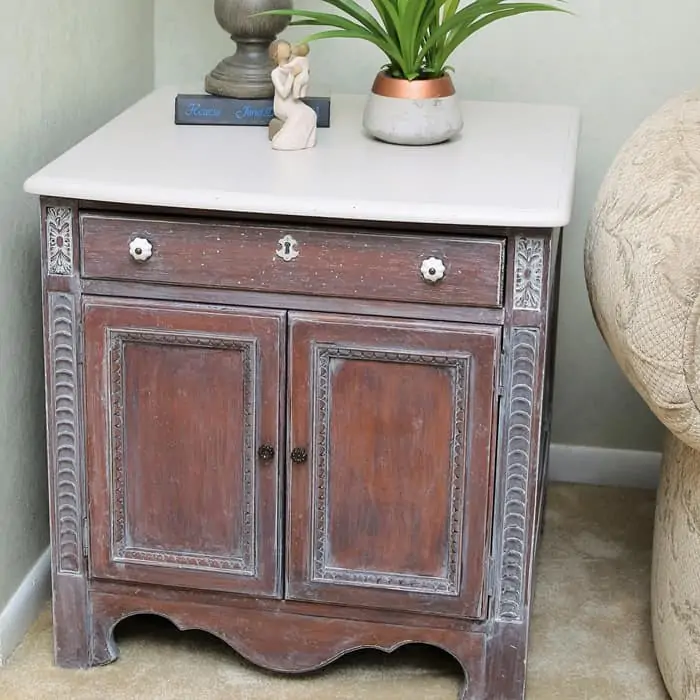
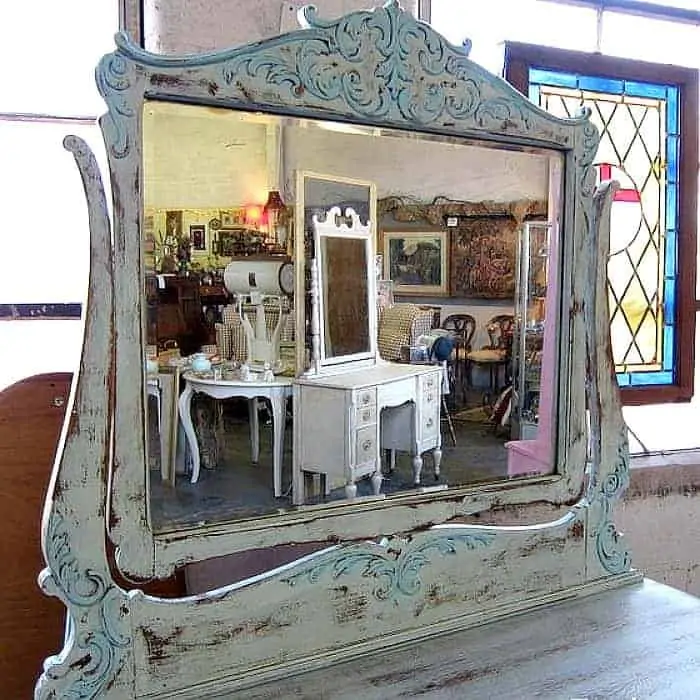
I bought the nightstand/end table/, whatever you want it to be, at My Favorite Junk Shop for ten dollars. Does it look a little odd to you? That’s because it’s one half…or less…of a vintage vanity. I actually love these little pieces. The peeling veneer and missing hardware didn’t scare me off at all. I knew at first sight that it would be a stunner once painted and distressed.
How To Layer Paint Using Vaseline Petroleum Jelly
Step 1. Prep Furniture
The piece I chose for this project has a lot of missing and bubbled veneer. It’s the perfect piece for layering paint. The detailed wood applique and the rough finish will be beautifully distressed.
I first peeled off the loose veneer then I sanded the rough edges with 100-grit sandpaper. The coarse grit sandpaper made the surface nice and smooth. Next, I cleaned the table inside and out with Simple Green.

Step 2. Gather Paint Supplies & Tools
I went with girly colors for the nightstand but you can choose any two colors you like. One of my favorite layering combos is black and green with the green being the bottom layer. I also like green and turquoise layered together.
Project Supplies:
Paint- 2 colors of your choice
Vaseline
3M Flexible Sandpaper
Paint Brush
Soft Lint Free Rag ( I use old sheets)

Step 3. Apply The First Layer Of Paint
Do you guys remember the days when shabby chic decor was all the rage? I do, but I forgot how much I love the look. Working on this project and seeing the results reminded me how pretty shabby chic can be.
The pinkish coral paint I chose for the bottom layer is a sample jar from Behr. It was on the oops paint shelf for 50 cents. You can’t beat that price and a sample jar goes a lot further than you would think. I only brushed on one coat of paint. It covered really well.

Step 4. Apply Vaseline To The Paint
Wait for the base paint layer to dry then apply Vaseline in areas where furniture would normally wear. I used a clean lint-free rag to apply the Vaseline. Old sheets are perfect for projects like this. They are lint-free and also are great for applying and buffing wax! Just tear them into workable size pieces.
Sometimes I put on a pair of nitrile or latex gloves and then I rub a very very thin layer of petroleum jelly on the gloves and then run my gloved hands over the detailed areas I would like to look distressed or layered.
A thin layer of Vaseline is all that’s needed. Don’t apply the Vaseline too thick or the brush will drag when applying the second layer of paint and also it will get very messy. Trust me. The voice of experience here.

Step 5. Apply The Second Layer of Paint
Now it’s time to apply the top layer of paint. I used Beyond Paint in off-white. There should be a definite contrast between the two paint colors you choose for the project. For example, you wouldn’t want to use two similar colors of pink.

Step 6. Distress The Paint Layers
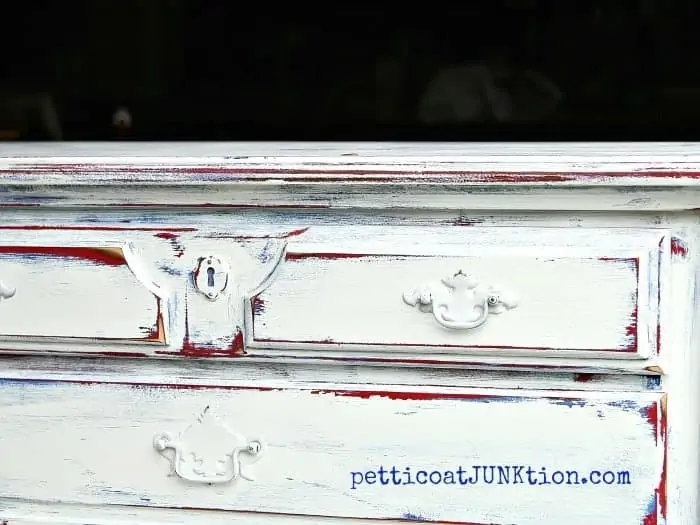
Once the top paint layer is dry it’s time to distress the paint. I used 100 grit 3M flexible sandpaper but any kind of sandpaper will do. I recommend using 100-120 grit. Sand the areas of paint where you applied the Vaseline. You can also distress other areas of the paint.

Where the Vaseline was applied the top layer of paint will sand off and you will be able to see the bottom layer of paint. In most instances sanding the paint without the layer of Vaseline would cause both layers of paint to come off then you would be looking at raw wood. This is such a great way to distress paint!


How about giving this technique a try? I promise you will be amazed. Just giving the furniture a coat of paint presents an amazing transformation. For a really bold look using this layering technique try cherry red paint layered over turquoise like I did on this cedar chest…

The cherry red cedar chest with the Martha Stewart stencil is the first Vaseline project I tried!

The beautiful decorative detail on the vanity door was still intact. Win-Win. Usually, the wood appliques are in pieces. The knobs I decided on for the makeover were salvaged from the white-washed coral chest of drawers I painted earlier this year. The knobs work well because they don’t overshadow the pretty wood details.

And how about the little curvy detail on the bottom??
")
Have a great weekend. Kathy
This is gorgeous! Wish I could find one like this, great job!!
I almost think this would have looked better in a different color than white. It’s a bit too washed out.
This is gorgeous. What a beautiful transformation. love the color too. I would love if you shared this at our link party on Sunday @ 4:00 EST, Dishing It & Digging It.
Beautiful! I have always loved the layering effect using pink and white. It always makes me think I am decorating a little girl’s room. It looks so delicate and feminine.
I want your vanity. Its beautiful.
Kathy,
You layered the paint and finish on just right to make this part of a vanity shine. Gorgeous!
Happy Creating,
Karen Marie
Such a pretty little table! The pink highlights the details perfectly Kathy. <3
Love the look, didn’t know it went out of style!!! 🙂
I love the details of this piece and the pink paint peeking out from under the white really brings them out. Lovely update!
I love the nightstand’s new look! Beautiful color choices!
I always say this, but it’s so true — I can’t believe that’s the same piece! What a beautiful transformation.
What a deal! You got lucky! I think I would have smiled the whole way home with that beauty in the car. Love what you did with it and the two colors are perfect together! Pinned:)
I like the slight peek-a-boo of pink as not so overwhelming.
OOH I love the shabby chic in this sweet piece, Kathy! Layering the pinks was a perfect choice! XO
How pretty is that! Love the subtle hints of pink showing through, Kathy. Such a pretty piece with all those curvy details. Pinning and sharing 🙂
Kathy, the pink poking through makes all the difference! What a happy piece!
Hugs,
Karin
This is so sweet! I love the color you chose! Beautiful!
Is your flamingo picture for sale? I love all your posts! You are a creative genius.
Ohhhhh! How I love, love, love this! The color is devine! Great makeover, as always, dear friend. Susie from Chelsea Project