How To Paint A Cedar Chest And Stencil A Handmade Charlotte Design In Orange And Blue
As an Amazon Associate, I earn from qualifying purchases.
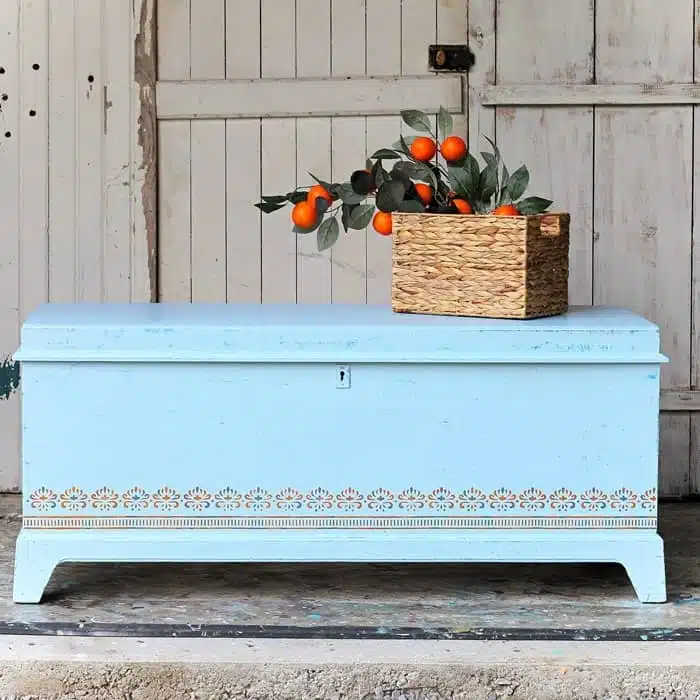
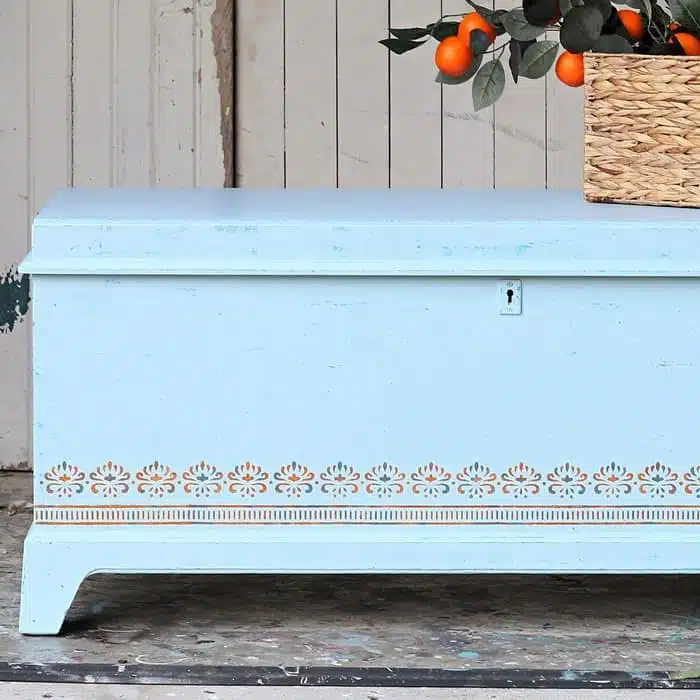
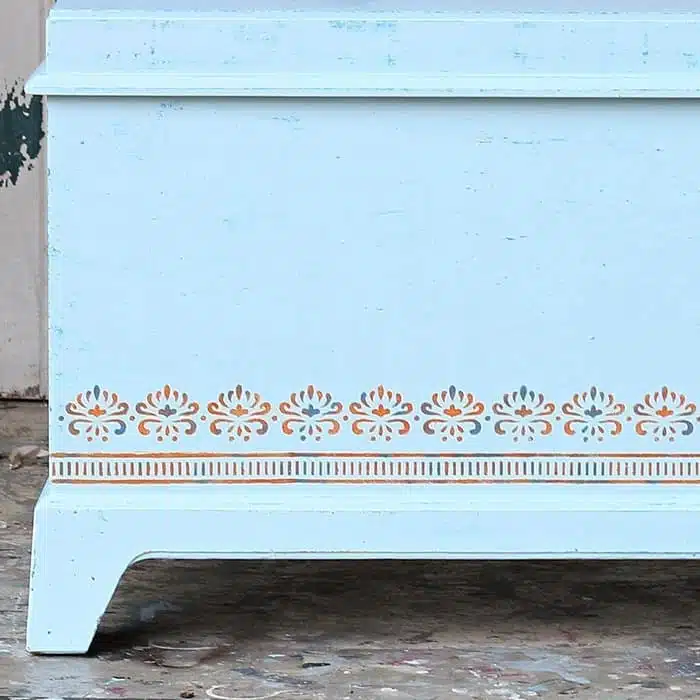
I painted this cedar chest blue and stenciled a blue and orange design around the bottom of the chest and it looks fantastic. Just wait until you see it. I also used a layering block to give depth to the paint finish. I went through a lot of trial and error and changes on this makeover but the extra time and energy was worth it.
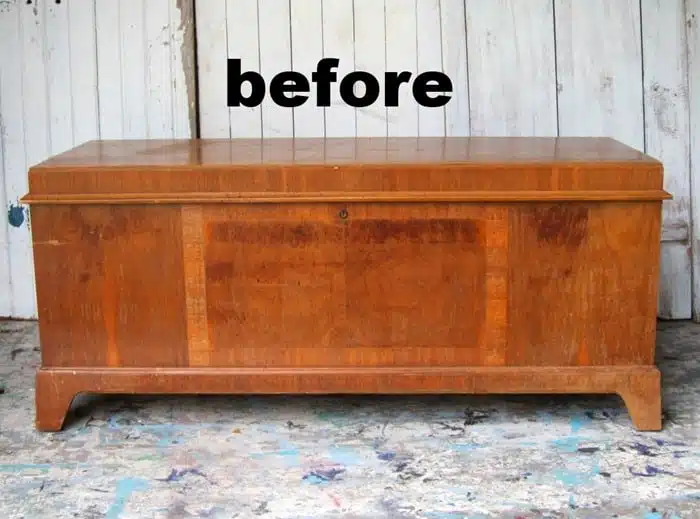
I found the Cavalier brand cedar chest at My Favorite Junk Shop. I think the price was about $40. Some of the moulding is missing on the front where you see the light areas and the tray from the inside of the chest is gone. Other than that it’s in great condition.
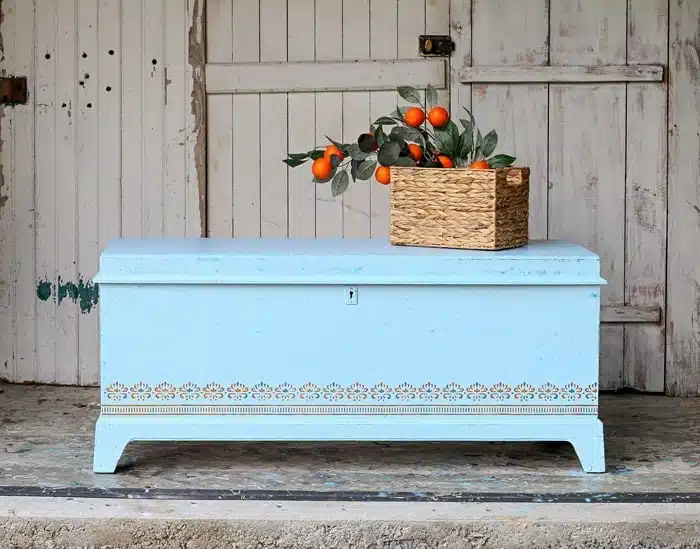
And this is how the cedar chest looks now. It makes me smile. Today is Furniture Fixer Upper Tour Day and that makes me smile too. All the tour links are at the bottom of the post. Now to my tutorial…….
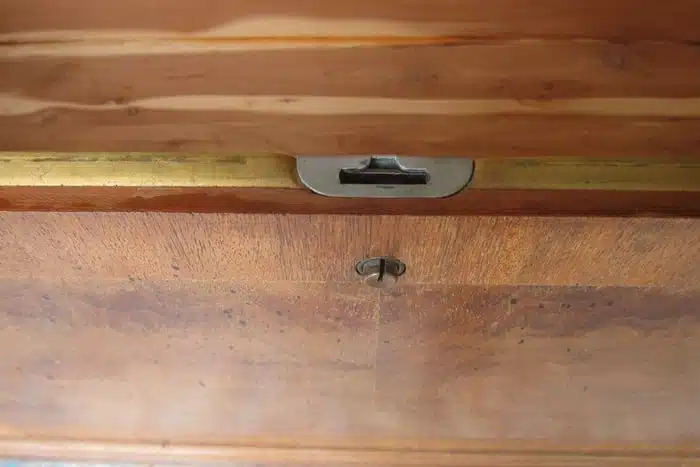
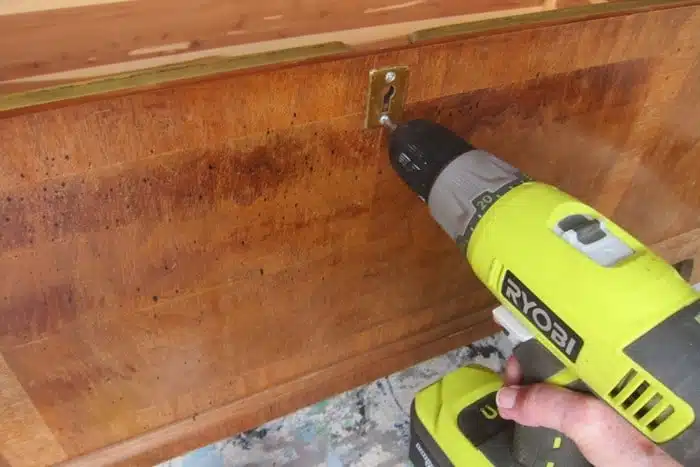
The first step in the makeover is to remove that locking mechanism. Those are dangerous because the chests cannot be opened from the inside. You can order replacement parts for them but I just remove the locks completely.
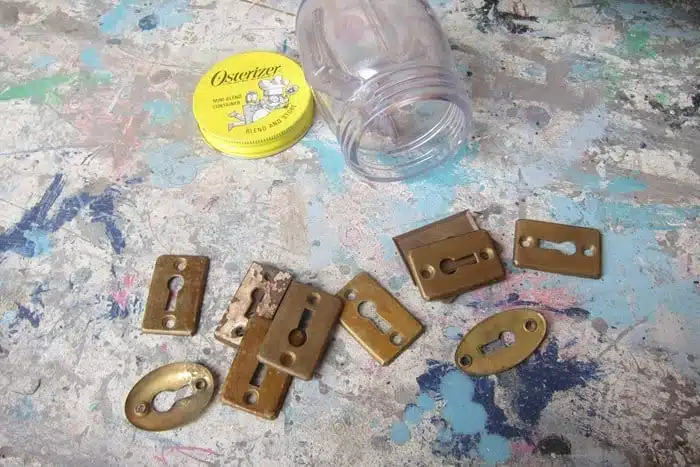
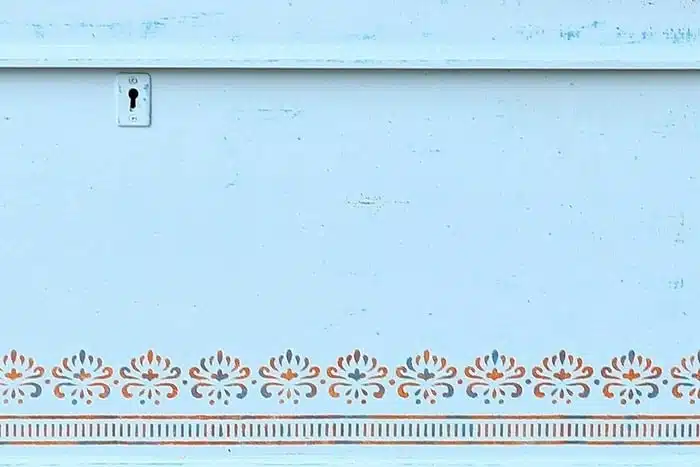
I place an escutcheon over the hole. I have a stash of these and the photo above just shows a small part of it.
I used a Ryobi battery powered drill to drill two holes for screws and then used the drill to attach the escutcheon.
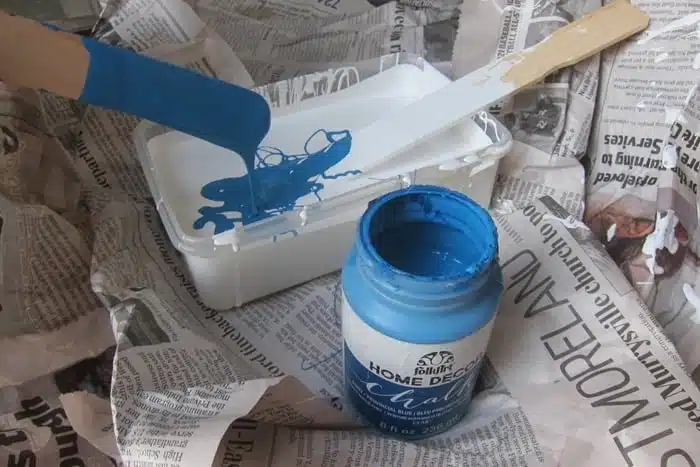
Next I mixed my own custom paint color using paints leftover from prior projects. The white paint is Behr trim paint, satin sheen, and the blue paint is Home Decor Chalk, color Provincial Blue.
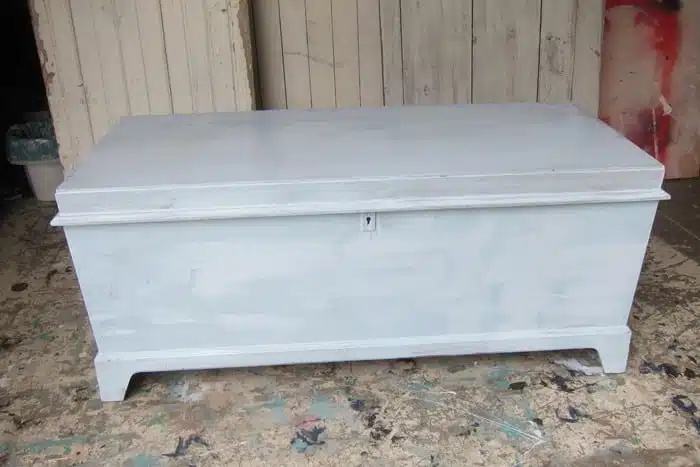
This is how the cedar chest looked with one coat of paint. The color looks light because it’s still wet. Paint usually dries darker. I applied a second coat of paint and moved on to the second part of the project…..stenciling.
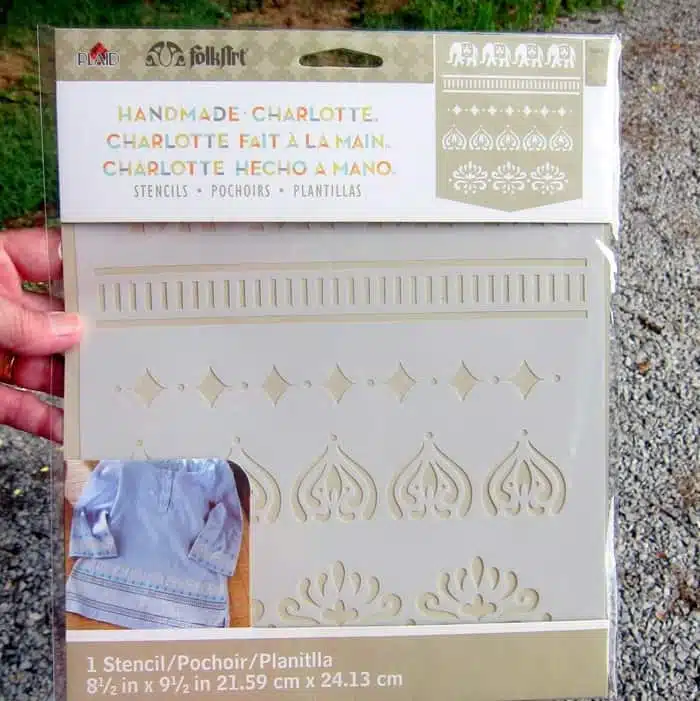
I have several Handmade Charlotte stencils and the one I selected for this project is called Alibaba. I had the privilege of meeting Rachel Faucett, the creator and owner of Handmade Charlotte, a few years ago. She is wildly talented and I love her designs.
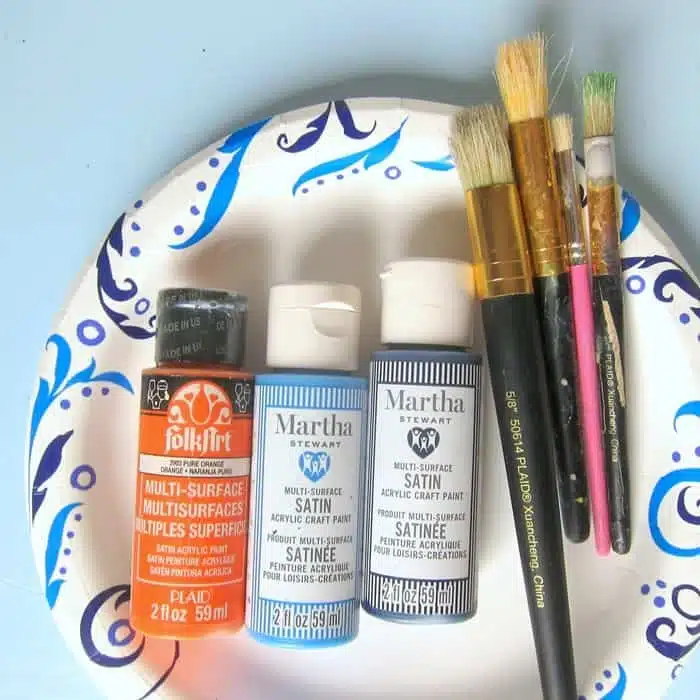
I chose acrylic paints for the stenciling. Orange and blue are a favorite color combo of mine so I went through my paint stash and found a deep orange, a medium blue, and a dark blue color. I also pulled 4 sizes of stencil brushes from my supplies.
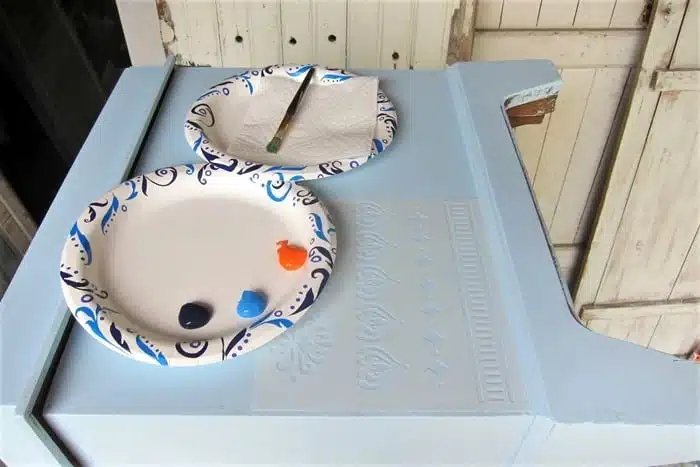
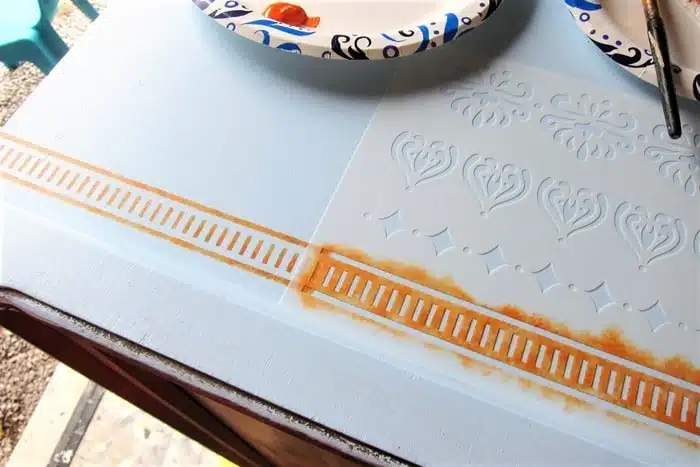
I poured my stencil paint onto a paper plate and as you can see it only takes a little paint. To start the stenciling I laid the bottom edge of the stencil flat against the little shelf made by the wood trim/foot piece on the chest. In the photo above I have the chest standing up on one end. It’s easier for me to stencil it that way. When I got around to the front of the chest I laid it on it’s back.
Sometimes I use painter’s tape to keep my stencil in place but I didn’t need to do that here. I held the stencil in place with one hand while stenciling with the other.
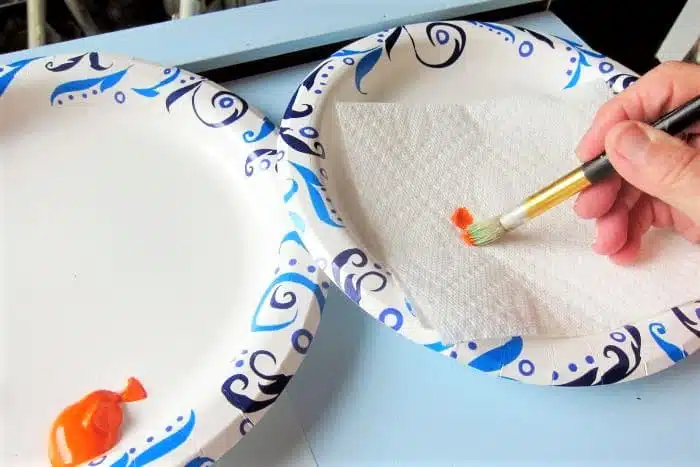
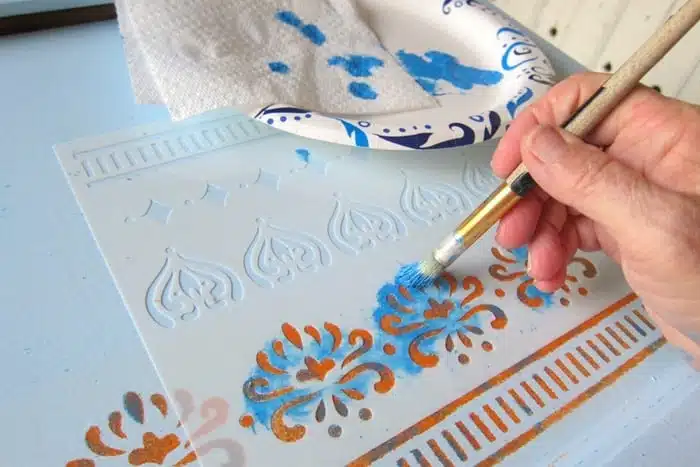
The secret to a perfectly stenciled design is to dip your stencil brush into the paint then wipe almost all the paint from the brush onto a paper towel. I mean almost completely all of the paint. Then you are ready to put the brush to the stencil. This way you want get globs of paint seeping under the stencil. I have a complete tutorial on the proper way to stencil here….How To Stencil Using Multiple Colors For A Designer Look
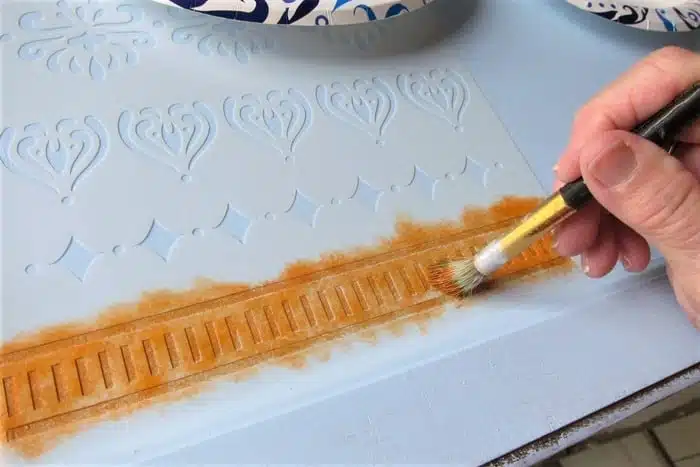
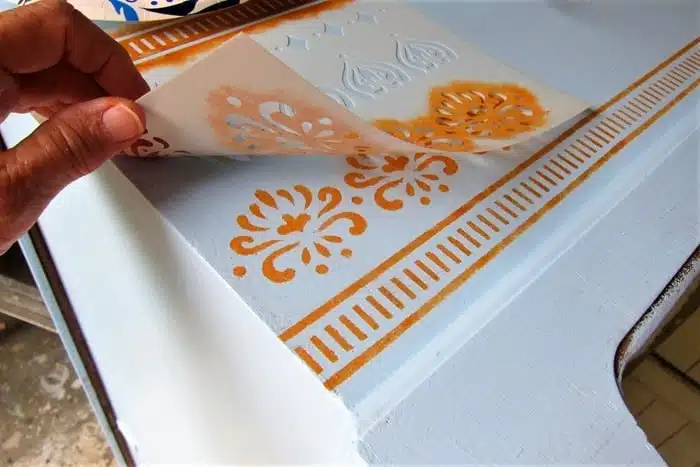
Okay, I have one row of the stencil done then I moved on down the chest with the stencil until I make it all the way around.
Next I used a second design from the same stencil sheet and placed it above the ladder design. See how perfect that stencil job is!!
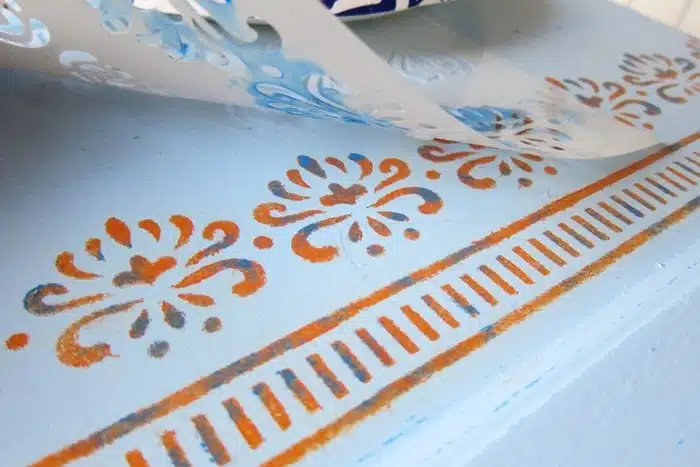
Another stencil tip is to use 2, 3 or 4 colors on a design to give it depth. Once the orange color was dry I dabbed bits of blue over the stenciled designs. I did this all willy nilly hitting random places on the stencil. It’s easy to line the stencil back up over the orange design to add other colors.
You might remember I chose two colors of blue at the beginning of the project. I stenciled one end of the chest using the orange and both blue colors. After looking at the design for a few hours I decided it was too dark. I distressed the paint from that area all the way down to the wood because the stencil paint was really cured well and wouldn’t wash off. Then I re-painted that area of the cedar chest with the blue paint, and then stenciled the design on using just the orange and light blue color you see above. Good thing I only stenciled one end of the chest before I decided I didn’t like the look.
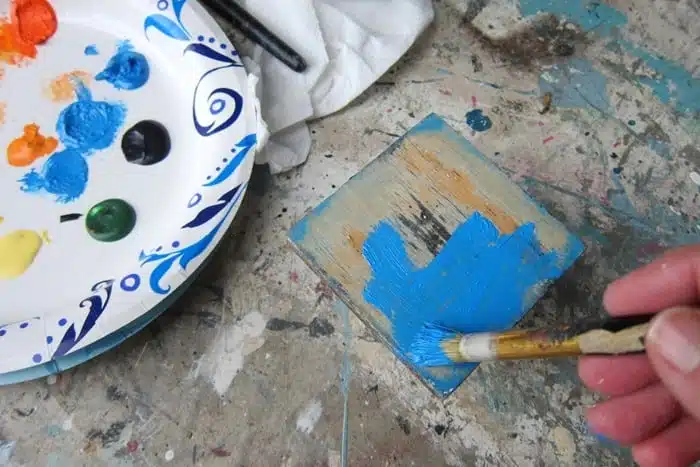
Now I have another special paint technique for this makeover. I used a FolkArt Layering Block to put a very light layer of paint over strategic areas of the painted finish. First step is to brush paint onto the flat surface of the block.
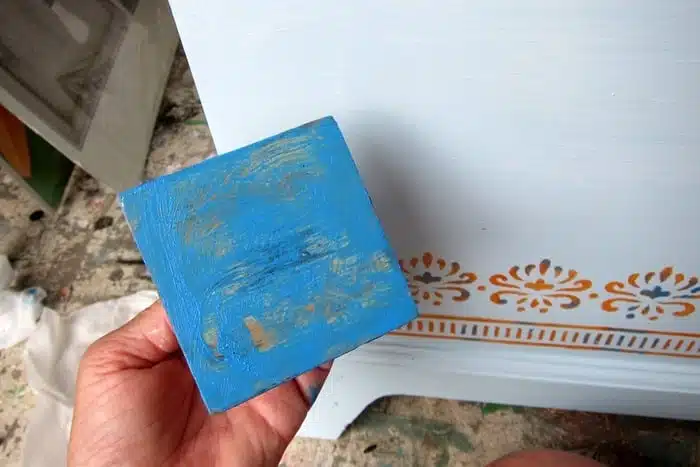
Then I dab the block onto a paper towel to remove excess paint. Now I’m ready to use the block
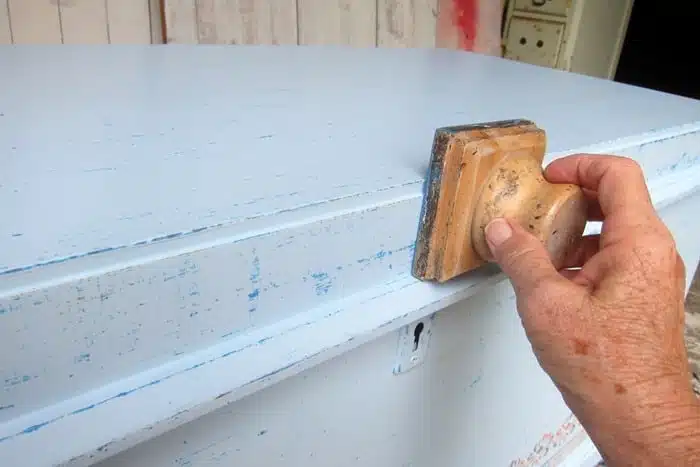
I ran the layering block over the painted chest. You can see it leaves paint behind on the raised and rough areas of the chest. You know unless you sand and sand wood furniture there are blimps and bumps on the wood surface. That’s what makes this technique so much fun. You can chose to layer a lot of paint or a little paint on the furniture. Find a tutorial on the layering block here.
And that’s how I painted this piece of furniture. I love how it turned out.
Even though it took more work I’m glad I decided to use only two colors on the stenciled design. How do you like the orange and blue color combo?
The darker blue color added using the layering block pops against the lighter blue color.
You can find this stencil on Etsy here. Remember my stenciling tips!
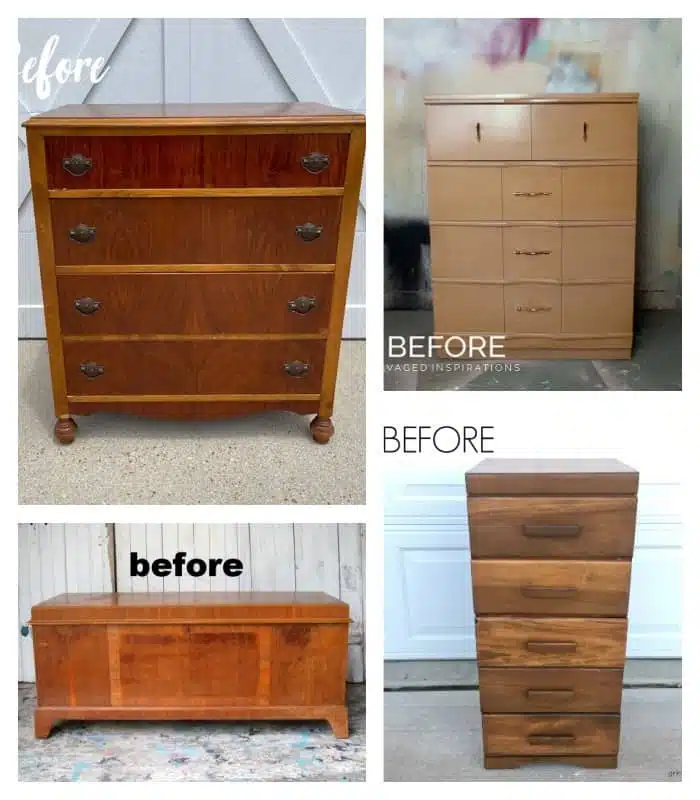
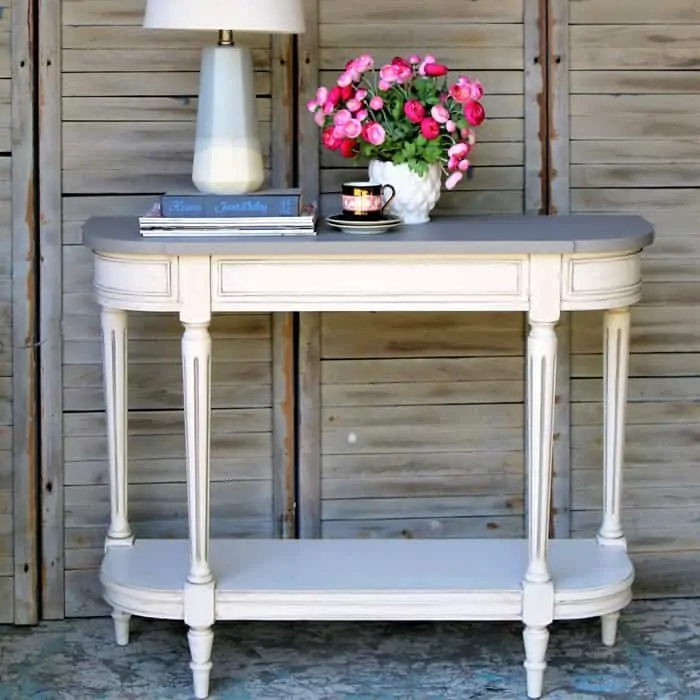
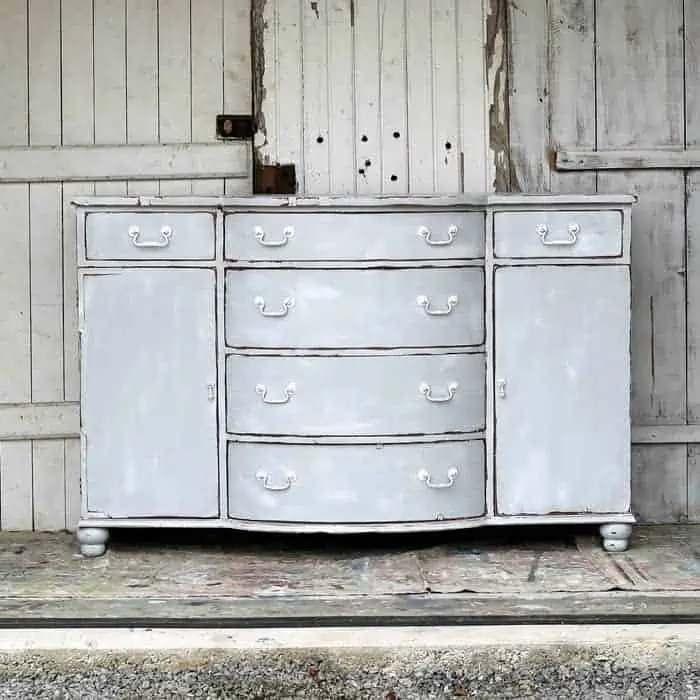
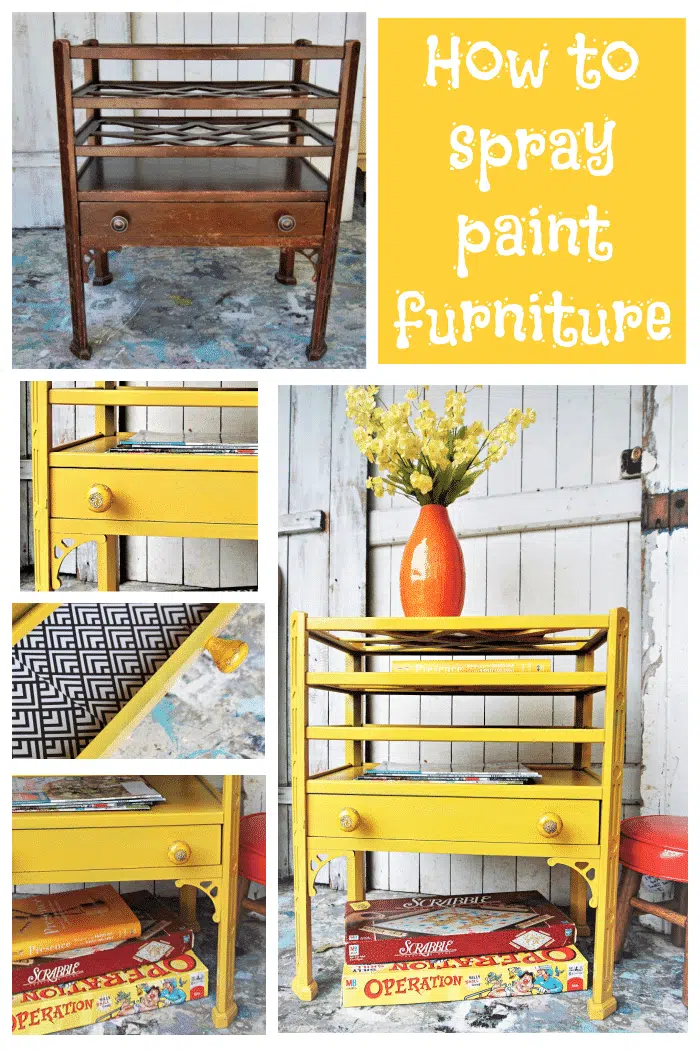
If you have time before taking off on the tour please leave a comment. Just click the text links below the “before” makeovers photo collage to take the Furniture Fixer Upper Tour…….
Furniture Fixer Upper Tour
Thrift Store Dresser Makeover – Confessions of a Serial DIY’er
How To Paint Ghost Stripes On Furniture – Salvaged Inspirations
Blue Painted Furniture – Girl In The Garage
Painted Cedar Chest – Petticoat Junktion (you are here)
As always thanks for being here, Kathy

Go For It!
Such pretty stenciling !!! I love the colors. 🙂
Thanks for sharing.
p
You did awesome work and yes I love the colors. I actually have the same cedar chest and have been debating whether to paint it or not. After seeing how amazing yours came out, I think I’m going to go for it!
Kathy this turned out really nice! That stencil is fun and I really like it with the different colors. xo
Hi Kathy!! It turned out great!! I have that same stencil and block. Thank you for all of the great tips the stenciling looks amazing.