Phenomenal Painted Furniture Projects
As an Amazon Associate, I earn from qualifying purchases.
Hey Guys! Today the Furniture Fixer Upper Team is featuring their painted furniture projects. We selected our top furniture projects and then selected a favorite from each team member. You may have missed these earlier in the year so let’s take a look…..
Painted Furniture Projects
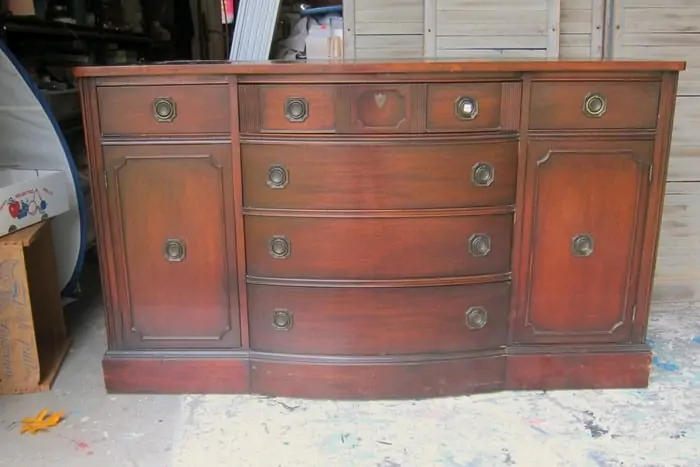
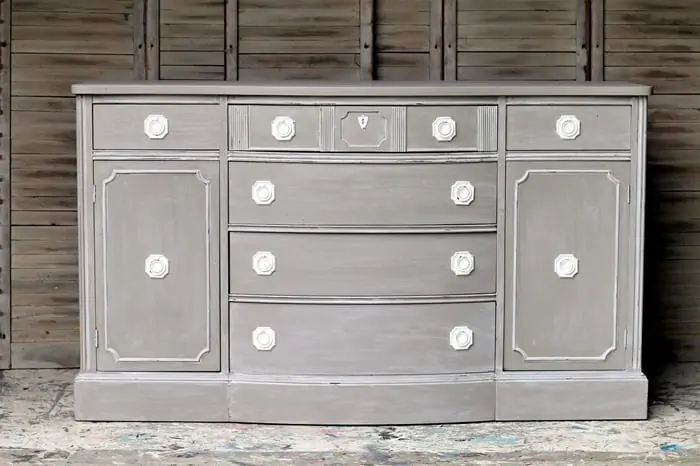
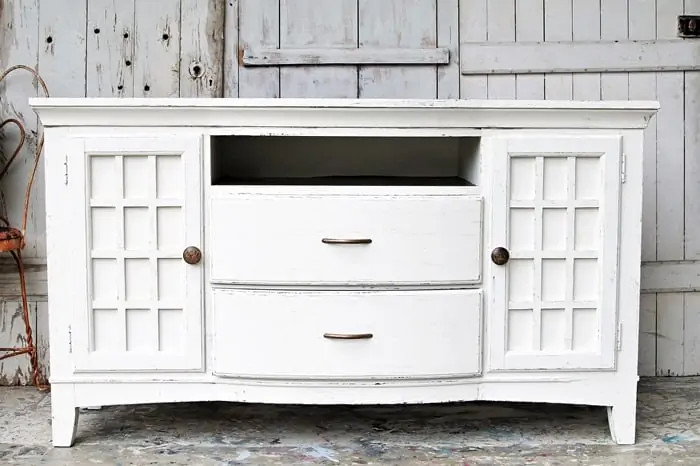
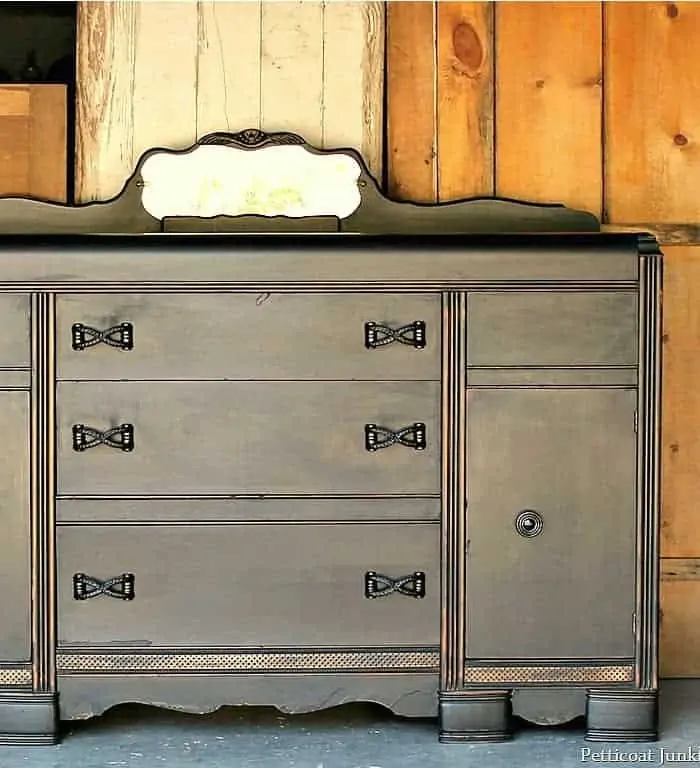
Isn’t that a beautiful piece? I love the lines and that it’s all real wood. These pieces are hard to find. The top was a mess on this one.
White Washed Furniture Makeover
I cleaned it up and grabbed a can of paint. Once the piece was painted I decided to really up the look.
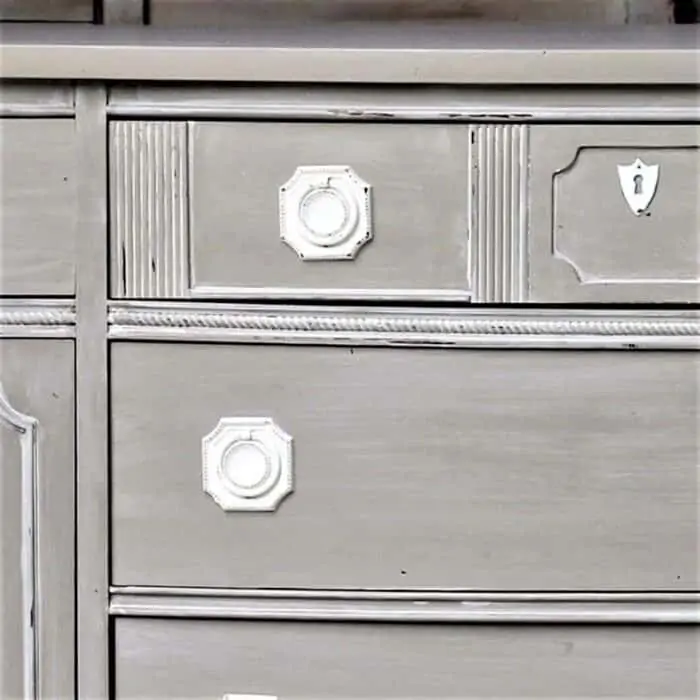
A white wash finish and spray painted hardware really made this sideboard stand out. It has a designer-worthy look. Yep, I’m proud of it and patting myself on the back. See the complete makeover here….White Washed Painted Furniture | It’s All In The Details
Trash to Treasure Painted Furniture Project
This makeover was definitely a labor of love. When you see the before and after you will know why.
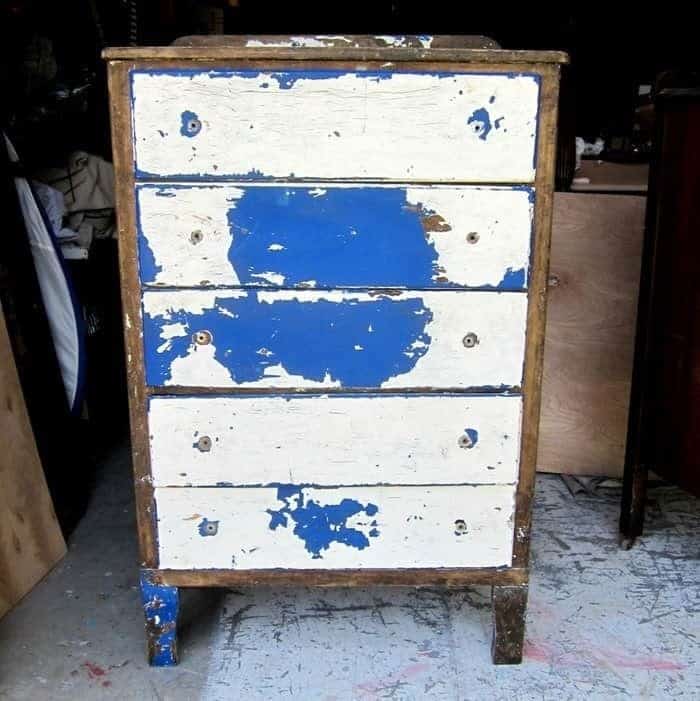
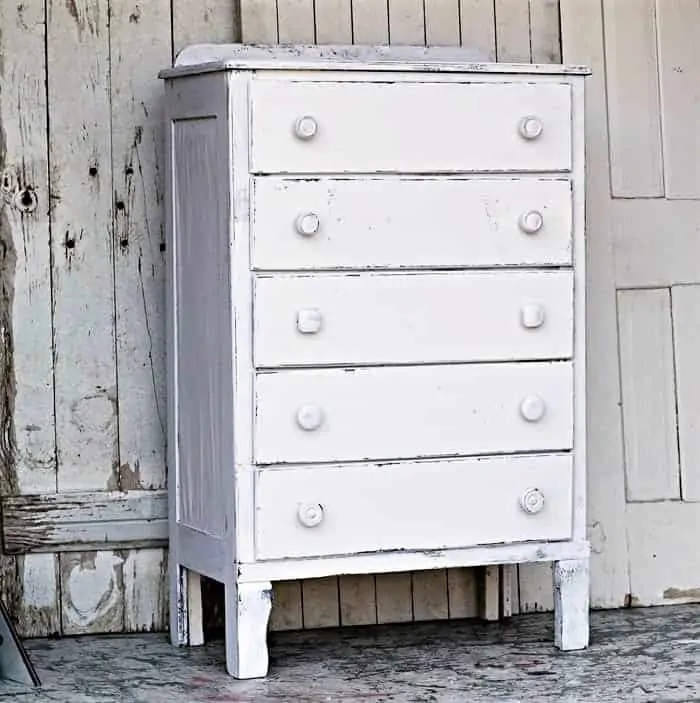
What a mess this chest was but I had to have it.
Then look what I did with it. You can see the makeover here….Trashed Furniture Gets A Coastal Makeover
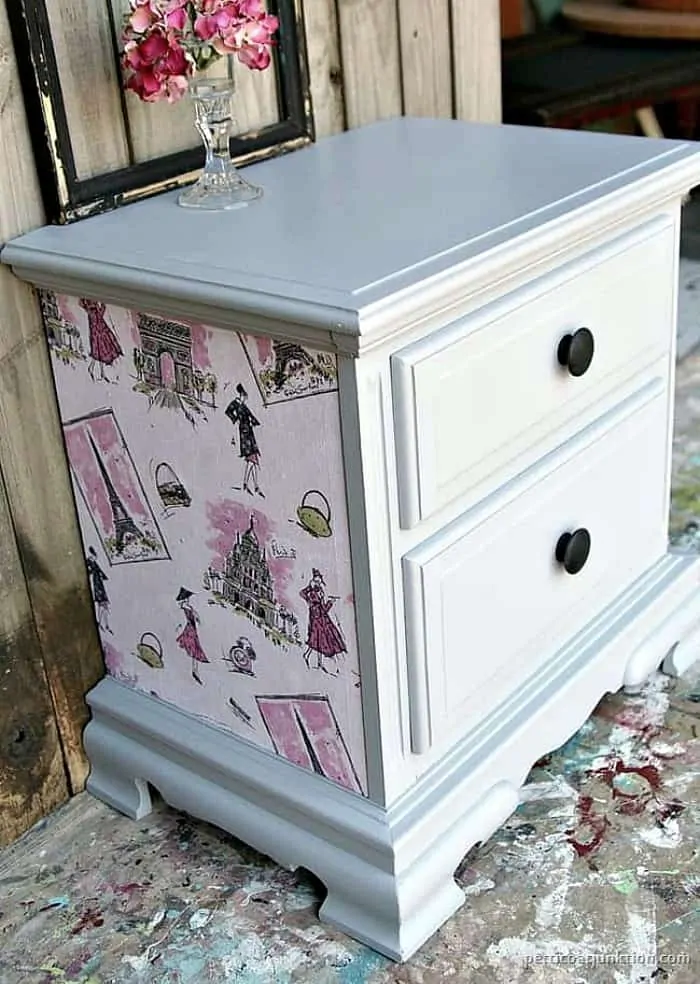
Painted and Distress Fake Wood Furniture Project
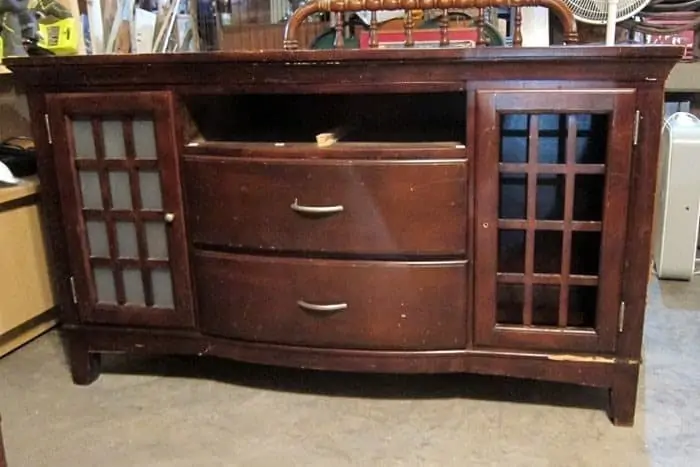
This one is a favorite because the piece is made of MDF or fake wood and it looks fabulous after being painted.
I bought the piece for a little of nothing from an online auction.
Then I made it beautiful. See how I did it here…How To Paint And Distress Fake Wood Furniture
Coastal Dresser Makeover
The next furniture makeover is from Christy, Confessions of a Serial DIYer. In my book Christy can do no wrong. Her work is always so professional and detailed.
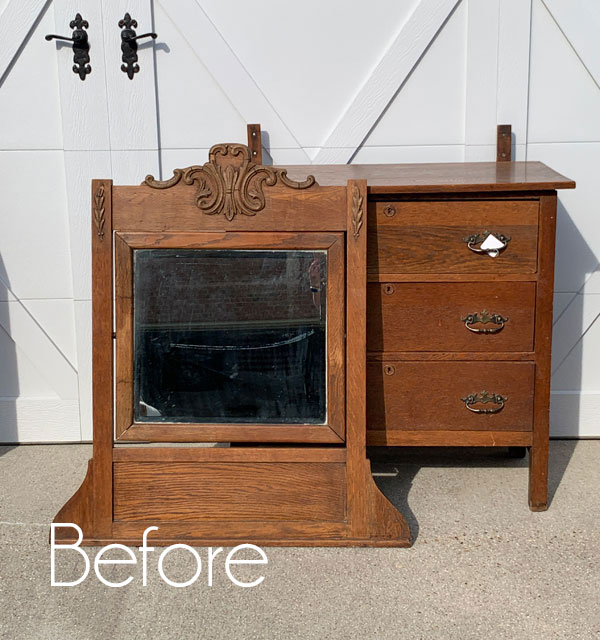
If you’ve visited Christy’s blog you know exactly what I’m talking about. The Before photo above of the vintage dresser is my favorite of the year. The front has an over-the-top transfer and of course, Christy always does something interesting to the drawers. See the finished furniture project here… Coastal Dresser Makeover by Confessions of a Serial DIYer
Painted Empire Style Furniture
This antique piece from Denise was a real beauty in its time. She talks about how solid and heavy the dresser is and I believe it. I’ve worked on similar pieces in the past but it’s been a while. I wish I could still find furniture like this dresser.
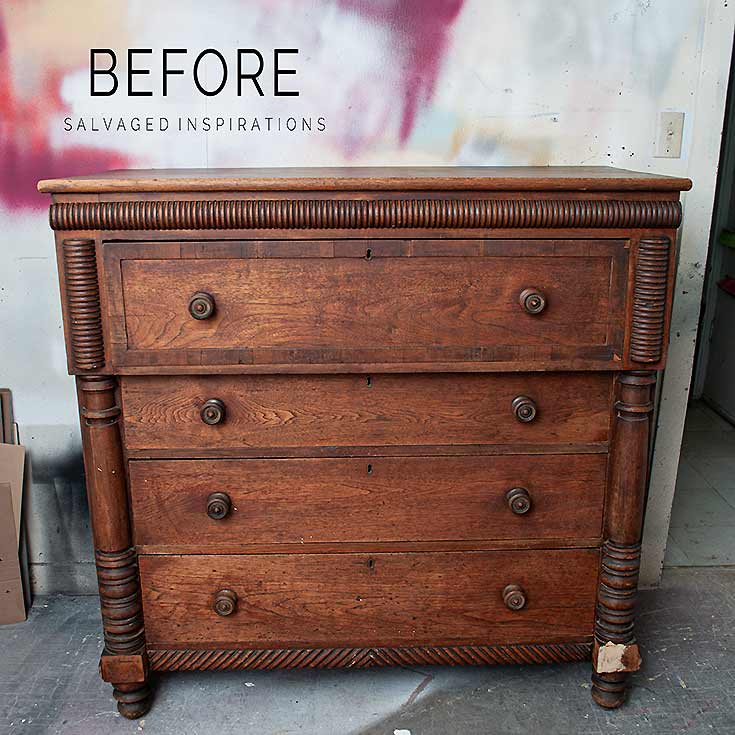
Denise started with a light base coat of paint and then mixed water with gray paint for a gray wash. I’ve never tried that before but I’m going to. You can see the paint makeover here… Painted Empire Dresser by Salvaged Inspirations
Chalk Paint Furniture Makeover
The Ethan Allen nightstand Jen found for $22 was a steal. We all know Ethan Allen furniture is very well made and very pricy when new.
Jen chose black chalk paint and then used black wax over the black paint. The paint finish is super dramatic. Wait until you see what she used for the drawer liner and the new knob is perfect! See her painted makeover here….How To Paint Furniture With Black Chalk Paint by Girl In The Garage
Now I’m interested to see what the girls chose as their favorite furniture project from me this year. Head out on the tour with me by clicking the text links below…..
Favorite Furniture Fixer Upper Projects from…..
Confessions of a Serial DIY’er
Salvaged Inspirations
Girl In The Garage
Petticoat Junktion (you are here)
Which was your favorite makeover? Leave a note if you have time and thanks for being here, Kathy


Yes! Thank you Rose
Love so many of your projects. You rejuvenate furniture so it can be enjoyed!
Love your choices, Kathy! I almost picked that one too. 🙂 Have a wonderful Christmas, my friend! xo
I almost picked this one ha ha! I loved it too, but the entertainment cabinet that I picked of yours was one I never would have looked at twice and I loved it after you got your hands on it! Loved the bed too! Have a wonderful Christmas, my friend!! XOXO
I love your whitewashed pick Kathy… beautiful! Happy Holidays my friend. XOXO