Distressing Layers Of Chippy Crackled Paint
As an Amazon Associate, I earn from qualifying purchases.
Layers of Crackled Paint
Ever painted something more than once? I have. This cedar chest has layers of chippy crackled paint because I’ve painted it 5 times now and it had layers of paint on it when I bought it a few years ago.
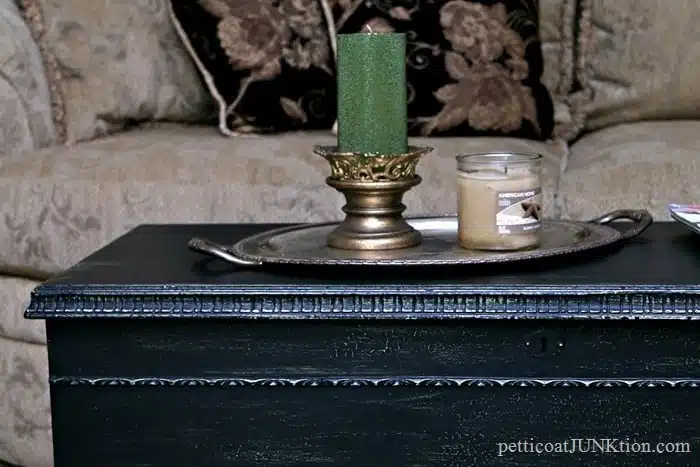
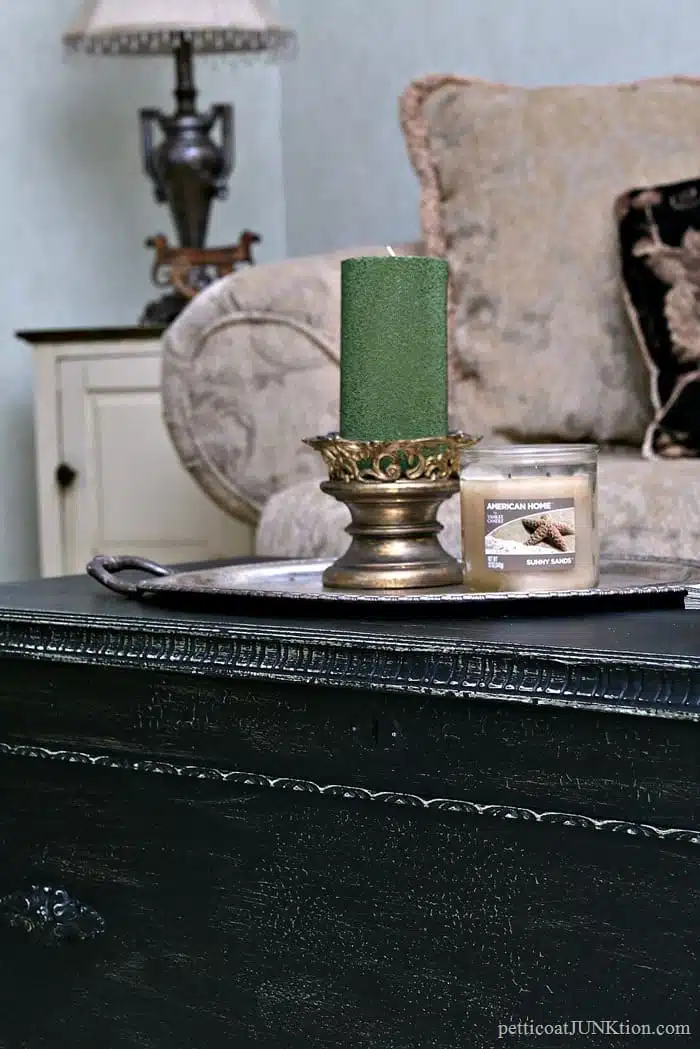
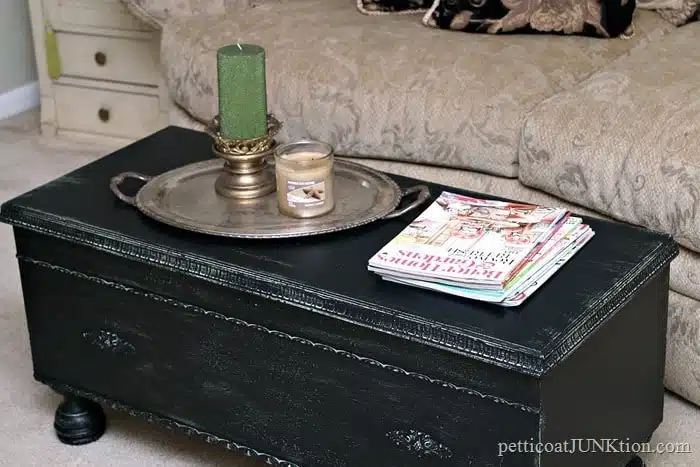
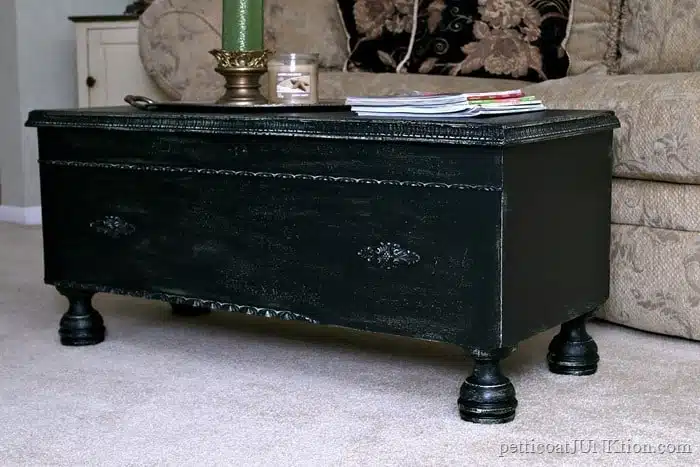
The latest paint finish is a pretty black which I distressed so the crackled paint underneath would shine.
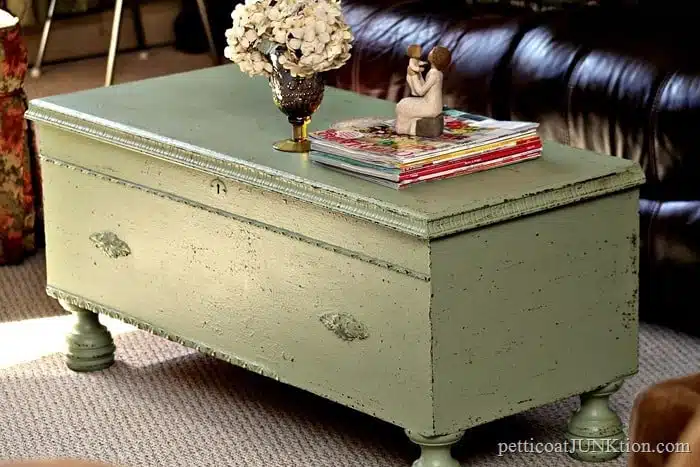
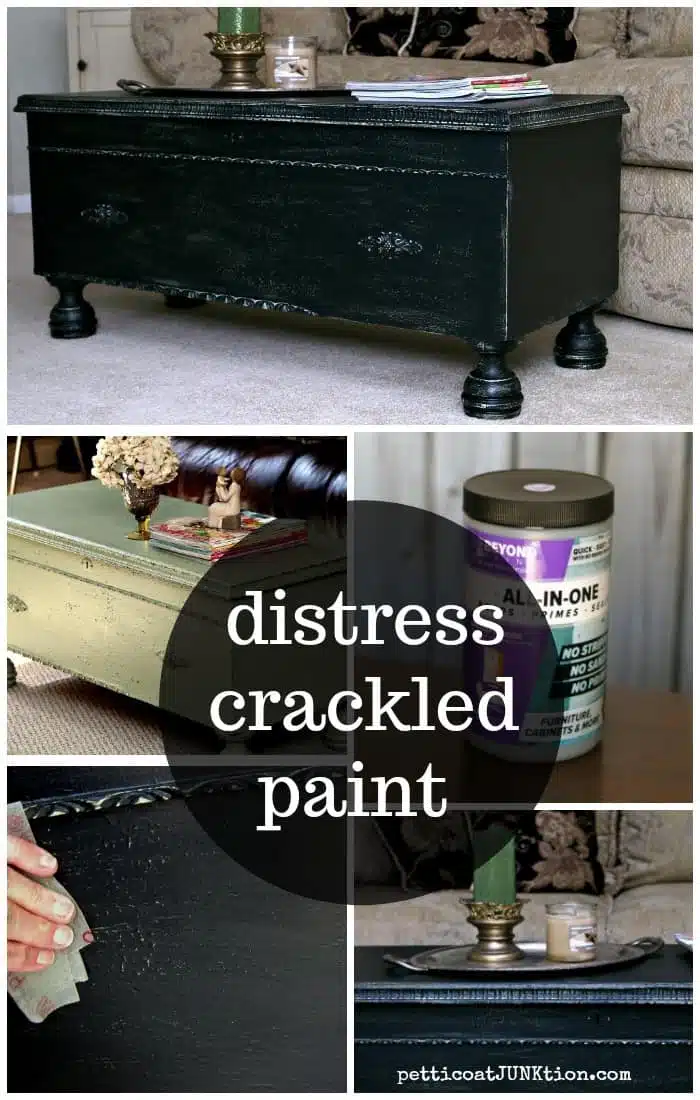
This is how the chest looked before painting it this time. I never really posted the full tutorial on this paint job. I was so frustrated because I had a plan that didn’t work out so I went through about 3 plans before getting this look. The paint is pale green and I used my FolkArt Layering Block and dark brown paint to highlight the details and rough areas from the previous paint jobs.
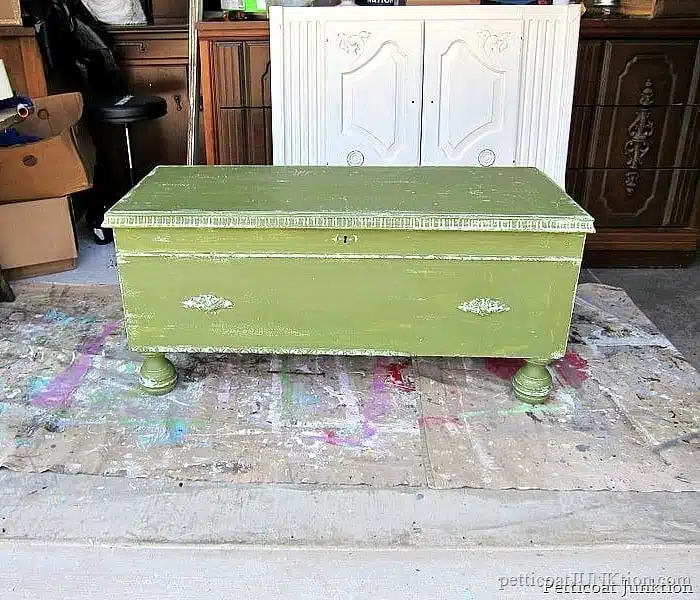
I don’t have any photos of the chest from when I purchased it 7 or 8 years ago. It was very light, almost white and had been painted more than once. I painted it a pale green when I brought it home. I guess I have a thing for green. The photo above shows how I painted the chest with Miss Mustard Seed’s Milk Paint in Boxwood for it’s third incarnation at our home. The paint chipped in places, which is what it is supposed to do, and the pale green paint shows through.
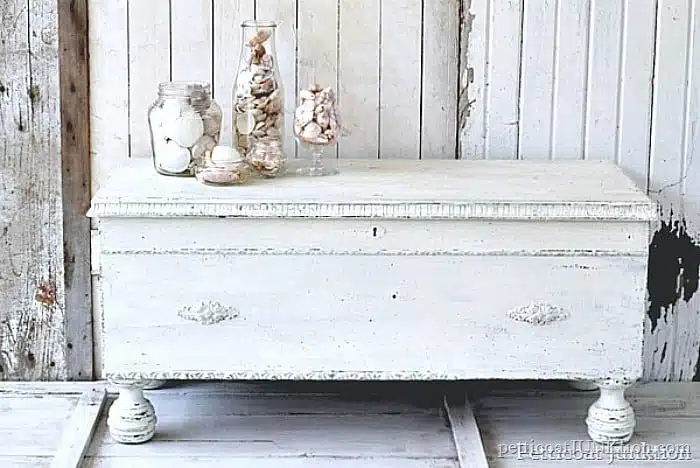
The photo above shows my fourth paint job. Another MMSMP project color Ironstone. I really love the milk paint but haven’t used it in a while.
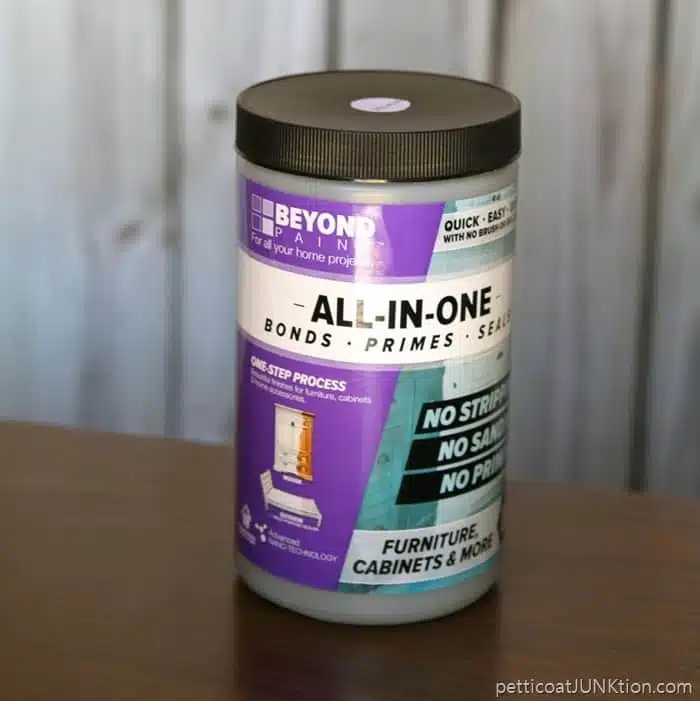
The cedar chest has been used as a coffee table and a toy box at our house. Now I have a new (used) coffee table we bought at an auction and Sofi has outgrown most of the toys so the chest is moving on to another use. The paint for this makeover is Beyond paint in Licorice.
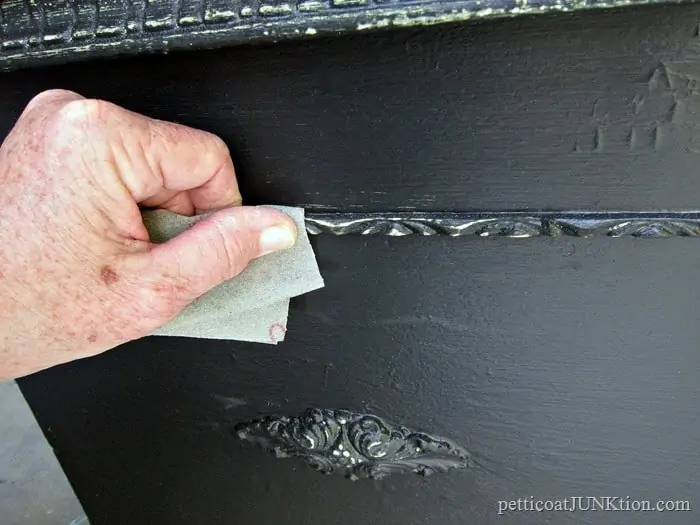
No photos of me painting the chest. I used 100 grit 3M flexible sandpaper (LOVE) to distress the raised details.
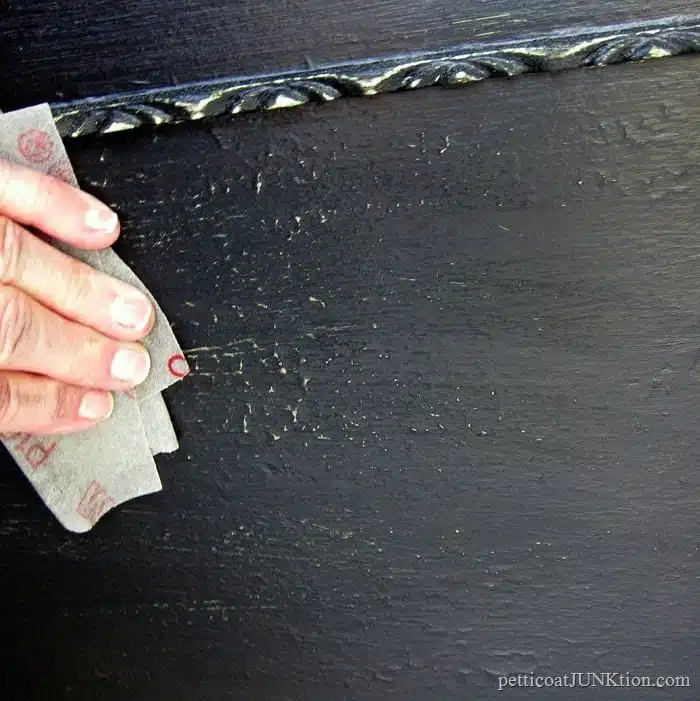
I also sanded over the rough layered chippy crackled paint underneath the black. I don’t know what type of paint job they did on the chest before I got it but the paint was not smooth. Then I added to the mess by using chippy milk paint twice.
But the mess was a good mess because the distressed paint looks great.
All of the places where the paint was crackled shows up nicely. You can see the pale green paint (which looks whitish in places) peeking through here and there.
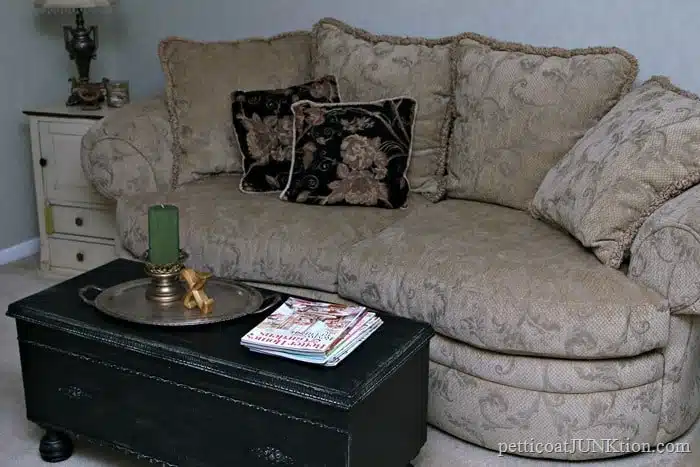
The JTS helped me move the cedar chest back into the house and we set it in the small living room to use as a coffee table.
It set there for a couple of days and now it’s sitting in our bedroom. We are using it as a catchall…..mainly clothes. Anyone have a catchall thing in your bedroom?
We were using an antique trunk in the bedroom but now it’s moved out to the workshop and waiting on a new paint job too. I never really liked how I painted the antique trunk so now is a good time to change it up. I’m always rotating things in the house. Keeps life interesting and drives the JTS crazy. Not really, he has gotten used to my craziness over the years.
Any of you have a piece of furniture that’s been painted more times than you can count? Please share, I can’t be the only one. As usual, thanks for being here. I love you guys. Have a great day, Kathy
Find my favorite diy tools (like flexible sandpaper) and products on the Petticoat Junktion Amazon Page. (Amazon Influencer, Amazon Affiliate, read disclosure here)



Thanks Kathy, I appreciate all the help I can get?
Thank you Lisa. I have a tutorial with a video here…https://petticoatjunktion.com/painted-furniture/paint-problem-furniture-without-sanding/ You just need to go for it girl. You can’t mess up but if you do…..you can paint over it!
Love the black! I purchased one of the layering blocks at Amazon but am unsure how to use it. Do you have a tutorial on the correct way to distress paint using the block? I have two dressers I need to refinish this summer and wanted a distressed Chippy look on them but a little afraid to begin. Wish you were my neighbor, sure could use the help?
I liked the original lighter green but the black gives the chest a really rich, up-scale look to me. Nice job!
I don’t know if I have one that I’ve painted that many times! ? BUT I am good at forever finding new pieces to replace current ones at estate sales and auction! My Mr. Fixit is really good about that. I’m intrigued with the FolkArt Layering Block. So many times I get a piece that I have to prime and not just shellac or is painted something horrible and I can’t get the distressed look I want. I’ll be ordering one and give it a try! LOVE all your posts and I’m in awe of what you can do!
life is always changing….so why not paint color too….sometimes paint is easier than life….I like the black