How to Paint Damaged MDF Furniture Or Fake Wood Furniture
As an Amazon Associate, I earn from qualifying purchases.
You can paint damaged MDF Furniture (also known as fake wood furniture) and hide those ugly poofs and bubbles. The poofs, bubbles, and raised areas means the furniture has been wet or damaged at one time or another, maybe from someone sitting a drink on the surface or maybe a wet towel.
Paint the damaged MDF furniture instead of trashing it. The procedure I use to hide the bubbles and poofs is pretty simple. I can walk you through it step by step.

You probably have a piece or two of MDF furniture in your home and you don’t even know it. Just so you know what we’re talking about here is the definition from Wikipedia….Medium-density fibreboard (MDF) is an engineered wood product made by breaking down hardwood or softwood residuals into wood fibres, often in a defibrator, combining it with wax and a resin binder, and forming panels by applying high temperature and pressure.[1]
How To Paint Damaged MDF Furniture
The steps to paint damaged MDF furniture: ……..
Step 1: Sand any bubbled areas
Step 2: Prime the sanded areas with a good primer
Step 3: Paint over the damaged and primed area with latex paint
Step 4: Add a stencil design if needed to help mask the damaged areas.
The complete process is shown in detail below. You would never guess by looking at the top of the chest of drawers that it had a bunch of poofy spots where the fake wood (MDF) got wet. I made them disappear.

This is the not-so-pretty before picture of the chest. I purchased this piece at My Favorite Junk Shop. The chest had something sitting on top of it and I didn’t notice the damage until we were loading it into the truck. Oh well, it was an inexpensive piece.
Step 1. Sand The Damaged MDF Furniture
This step is a must; you don’t need any power tools, just sandpaper. It’s not necessary to sand the whole chest, just the damaged areas.

I sanded down the bubbled and poofed-up areas by hand. I was afraid the power sander would take off too much of the surrounding area.I sanded very lightly just until the raised area was flush with the top of the chest. The best thing to do is sand the damaged area only. I didn’t want to sand a larger area than needed fearing it would add to the poof when I brushed the primer on.

Step 2: Prime The MDF Furniture
After sanding, I applied a very light coat of primer. The light coat is because I did not want to get the area too wet and take the chance it would puff up again. After the first coat of primer dried, I brushed on one more light coat of primer.
Primer is great for what ails furniture. I have a great video on my favorite primer and how to use it here. My go-to primer is Glidden Gripper primer tinted Grey. Update: Glidden Gripper is now called PPG Gripper.

I held my breath while waiting for the primer to dry. But……it looked good—no poofing from the primer.

Step 3. Paint The Furniture With Latex Paint
A lot of furniture painters rely on specialty furniture paints, but you can get great results with latex paint, and it’s cheaper. After the primer was dry I brushed on a coat of pink paint, latex based. I could still see some slightly raised, bubbled areas.
The bubbles were only noticeable from a certain angle when the light hit them just right. I probably could have sanded them a bit more than I did before using the primer. Too late now. I didn’t like those bubbles…..so on to trying to hide the mdf damage.
Step 4. Add A Stenciled Design Over Damaged MDF
Stencils are inexpensive and can be used on any home decor, including furniture. Next up was a cute little circle dot stencil. I’ve discovered stenciling a design on furniture can cover up some big flaws. I selected the circle dot stencil because of the random pattern.
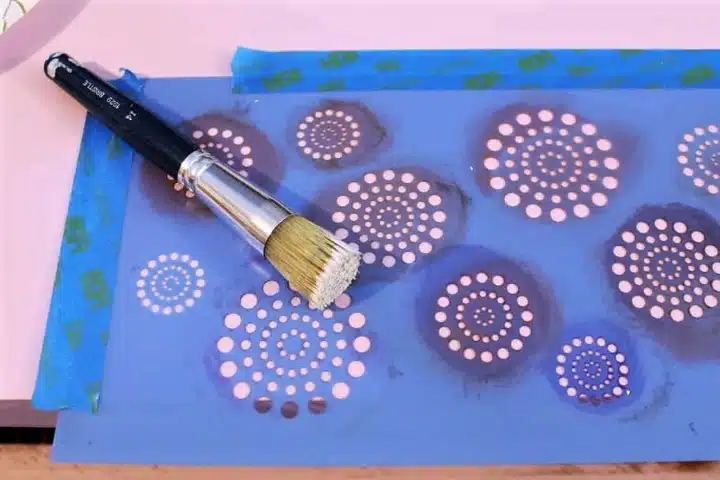
I taped my stencil in place and painted the design with a stencil brush. Remember, the secret to stenciling is using a very dry brush. Dip the brush in your paint, then wipe most of the paint off with a paper towel. (click the pink words for the in-depth stenciling tutorial)
")
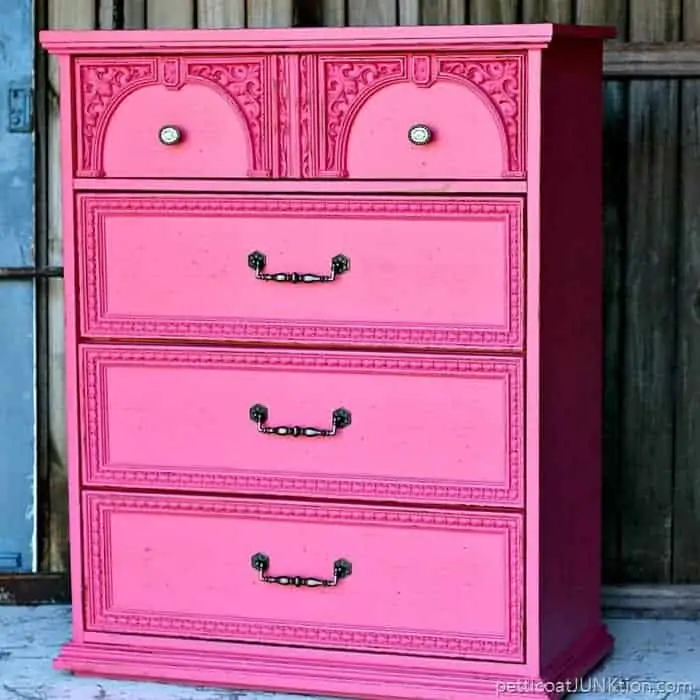
I went a little nuts and did a lot of overlayed circles. I thought it turned out pretty darn cute! You can’t even see those little raised bubbles.

But seriously. I probably could have used my sander, smoothed out all those bubbles, and then primed, but I didn’t. I was afraid it would be overkill. Maybe next time. You notice I also had to add a bit of stencil love to the diamond design on the dresser front.
")
This pink paint is a special mix by me. I had a little light pink paint in a can, and I poured it into a can of darker pink. This is the color I came up with.
5. Paint The Hardware
Spray paint the original hardware pulls. This is one of the easiest things to do and it makes such an impact when redoing a piece of furniture. I spray painted the drawer pulls white and replaced the top drawer knobs with porcelain ones I had on hand.
I think I got them at the Habitat Restore. You can often find old furniture pulls and sometimes new ones at thrift stores, flea markets, etc. If you often make over furniture, buy those pulls when you see them.
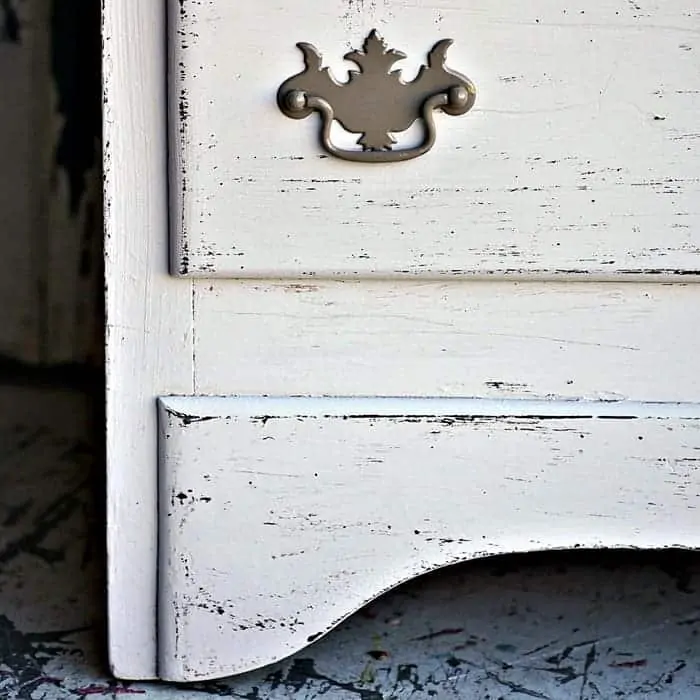
Watch my video on how to “faux distress” problem furniture or fake wood furniture like this piece. Another way to make fake wood furniture look good…..
[adthrive-in-post-video-player video-id=”CwCn18JL” upload-date=”2017-11-29T16:58:39.000Z” name=”How To Paint Problem Furniture” description=”special technique, paint,painting,gray,distressed, layering paint,aged, antiqued”]
How To Paint Problem Furniture

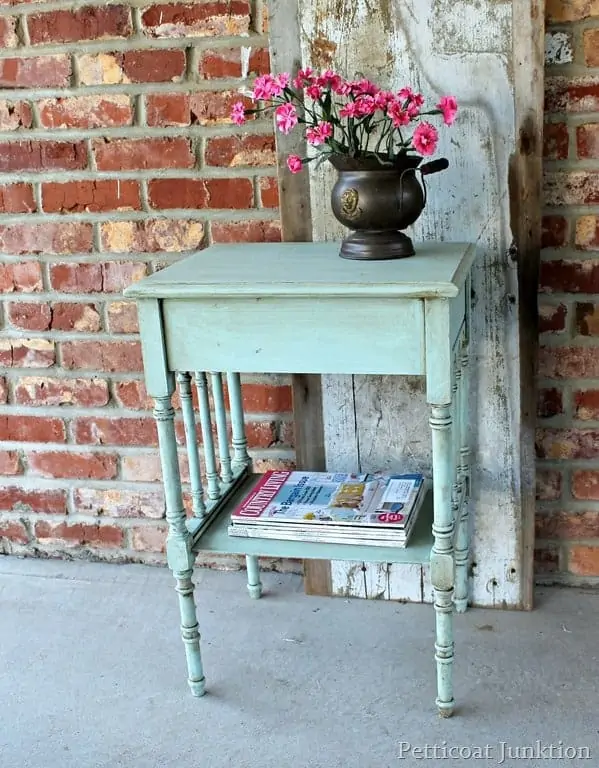
The little chest of drawers is stylish now. You would never know the top was damaged before. The chest of drawers would be perfect in a nursery. Make Mom and little girl smile.
What do you think? Even inexpensive furniture with damaged surfaces can be made beautiful. Do you have any poofy mdf furniture or fake wood furniture with major damages? Maybe you could try this technique.
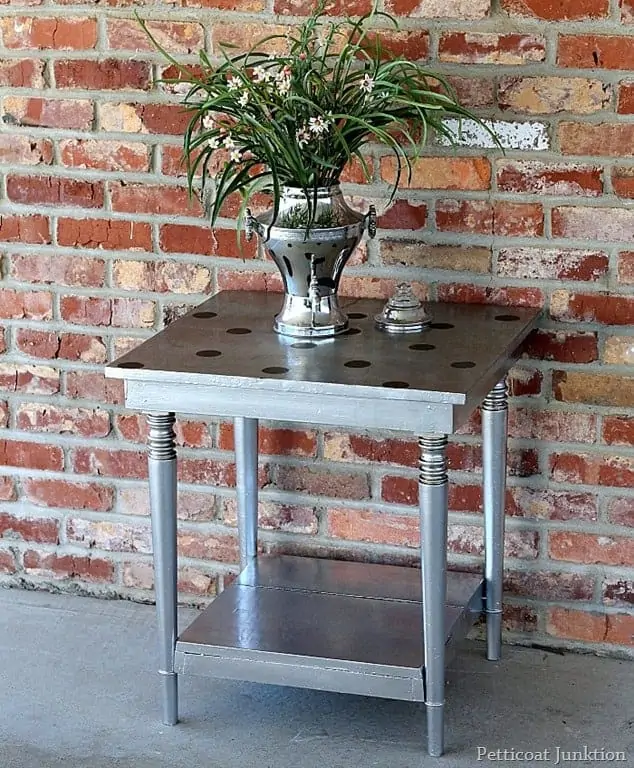
Try this process for distressing plastic furniture made to look like wood…. How To Distress Fake Wood Furniture And MDF Furniture
Thanks for being here and have a great day, Kathy
Mine didn’t have wood grain paper over it. I hate dealing with that stuff. If you want to take it off try loosening it with a heat gun or hair dryer. Or if it is really adhered then paint over it. But if you are going to distress the paint that wouldn’t work. Good Luck and Happy Painting!
Does your original piece have woodgrain paper over the MDF? I just acquired an MDF piece that has this wood grain paper over it and it is peeling off. I can pull part of it off, but I’m wondering if I need to get all of the paper off or just paint over some of it? At least part of it is already off. Thanks!